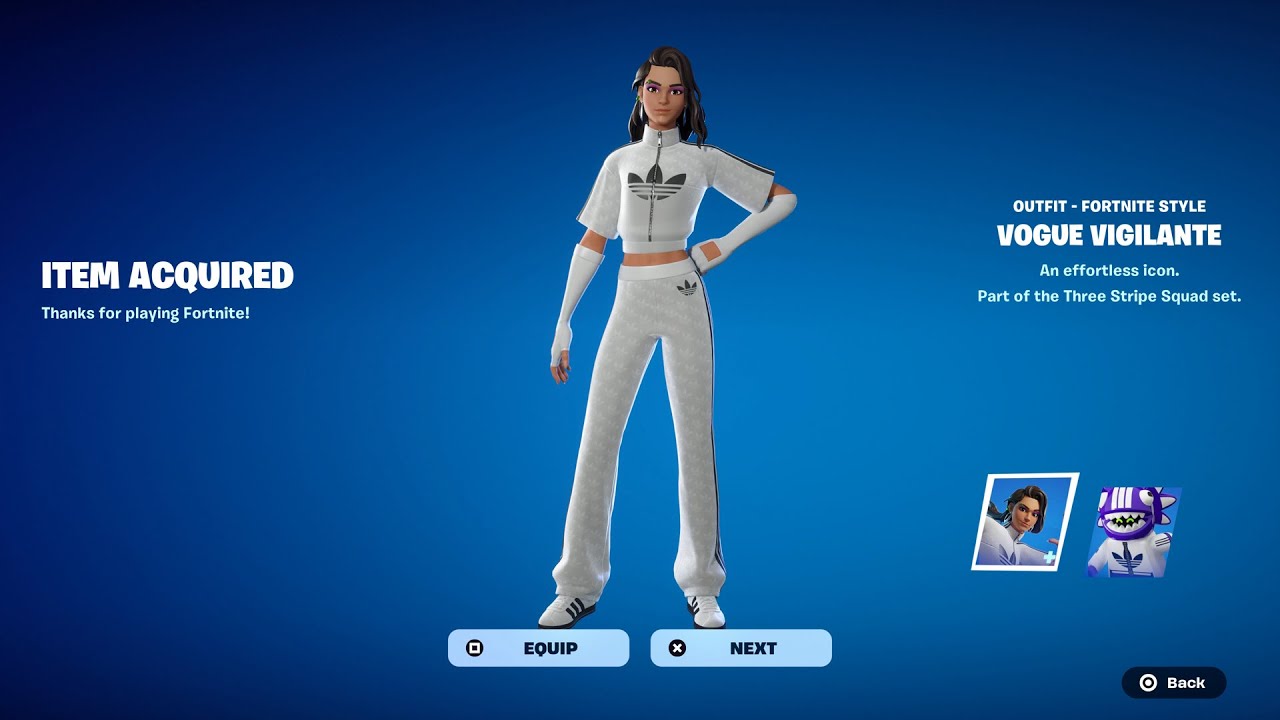
Okay, folks, let’s dive into this “vogue vigilante” thing I messed around with.
It all started with an idea. I wanted to see if I could, I don’t know, combine fashion with something…edgier. I’ve been seeing a lot of cool AI art tools popping up, and It gives me many ideas.
Getting Started
First, I needed some pictures. I grabbed a bunch of high-fashion shots – you know, the kind you see in magazines. Models with intense stares, dramatic lighting, the whole nine yards. I also found a load of photos about urban decay, graffiti, broken windows, abandoned places – to have different feelings about vogue.
I’m no coding wizard, so I didn’t even try to build anything from scratch. I am always honest about it. I poked around for some ready-made tools, and found a few that let you blend images or apply styles from one image to another. And you just upload your pictures, tweak some settings, and see what happens.
Experimenting
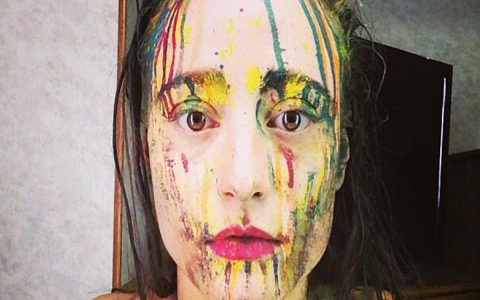
This is where things got messy, in a good way. At the very beginning, I simply tried throwing stuff together. A model in a fancy dress superimposed on a crumbling brick wall. It looked…weird. Not what I was going for. More like a collage than a unified image.
So, I went back to the drawing board, so to speak. I started playing with the blending modes. “Multiply,” “Overlay,” “Screen” – these became my new best friends. I’d spend ages just clicking through them, seeing how the colors and textures interacted. It was very interesting, and full of surprises.

- Lighter images: I realized that using lighter, brighter fashion shots as the “base” often worked better. The darker, grittier images would then add texture and mood without overwhelming the original.
- Contrast is key: Images with strong contrast seemed to blend more interestingly. A stark black-and-white photo of a model, when combined with a colorful graffiti wall, could produce some really striking results.
- Patience, patience: I can’t stress this enough. It took a lot of tries to get anything that looked remotely decent. Most of my experiments ended up in the digital trash can.
The “Aha!” Moment
I think it happened on my, like, 50th attempt. I had this one photo of a model in a flowing white dress, and I overlaid it with a shot of cracked pavement. I used a “Screen” blend mode, and suddenly, it clicked. The dress seemed to almost become part of the pavement, with the cracks running through it like veins. It was elegant, and it was messed up. It was perfect for my “vogue vigilante” idea.
Final Touches
Once I had a few images I liked, I brought them into a simple photo editor. I adjusted the brightness and contrast, sharpened things up a bit, and maybe added a subtle vignette to draw the eye to the center. Nothing too fancy – I wanted to keep the raw, slightly unfinished feel.
So, that’s the story of my “vogue vigilante” experiment. It was a lot of trial and error, a lot of messing around with settings, and a lot of learning as I went. I’m no expert, but I had fun, and I ended up with some images that I think are pretty cool. And that’s what matters, right?