Okay, so, today I’m going to talk about how I did my engagement nails. You know, those nails you gotta have when you get engaged. I mean, I had to make them look good, right?
First off, I went online and looked at a bunch of pictures. There are so many choices! Some people go for simple colors like white or light pink, but I wanted something more me. I saw this one design with a bright orange and some cool shapes, and I thought, “Yeah, that’s more my style.”
Then, I remembered reading somewhere that you should match the nail shape to the base of your real nail. So, I looked at my nails. They’re kind of square-ish. I tried to push back my cuticles a bit to make them look more “squoval.” Seemed like a good idea at the time.
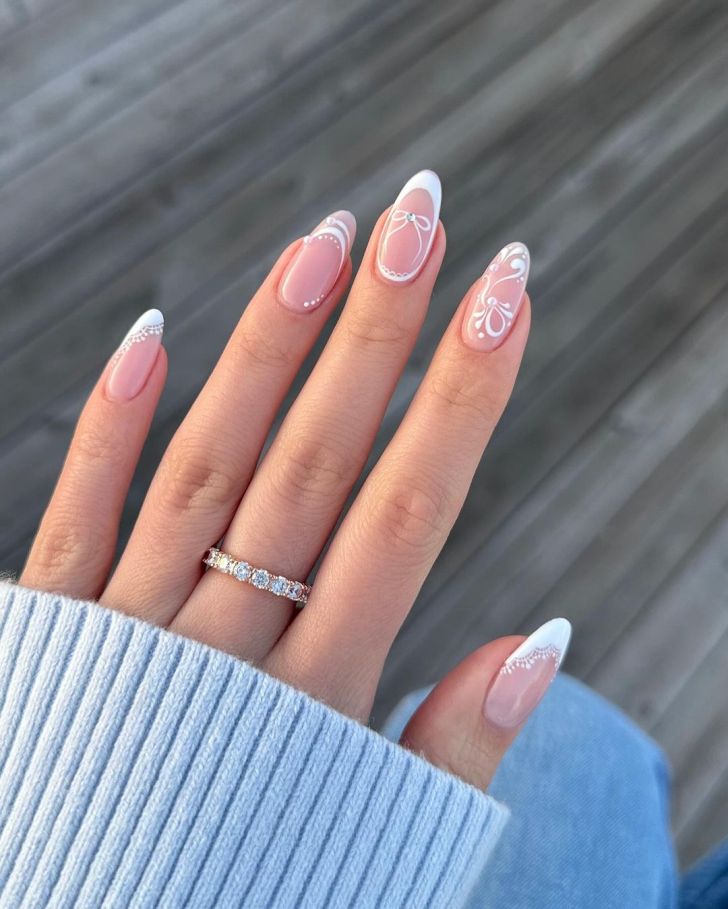
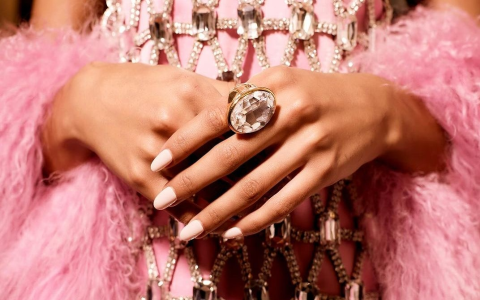
Next, I had to think about the ring. I wanted something that would look good with it, you know? I saw some ideas like using a nude base and then adding some sparkly glitter on top. That sounded pretty. There were also these “velvet nails” in a champagne color that looked super fancy and bridal. Another idea was nude ombre nails because they apparently grow out looking nicer.
I also thought about going with a classic nude color, just to be safe. But then I saw this whole “glazed nail” trend, and I thought, “Hmm, maybe?” Oh, and blue nails! That could be my “something blue,” right? Although, there was this darker color called “ox blood” that also caught my eye. Decisions, decisions.
Here’s what I actually did:
- Step 1: Clean up. I took off all my old nail polish. Gotta start with a clean slate, right?
- Step 2: Shape ’em. I filed my nails to make them look neat and even.
- Step 3: Cuticle care. I pushed back my cuticles, like I mentioned before.
- Step 4: Base coat. I put on a clear base coat to protect my nails.
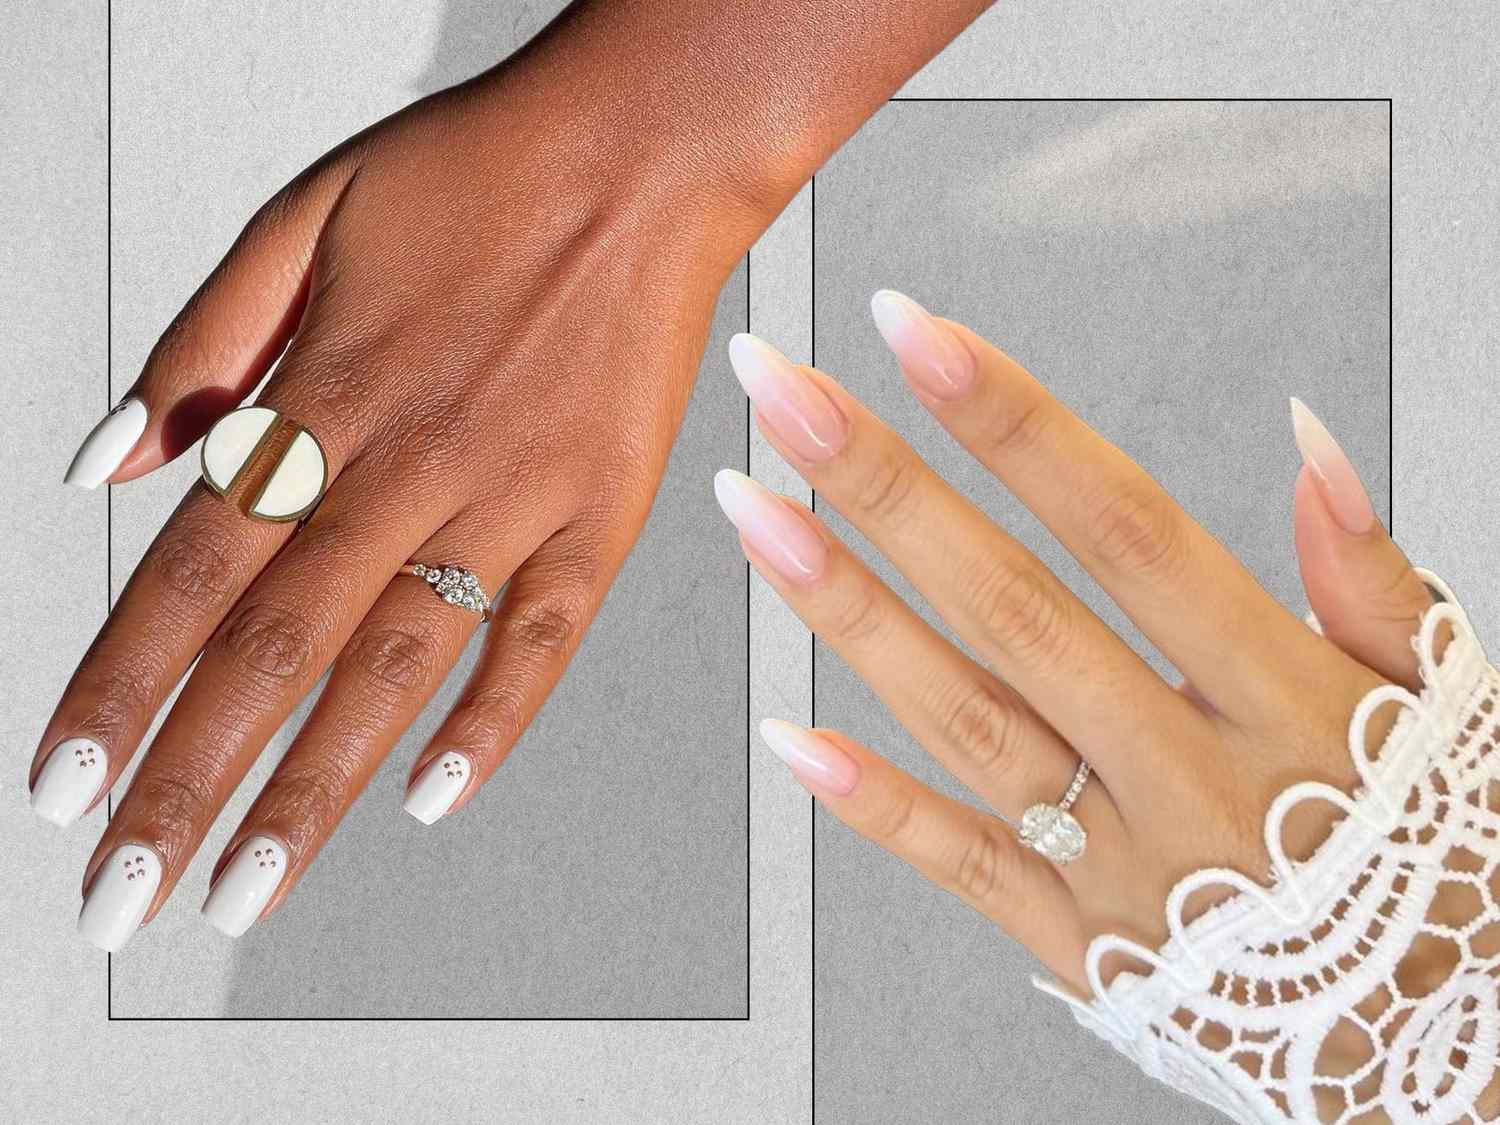
- Step 5: Color time! I ended up going with the nude ombre idea. It was a bit tricky to get the ombre effect right, but I think I managed it. I started with a light nude color at the base and faded it into a slightly darker nude at the tips.
- Step 6: Top coat. I sealed it all in with a glossy top coat to make it last longer and look shiny.
And that’s it! I think they turned out pretty good. They look nice with my ring, and they’re not too over the top. Plus, they should last a while, which is great because I don’t want to be doing my nails every other day. I just wanted to share my little nail adventure. It was fun trying out different ideas and figuring out what I liked. Maybe this will give you some inspiration for your own nails, whether you’re getting engaged or not!