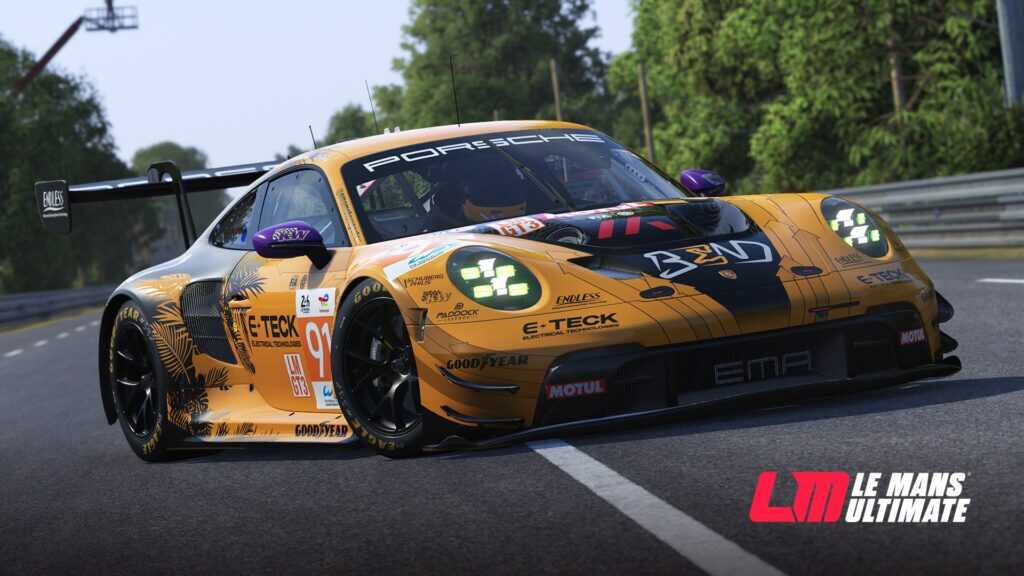
Okay, so I was messing around with LMGT3 the other day, and I thought, why not try to render a Porsche 911? I mean, who doesn’t love a good 911?
I started by, you know, firing up LMGT3. Gotta have the tool ready, right? Then I needed to find a good 3D model of a Porsche 911. I spent a little bit of time browsing around, looking for one that looked detailed enough but wouldn’t totally kill my computer.
Finding a Model
This part was kind of tricky. I found a few that were okay, but some of them were just…not great. Finally, I stumbled upon one that looked pretty promising. It had all the right curves and details, and the file size wasn’t too insane.
Importing and Setting Up
Next, I imported the model into LMGT3. It imported smooth.
After that, it was all about setting up the scene. I played around with the lighting, trying to get that classic studio look. You know, nice reflections, dramatic shadows, the whole deal. I added a simple ground plane so it wouldn’t look like the car was just floating in space.
Tweaking Materials
The model came with some basic materials, but I wanted to make it look extra shiny. I spent some time tweaking the material settings, playing with the reflectivity and roughness. I went for that classic Porsche red, it will make it look more real.
Rendering!
Finally, the fun part – hitting that render button! I set up the camera angle, adjusted the render settings to get a nice, high-quality image, and let it rip. It took a little while to render, of course, but that’s always the case with these things.
- Started LMGT3.
- Searched for a detailed Porsche 911 3D model.
- Imported the chosen model into LMGT3.
- Adjusted lighting for a studio-like feel.
- Added a ground plane.
- Modified materials for a shiny, red finish.
- Configured camera angle and render settings.
- Started the rendering process.
And boom! There it was, a beautiful, rendered image of a Porsche 911. I was pretty stoked with how it turned out. It wasn’t perfect, but for a quick little project, I thought it looked pretty darn good.
Might try a different model next time, maybe a vintage one, might be way better.