Okay, here’s my take on sharing my experience with that Louis Vuitton Varsity Jacket, blog style:
Alright, y’all, let me tell you about this Louis Vuitton Varsity Jacket thing I got myself into. It wasn’t just a “buy and wear” situation, nah. This was a whole project, a vibe, you feel me?
The Initial Spark
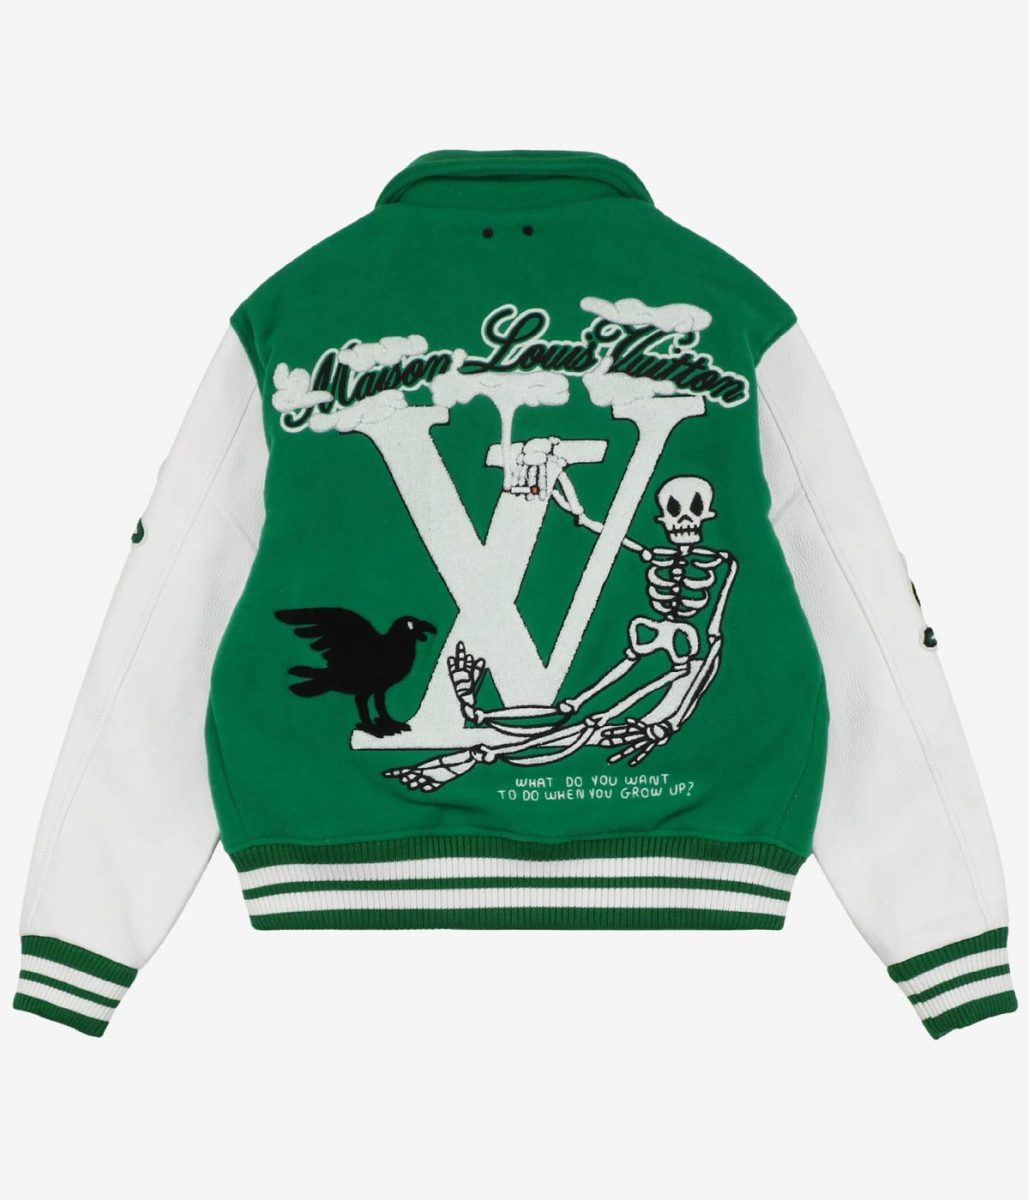
It all started with seeing this jacket online. You know, the classic LV logo, the bomber style… I was hooked. But the price tag? Woof. Let’s just say my bank account started sweating just thinking about it. So, I thought, “Why not try to make something similar?” Crazy, right? Maybe. But I was determined.
Sourcing the Goods
- The Jacket Base: First, I needed a jacket. I hit up a bunch of thrift stores and finally found a plain black varsity jacket that was the right size and shape. It was a little beat up, but that was okay, I planned on customizing it anyway. Cost me like, $20.
- The Fabric: Next up, the Louis Vuitton-ish fabric. Now, I wasn’t trying to fake anything, you know? I just wanted the aesthetic. So, I searched online for similar patterns and found a pretty decent dupe on some random fabric website. It wasn’t perfect, but it was close enough. Got a couple of yards, just to be safe.
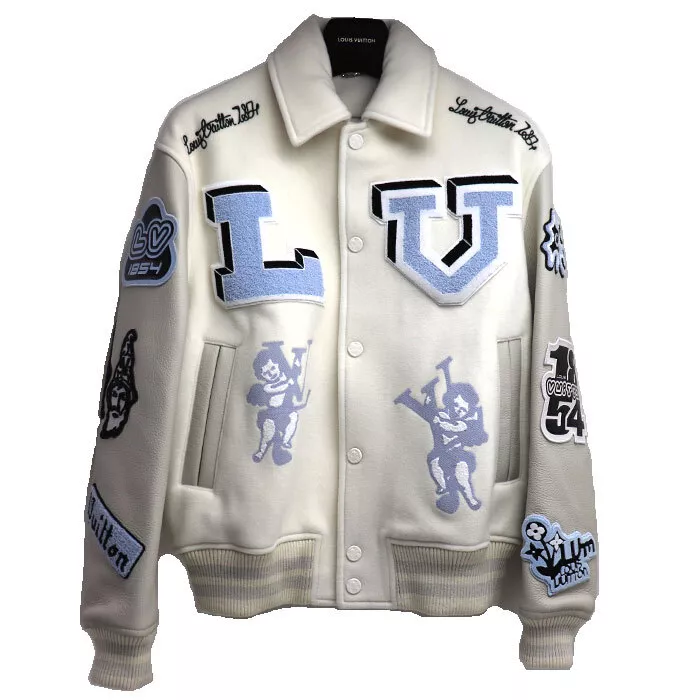
- The Patches and Embellishments: This was the fun part. I wanted to add some personal touches, so I ordered a bunch of patches online – some were just cool designs, others were letters to spell out my initials. I even found a patch that looked kinda like the LV logo, but not exactly. You gotta be careful, you know?
Getting My Hands Dirty
Okay, so here’s where things got real. I’m no expert sewer, but I can handle a needle and thread.
- Disassembling: First, I carefully took apart the thrift store jacket. Popped the seams, separated the lining, all that jazz.
- Cutting and Sewing: I then carefully cut out the fabric patterns based on the jackets panels, allowing for enough material to sew everything back together. Using my grandma’s sewing machine (bless her soul), I started sewing the new fabric onto the jacket panels.
- Patching it Up: After the new panels had been sewn onto the jacket, then I started arranging and ironing on the patches. This part took forever, because I wanted to make sure everything was perfectly positioned. Once the patches were ironed on, I sewed around the edges of each one to make sure they wouldn’t come off.
- Reassembling: Finally, it was time to put everything back together. I sewed the lining back in, reattached the sleeves, and made sure all the seams were strong and secure.
The Final Reveal
Dude, when I finally finished this thing, I was so stoked. It wasn’t perfect, by any means. There were a few crooked seams, a couple of loose threads, but overall, it looked pretty damn good. It definitely had that Louis Vuitton vibe, but it was also unique and personal.
Was it Worth It?
Absolutely! Not only did I save a ton of money, but I also learned a new skill and created something that I’m really proud of. Plus, it’s a total conversation starter. People are always asking me where I got it, and I get to tell them the whole story. So yeah, this Louis Vuitton Varsity Jacket adventure was totally worth it.