Okay, so, I’ve been eyeing this Emily Nap Dress thing for a while now. You know, the one that’s all over Instagram? I finally decided to give it a go and make my own version. I mean, why not, right?

Getting Started
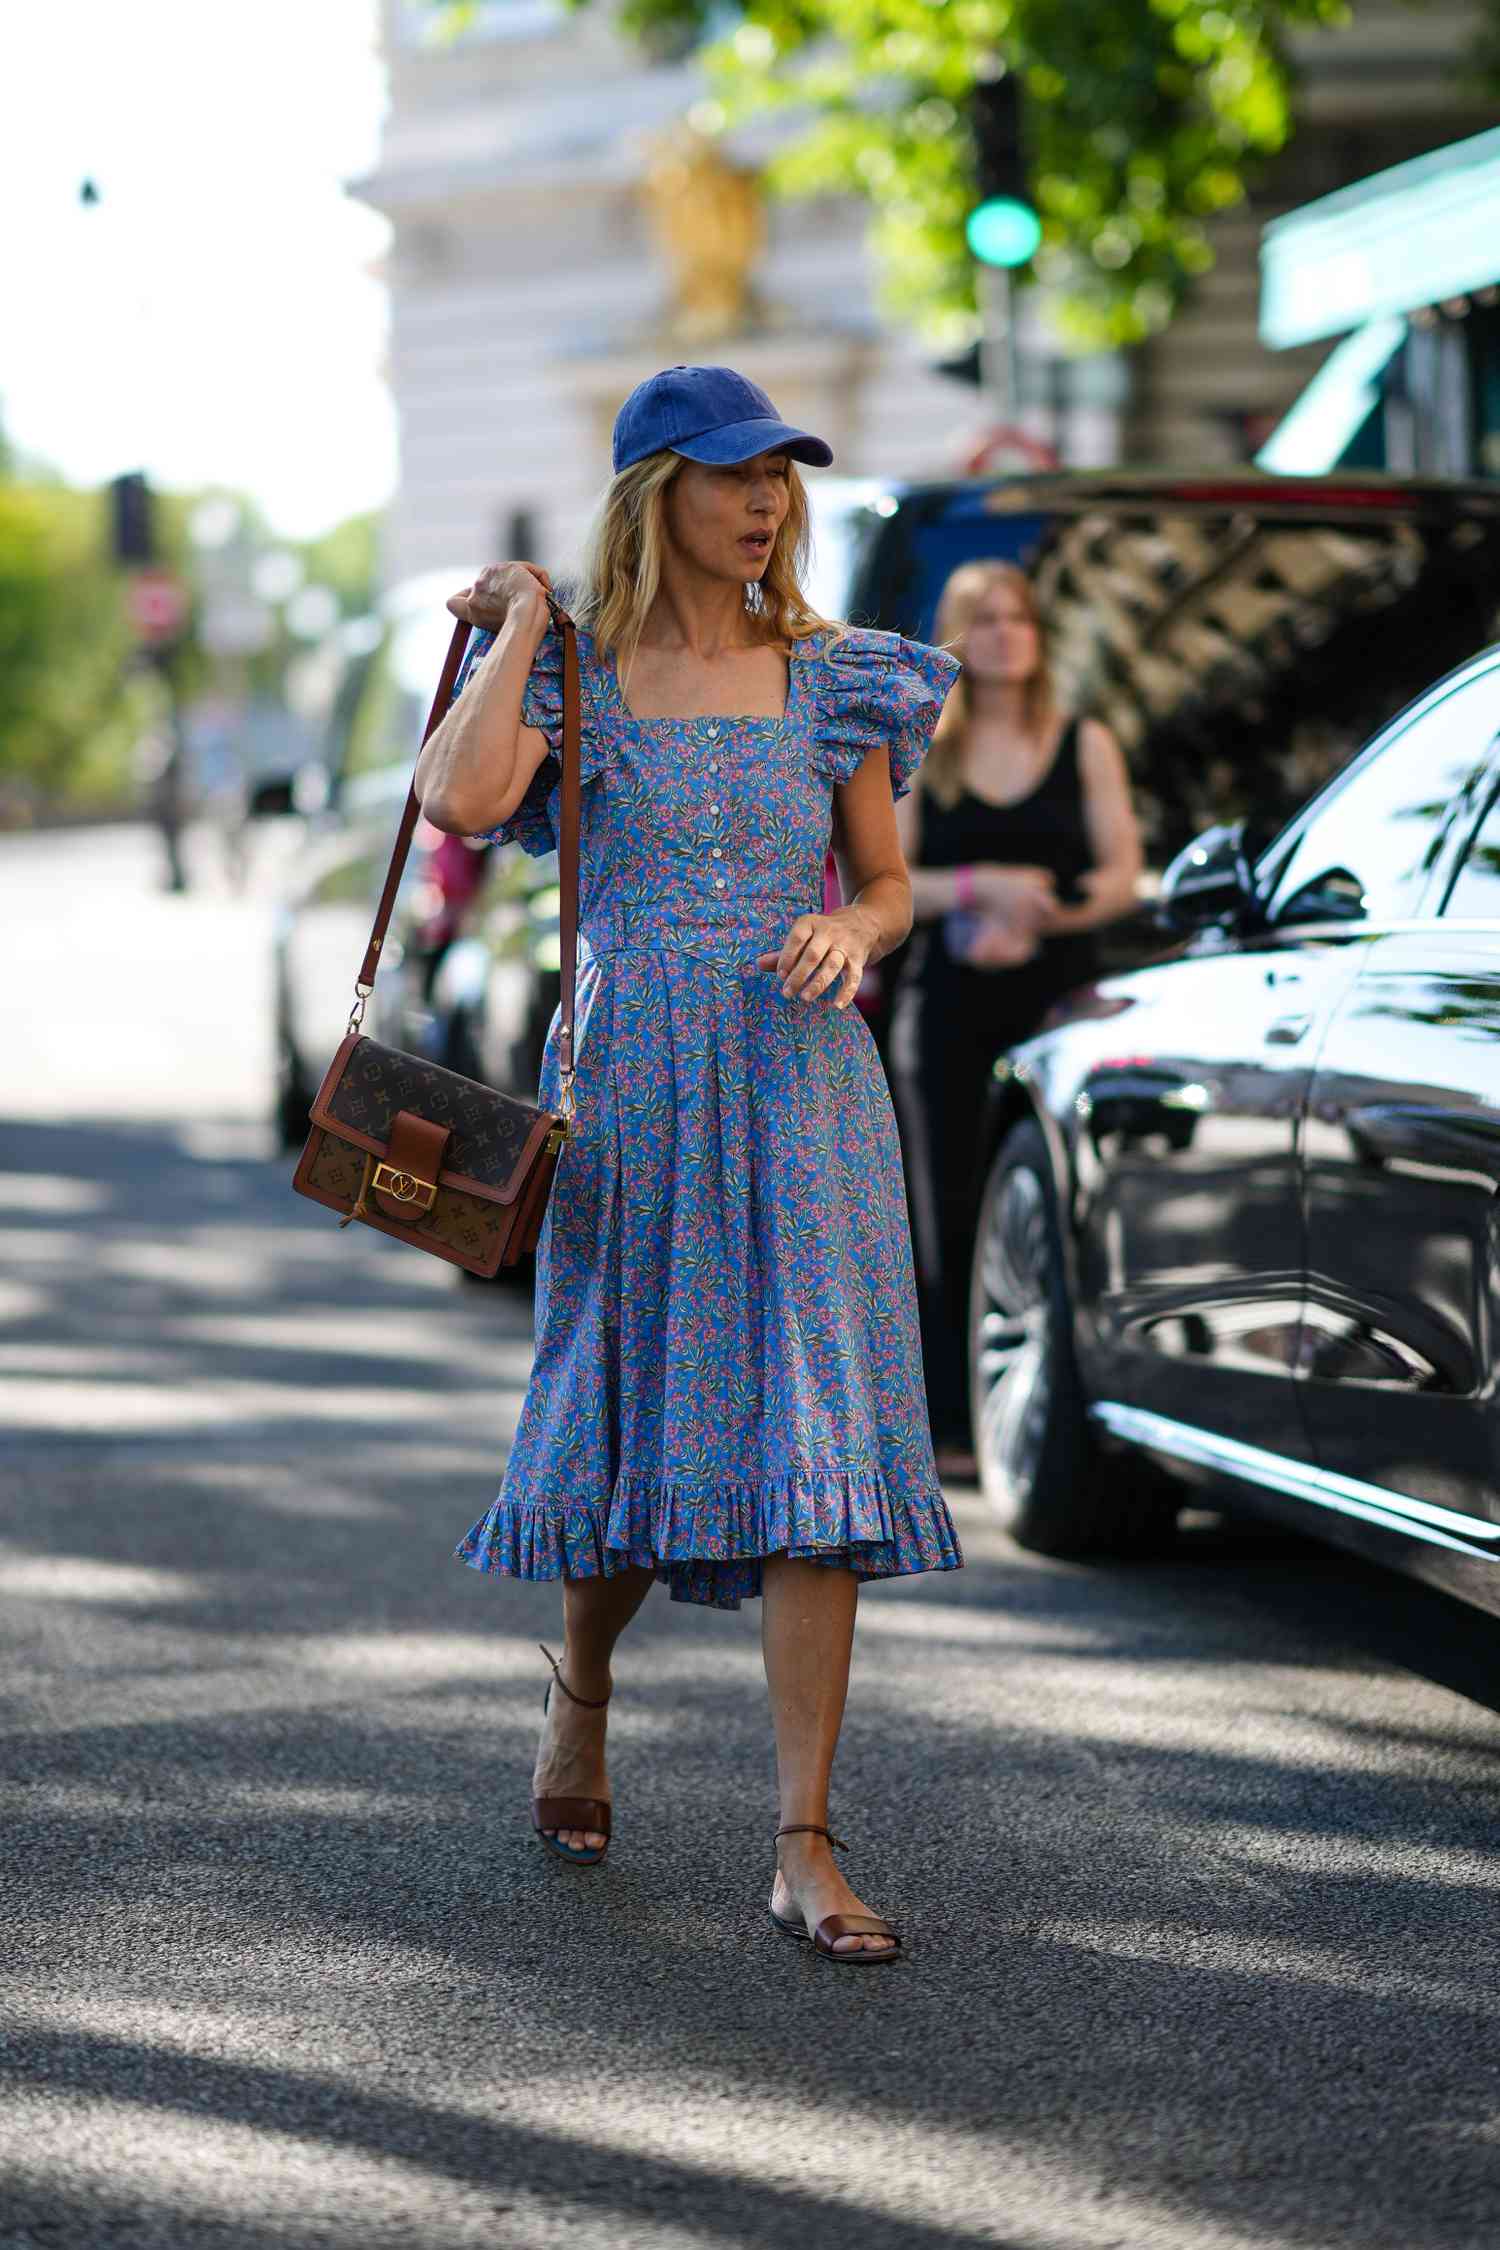
First off, I picked out some fabric. I went with a light blue cotton – super comfy and breathable, perfect for summer. Then I had to find a pattern. I ended up tweaking a basic dress pattern I already had, figuring it would be easier than starting from scratch.
The Process
I got down to business, cutting out the fabric. That part is always a bit nerve-wracking, gotta make sure you don’t mess it up! Then I started sewing. The bodice was pretty straightforward, nothing too fancy. But those sleeves… oh boy.
The sleeves are supposed to be all puffy and dramatic. I tried my best to gather them properly, but it took a few tries to get the look I wanted. I mean, I ripped out the seams like three times, easy. My sewing machine was probably judging me at that point.
- Cut the fabric carefully.
- Sew the bodice together.
- Figure out those darn sleeves!
- Attach the skirt (that part was easy, thank goodness).
- Hem the whole thing.
Finishing Touches
After the sleeves were finally in place, I moved on to the skirt. Just a simple gathered skirt, nothing too complicated. Then I hemmed everything, added a little elastic to the neckline and sleeves for that signature Nap Dress look, and bam! I was done!
The Result
Honestly? It turned out pretty darn good! It’s not perfect, of course. There are a few wonky seams here and there, but overall, I’m super proud of it. It’s comfy as heck, and I feel like a princess when I wear it. Definitely worth all the effort (and seam ripping)! I might even make another one in a different color. We’ll see! Maybe next time I’ll even try a different fabric. The possibilities are endless, you know?