Okay, so I’ve been seeing these adorable mushroom houses all over Pinterest, and I just had to try making one myself. I’m not gonna lie, it looked kinda complicated at first, but I figured, why not? Let’s get crafty!

Gathering My Stuff
First things first, I needed supplies. I rummaged through my craft bins and found some old cardboard, leftover clay from a previous project, and a bunch of acrylic paints. I also grabbed some white glue, scissors, and a couple of paintbrushes. I’m all about using what I’ve got, you know?
Building the Base
I started by cutting out a circular base from the cardboard. I wanted a sturdy foundation, so I made it kinda thick. I also sketched out a rough shape for the house walls on the cardboard. It was a bit lopsided at first, but I kept cutting and shaping until I was happy with it.
- Cut out the circular base.
- Sketch and cut out the house walls.
- Make sure it stands! (Mine almost didn’t at first).
Clay Time!
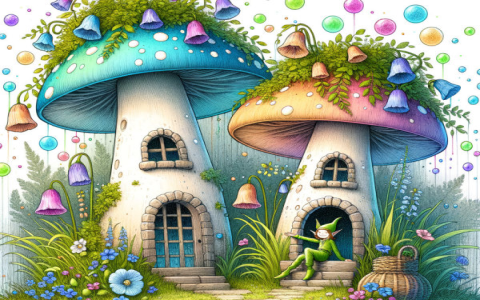
Next up, the fun part: clay! I rolled out the clay like I was making a pizza crust, not too thin, not too thick. I pressed this clay “crust” onto the cardboard walls, making sure to smooth it out and cover all the cardboard bits. For the roof, I shaped the clay into a cone and carefully placed it on top. It looked kinda wonky, but hey, mushrooms aren’t perfect, right?
Details, Details
While the clay was still soft, I used a toothpick to carve out some windows and a little door. I also added some extra bits of clay to create a chimney and some “mushroomy” texture on the roof. I even made a tiny clay mushroom to put next to the door, because why not?
Painting Party
Once the clay was completely dry (I left it overnight, just to be sure), it was time to paint! I went with a classic red for the roof and a creamy beige for the walls. I used a smaller brush to paint the windows and door a dark brown. This part took a while, I wanted to make sure I got all the little nooks and crannies. Patience is key, or something like that.

The Final Touches
After the paint dried, I used a thin black marker to outline the windows and door, just to make them pop a bit more. I also added some white dots to the red roof, because, you know, classic mushroom look. Finally, I glued the whole house onto the circular base. And…ta-da! My very own mushroom house!
It’s not perfect, but I’m pretty proud of it! It’s sitting on my bookshelf now, adding a little bit of whimsy to my room. Definitely a fun project, and I might even make a whole village of these little guys. Who knows!


