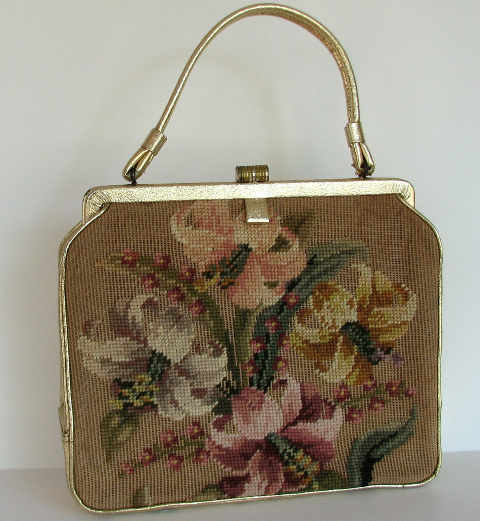
Okay, so I recently got my hands on this absolutely gorgeous piece of antique tapestry. It wasn’t huge, just enough, and I immediately thought, “This needs to be a purse!” I’ve always loved those vintage tapestry bags, you know? Seemed like a fun project.
Getting Started
First thing, I laid the tapestry out flat. It was a bit dusty, so I gave it a very gentle vacuuming with the brush attachment. Didn’t want to damage those old threads. Then, I spent a good while just looking at the pattern, figuring out the best way to cut it to showcase the prettiest part for the front of the purse. I decided on a classic shape, big enough for essentials but not too bulky.
Next up was gathering the supplies. I rummaged through my fabric stash and found a nice silky material for the lining – something that felt a bit luxurious. The most important bit was the frame. I wanted one of those vintage-style metal clasps. Found a nice brassy-looking one online that I thought would match the tapestry’s vibe.
Cutting and Prepping
Okay, cutting into antique fabric is always a little nerve-wracking! Deep breath. I measured carefully, marked the back with tailor’s chalk, and then snipped away. I cut two main body pieces from the tapestry. Because the tapestry felt a bit delicate, I decided to back it with some fusible interfacing. Ironed that on carefully – it just gives it a bit more body and strength, you know?
Then I cut out the lining pieces, slightly smaller than the tapestry pieces as usual. Simple enough.
Sewing it Together
Sewing the main purse pieces together was pretty straightforward. Put the right sides of the tapestry pieces facing each other and stitched up the sides and bottom. I used a sturdy needle because tapestry can be thick.
I did the same for the lining pieces, but left a gap in the bottom seam. This is important for turning it right side out later. You always forget the gap until it’s too late, right? Well, not this time!
Then, I put the lining inside the tapestry shell, wrong sides together, matching the top edges. Pinned them all around the top opening.
The Tricky Part: Attaching the Frame
Alright, attaching the metal frame… this is usually where I need patience. Lots of it.
- I carefully eased the top edge of the purse (both tapestry and lining layers) into the channel of the metal frame.
- Made sure it was evenly distributed, no weird bunching.
- Then came the fiddly bit: securing it. Some frames need crimping with pliers (wrapped in cloth to avoid scratches!), others have holes for tiny stitches. Mine had holes.
- So, I got out a strong thread and a fine, sharp needle. I basically hand-sewed the fabric edge to the frame through those little holes. Went around twice to make sure it was really secure. This took the longest time, just sitting there, making tiny, tight stitches.
Finishing Touches
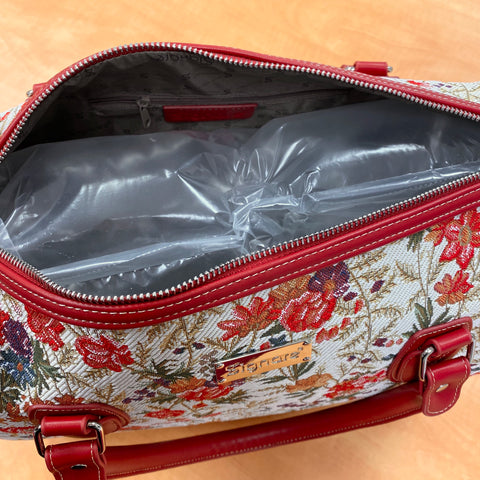
Once the frame was firmly attached, I pulled the lining out through the gap I’d left in the bottom seam. Then I just slip-stitched that little gap closed by hand. Pushed the lining back inside the purse, and voilà! The main structure was done.
The frame I bought had little loops for a chain. I found an old chain strap from another bag, clipped it on, and it looked perfect.
It turned out pretty great, actually. The tapestry looks amazing as a purse, and the frame gives it that proper vintage feel. It felt good taking something old and giving it a new life like this. Definitely a satisfying afternoon project, even with the fiddly frame part!