Okay, let’s talk about this 80’s style dress I tackled. It’s been a bit of a journey, but I finally got it done and wanted to share how it all went down.

Getting Started
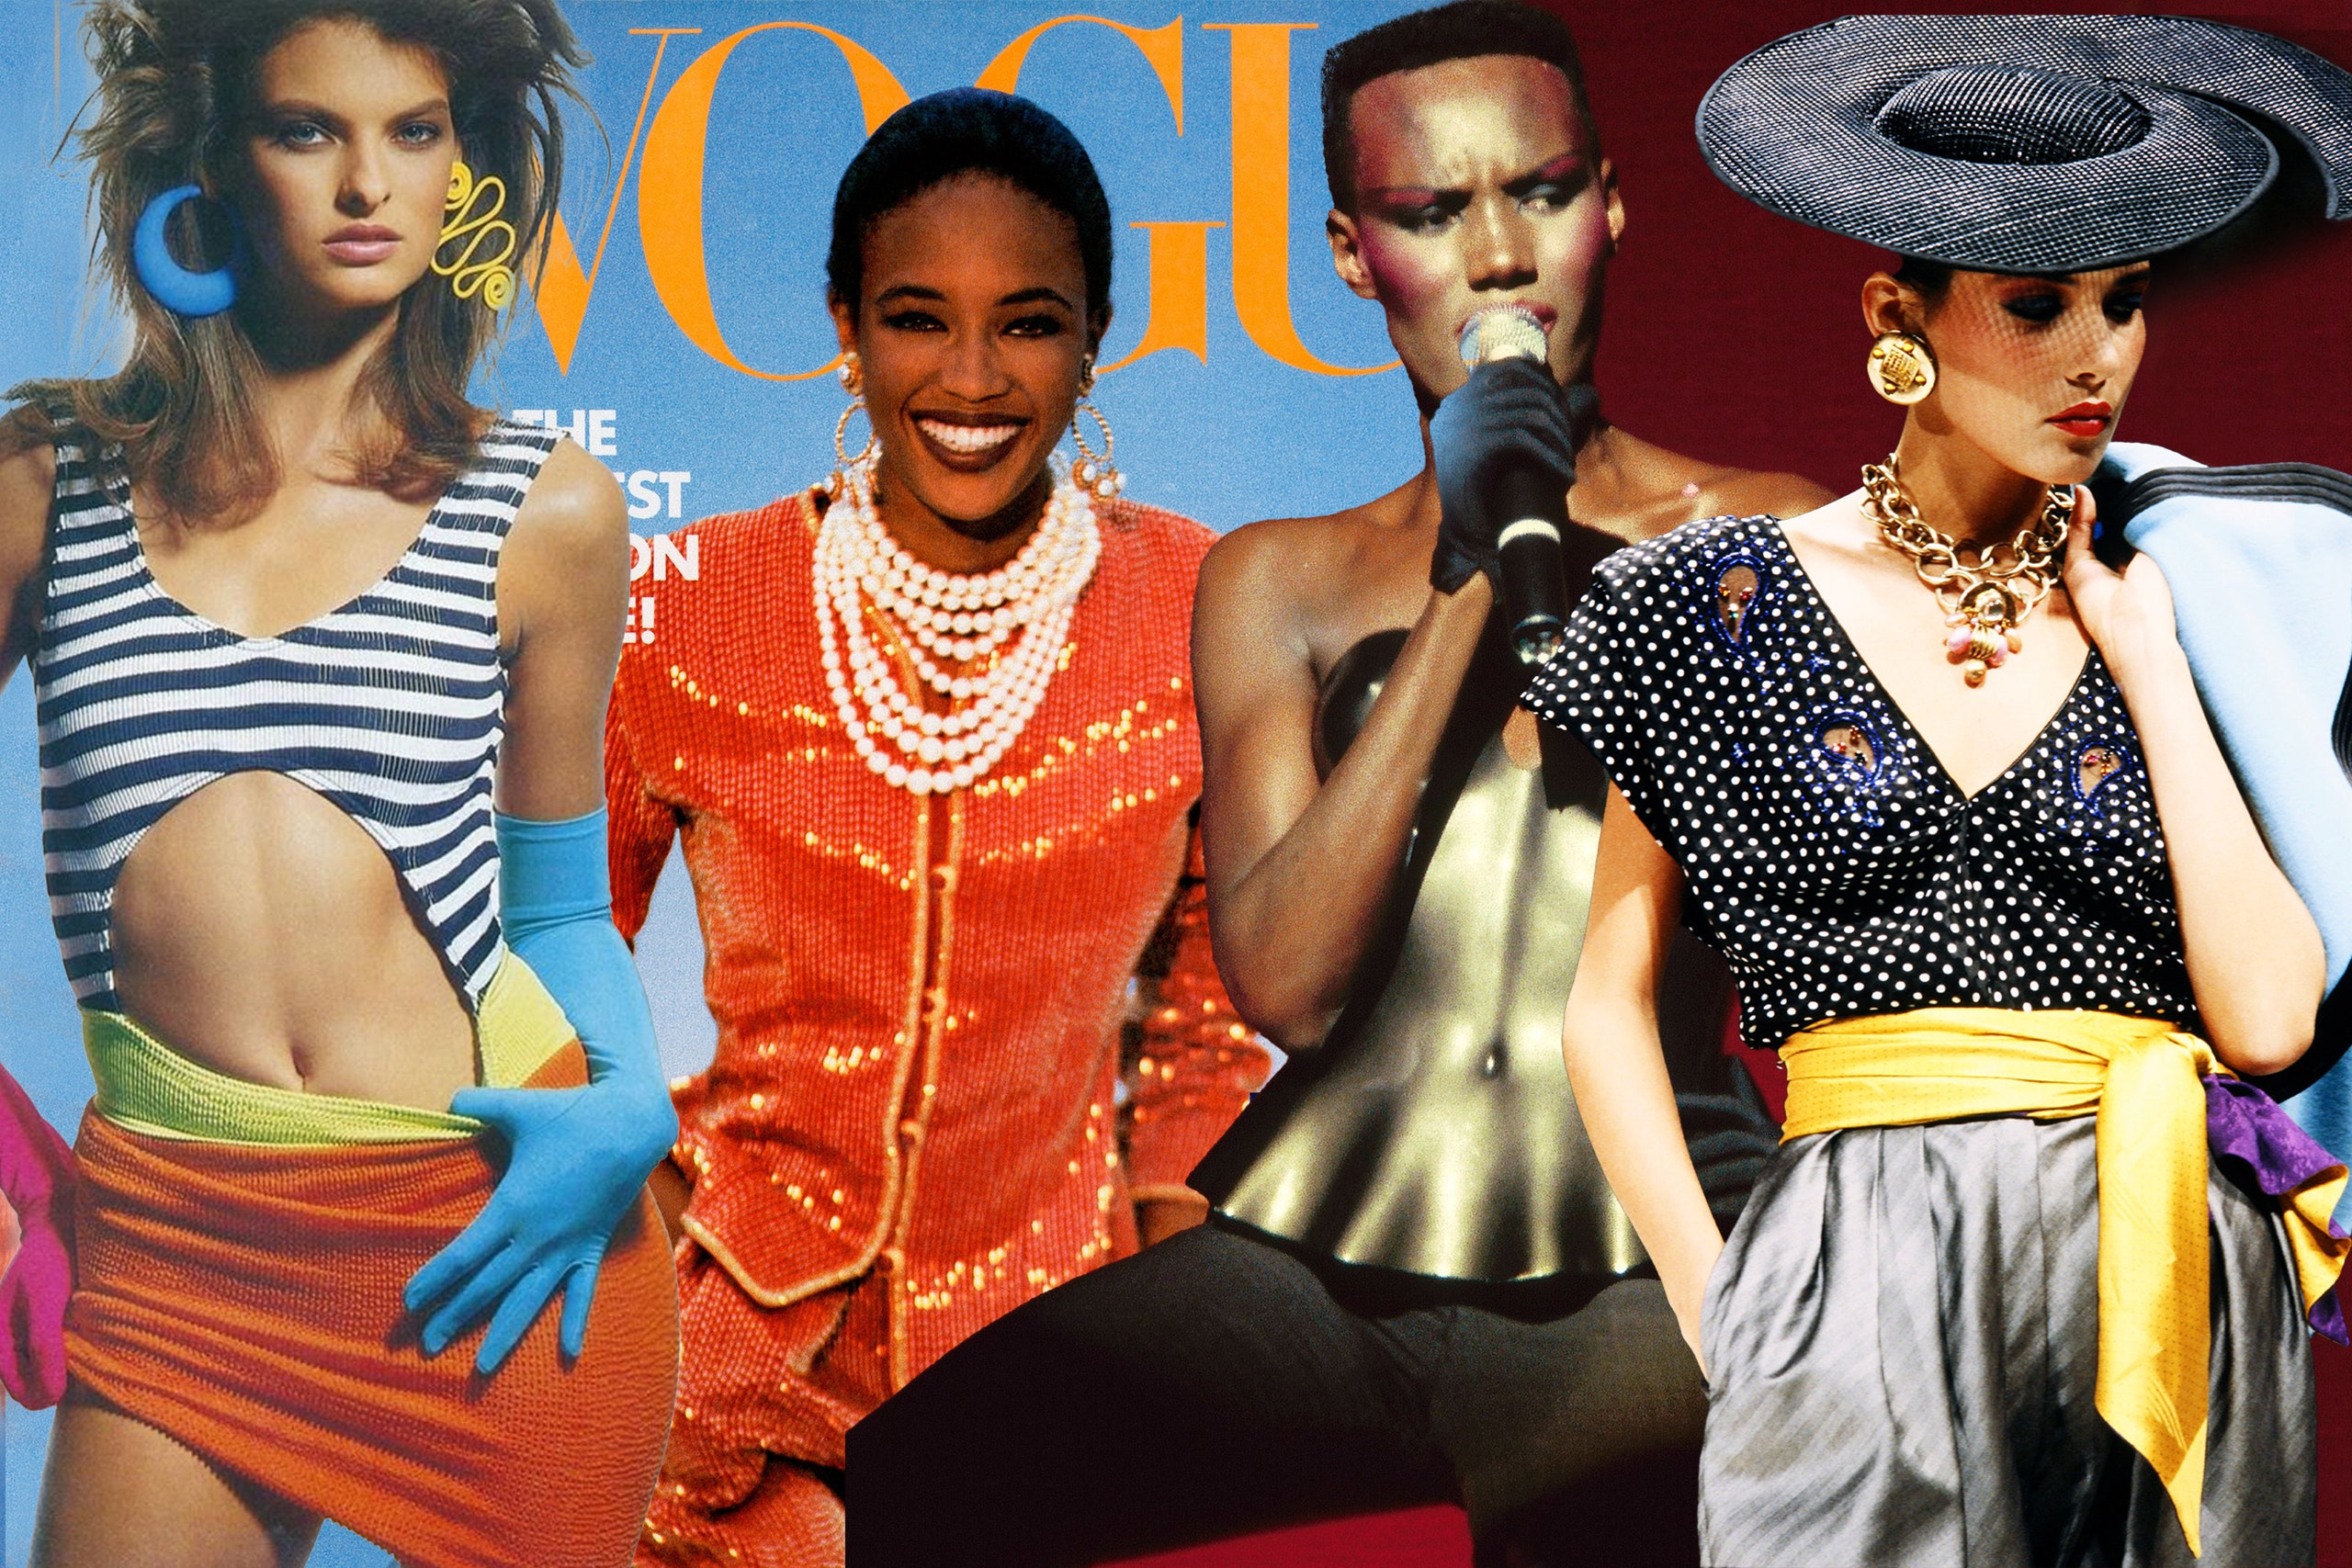
So, I got this itch to make something really… bold. You know? And the 80s just popped into my head. Big shoulders, bright colors, maybe a bit over the top. I wasn’t aiming for a costume, more like inspired by the era. I started digging through some old photos and movie stills just to get the vibe right. Found a few looks I liked, particularly those power dresses with the defined waist and, of course, the shoulder pads.
Fabric Hunt
Next up was finding the right fabric. This was fun. I headed out, not entirely sure what I wanted, but knowing it needed to have character. I ended up finding this amazing electric blue fabric, it wasn’t exactly satin, but had a nice sheen to it. Felt totally right for the 80s feel. Also grabbed matching thread, a zipper, and the crucial ingredient: shoulder pads. Found some decent ones, not too crazy huge, but definitely noticeable.
Cutting and Prepping
Back home, I cleared out my workspace. I used a pattern I kinda drafted myself, blending parts of a couple of old patterns I had lying around. Laying out that blue fabric was nerve-wracking, didn’t want to mess it up. I pinned the pattern pieces carefully and took my time cutting everything out. Lots of pieces: bodice front and back, sleeves, skirt panels, facing bits. It looked like a big puzzle.
Putting it Together: Top Half
I always start with the bodice. Sewed the darts first to give it some shape. Then came the shoulder seams and side seams. The most important part here was getting those shoulder pads in correctly. I tacked them in securely, making sure they sat right on my shoulder line. Instantly, it started looking very… 80s. Which was the goal! I also worked on the neckline facing to give it a clean finish inside.
Moving to the Skirt
The skirt part was simpler. I went for a slightly tapered pencil shape, nothing too tight, but enough to contrast with the strong shoulders. Sewed the side seams and attached it to the finished bodice. Seeing it come together as an actual dress shape was pretty exciting.
Sleeves and Zipper
Ah, sleeves. I decided on fairly standard set-in sleeves, maybe gathered them just a tiny bit at the cap for a little puff, but not too much. Getting sleeves set in smoothly always takes patience. Pin, pin, pin, then sew slowly. After the sleeves were in, I tackled the zipper. Put it in the back seam. Zippers can be fiddly, but I took my time, used my zipper foot, and it went in reasonably well. A few small tucks but nothing major.
Finishing Touches
Almost there! Hemming was next. I tried the dress on to check the length, pinned it up, and then stitched the hem. Also hemmed the sleeves. Gave the whole dress a really good press with the iron, focusing on the seams to make them lay flat and look crisp. Pressed the shoulder pads gently too, so they blended in nicely.
The Final Look
And then… the try-on! Stood in front of the mirror. It felt… surprisingly cool! The blue was vibrant, the shoulder pads gave that unmistakable silhouette, and the fit was pretty good. It definitely screamed 80s, but in a way I could actually see myself wearing, maybe for a fun party or event. It was a lot of steps, some moments of head-scratching, but seeing the finished piece made it all worth it. Really satisfying making something with your own hands start to finish.