
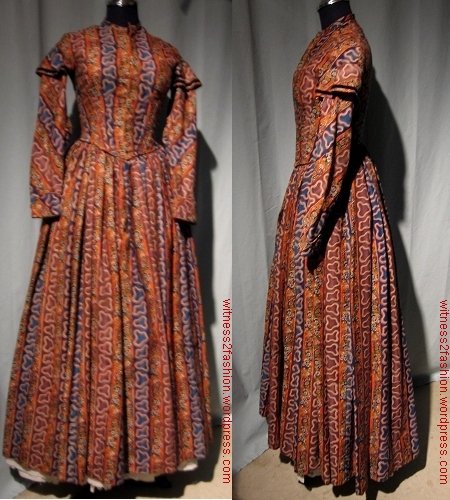
Alright, let’s talk about this piping dress thing I tackled yesterday. Wanted to actually make one after seeing all the hype online. Figured the best way to really get why it’s different was to just do it myself, you know? Grab some fabric and see.
First Up: Grabbing Stuff & Cutting
So yeah, headed to my usual fabric spot. Picked out this kinda stiff cotton blend – heard that holds piping best. Also grabbed that skinny cord stuff for the piping itself and some bias tape to wrap around it. Honestly, the prep took longer than I thought. Marking out the dress pattern pieces on the fabric was fine, took my time. But then? Cutting out that cord and the bias tape for the piping? Man, that felt fiddly. Like, “why did I start this?” fiddly. Finally got all the pieces cut: front, back, sleeves, and a whole bunch of those piping strips.
The Real Pain: Sewing in The Piping
Okay, here’s where things got real, real different from a normal dress. Usually, you just sew your seams. Done. Not this time.
- Step one: Had to make all the actual piping tubes. Pin that skinny cord onto the bias tape, fold it over, and sew real close to the cord. Took me ages to get the stitch line tight enough without catching the cord. Messed up a few times, had to unpick.
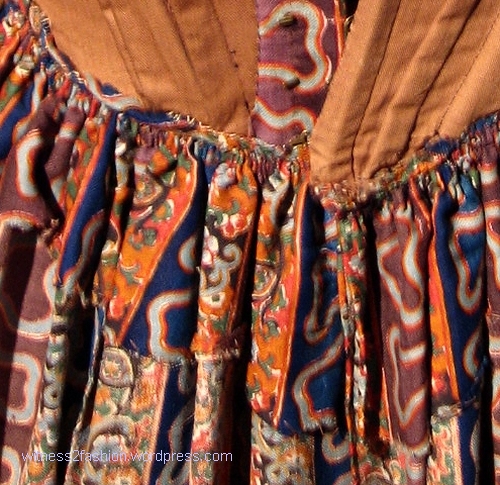
- Step two: Then comes the fun part. Pin this stiff, curvy piping strip right smack on the edge of your dress piece where you want the seam. Think neckline, armscye… wherever. Had to pin it so the raw edges of the piping matched the raw edge of the fabric piece. Sounds easy? Nope. Getting it smooth around curves was a nightmare. Pins were flying.
- Step three: Sew that piping down with a regular zipper foot. Sewed right inside the ditch of the original piping seam I made. Had to go slow, super slow. One wrong move and the whole line looks crap or you miss the piping entirely. My hands were sweating.
- Step four: THEN, and only THEN, could I put the second fabric piece on top (like the dress back to the front at the shoulder seam). Pin it all together, raw edges matching, and sew the actual seam right next to the piping stitches. This basically sandwiches the piping between the layers.
Spoiler alert: I messed up the neckline. Had to unpick half of it because the piping peeked out unevenly. Wasted like an hour right there. Seriously cussed at my sewing machine.
Compare To The Usual Ways
Doing this piping madness made me realize instantly why it’s different from, say, a topstitched seam or a basic bound edge (which I tried on a scrap piece later).
- Topstitching: You just sew the seam normally, press it open or to one side, then sew another line of stitches on top where people can see it. Simple. Fast. Not even close to piping effort.
- Bound Edge (Like a Facing): Cut a separate facing piece, sew it to the neckline, flip it inside, understitch, done. More fabric, less headache than the piping gymnastics.
- Basic Folded Hem: Fold fabric twice, sew. Simple as pie.
The piping? It’s structural and decorative all at once, stuck right inside the seam. You can’t fake it later. You have to commit before the main seam is sewn. And getting it precise? Major league pain.
Finishing Up (Finally!)
Once I got the hang of the piping insanity (mostly), sewing the side seams and the sleeves felt like a vacation. Seriously. Popped in a simple zipper at the back – felt easy breezy after that piping war. Hemmed the bottom with a double fold. Done.
So, yeah. The dress came out okay in the end, kinda proud. But honestly? The piping makes a HUGE visual difference. It pops. It gives this clean, defined, kinda expensive-looking outline everywhere it is. But man, it costs you in time and frustration. It’s not just a “different detail”. It’s a whole other level of sewing commitment. Try it yourself if you don’t believe me. Be ready for some unpicking.