Alright, let’s talk about capris leggings. I’ve been messing around with making my own for a while now, and I’ve finally got a process I’m pretty happy with. So, I thought I’d share my journey.

It all started because I could never find capris leggings that fit quite right. Either they were too tight in the waist, too loose in the legs, or the length was just…off. You know how it is. So, I figured, “Hey, I can sew! Why not give it a shot?”
First thing I did was to find a basic leggings pattern. I didn’t want to reinvent the wheel, right? I grabbed a pattern online – it was a free one, actually, just to test the waters. Printed it out, taped all the pieces together (that’s always the fun part, isn’t it?), and then I started measuring myself like crazy. Waist, hips, inseam…everything. Gotta get those numbers right!
Then came the fabric. I went with a stretchy knit, you know, the kind that feels like yoga pants. Found a nice black one at the local fabric store. I laid out the pattern pieces on the fabric, pinned them down (pins are your best friend here), and carefully cut everything out. Double-checking the pattern placement is super important to avoid mistakes.
Next up: sewing! I started with the inseams. Just pinned those edges together, right sides facing, and sewed them up using a zigzag stitch on my regular sewing machine. A serger would’ve been ideal, but I don’t have one of those (yet!). The zigzag stitch gives the seam some stretch, so it won’t pop when you’re wearing them.
After that, I sewed the crotch curve. This part can be a little tricky, but just take your time and match up the curves carefully. Pin, pin, pin! Then, sew slowly, easing the fabric as you go.
Now for the waistband. I cut a wide strip of the same fabric, folded it in half lengthwise, and ironed it to make a nice, clean edge. Then, I pinned it to the top of the leggings, stretching it slightly as I went, to create a snug fit. Sewed that on with a zigzag stitch too.
Finally, the hems! I folded the bottom edges of the legs up twice to create a narrow hem, ironed it, and then sewed it in place. Another zigzag stitch, of course.
And boom! First pair of capris leggings done.
The first pair wasn’t perfect, let me tell you. The waistband was a little too loose, and the length was a tad short. But hey, that’s why it’s a learning process. So, I made some adjustments to the pattern – took in the waistband a bit, lengthened the legs by an inch, and tried again.
The second pair was much better. Still not perfect, but definitely wearable. And with each pair I made, I got a little bit better. I experimented with different fabrics, different waistband techniques, even added some pockets to one pair (that was a fun challenge!).
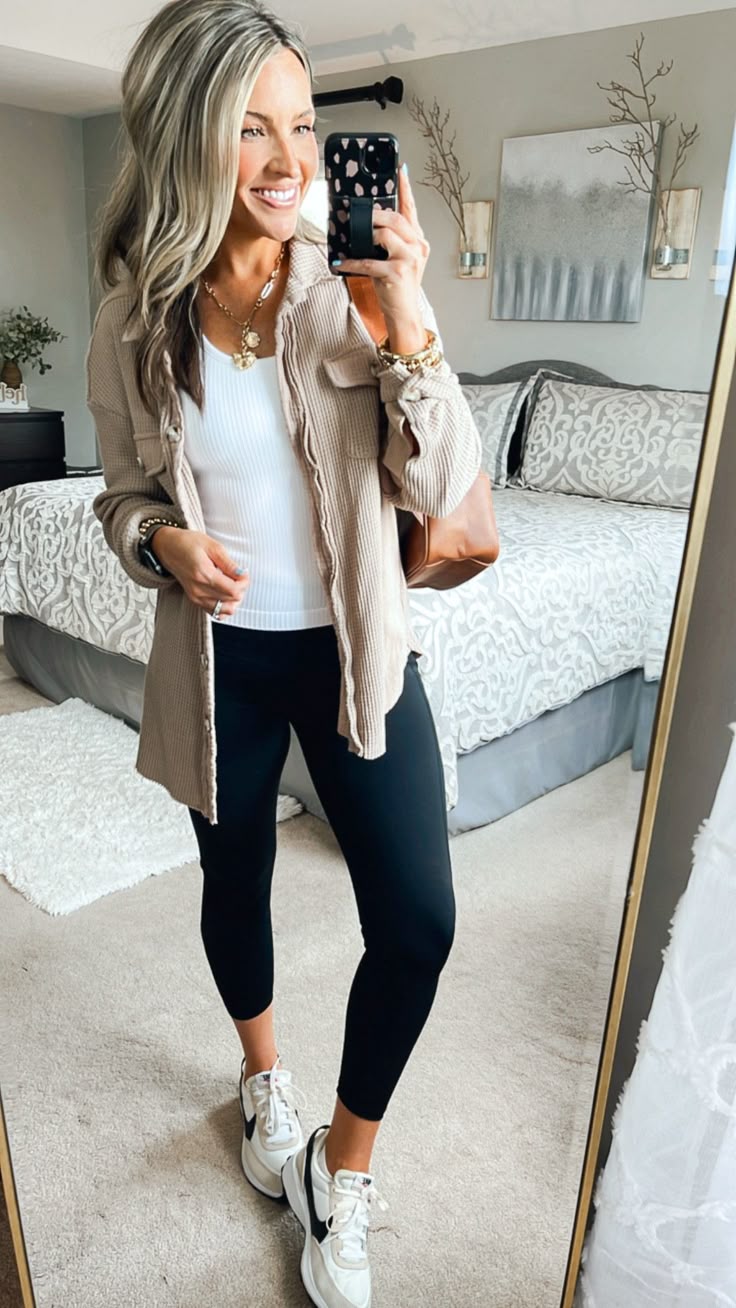
Now, I’ve got a small stack of custom-fit capris leggings that I absolutely love. They’re comfortable, they fit perfectly, and I made them myself! It’s a pretty cool feeling.
Here are some tips if you want to try it:
- Start with a simple pattern. Don’t try to get fancy right away.
- Measure yourself accurately. This is key to getting a good fit.
- Use a stretchy knit fabric. Look for something with good recovery.
- Don’t be afraid to experiment. Try different fabrics, colors, and embellishments.
- Practice makes perfect. The more you sew, the better you’ll get.
So yeah, that’s my capris leggings story. It’s been a fun and rewarding project, and I’m really happy with the results. Give it a try – you might surprise yourself!