Okay, here’s my attempt at writing a blog post in the style you requested, about building a “Bugatti Chiron Blue” model:
So, I got this idea to do something cool with that “Bugatti Chiron Blue” color. I’m no professional, just like messing around with stuff, you know?
The Hunt Begins
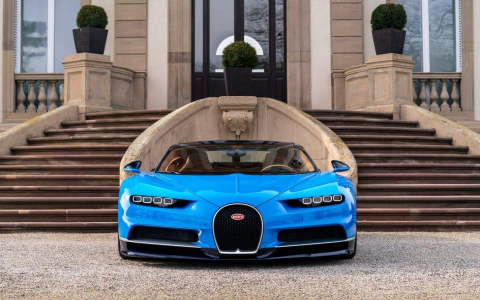
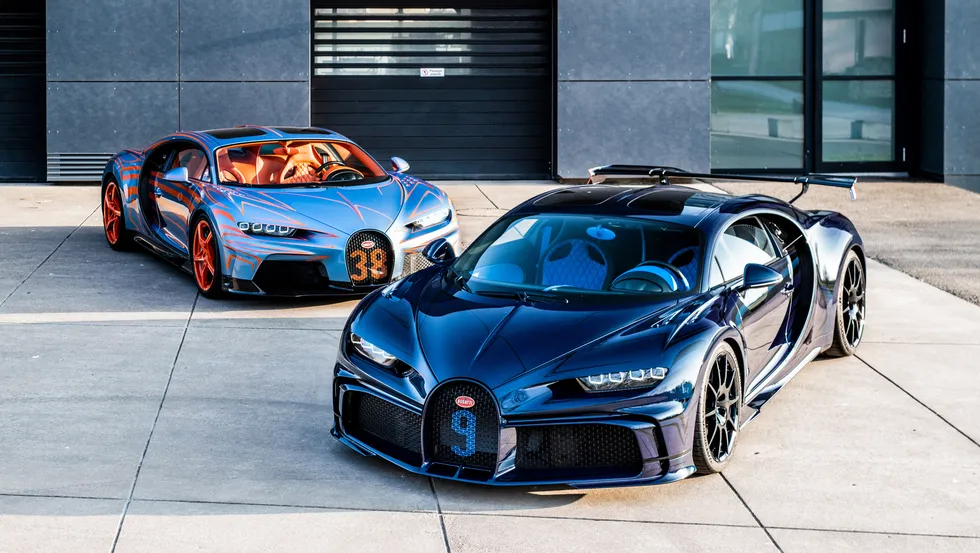
First, I needed to find out what exactly is Bugatti Chiron Blue. I looked it up on the forums, it’s not just one blue, it got a few different shades. I spent a good few hours just, browsing pictures. And, lots of pictures.
Mixing the Colors
I’m not going to lie, I messed up a bit here. My first try was way too dark. It has to use different blues, then mixed them, trying to get that perfect, deep blue. I ended up adding a bit of white to lighten it up. It took a few tries, but I finally got a color I was pretty happy *’s a kind of metallic * was harder than I thought!
I tested it on a scrap piece of plastic first – wouldn’t want to ruin the whole thing, right? Sprayed a little, let it dry, and then another thin coat. It looked pretty good, so I went for it.
The Big Moment
Then, I apply the new color to the object surface that I selected. Applying paints is a time-consuming work, and patience is a virtue here.

- First Coat: Kept it really light, just a misting.
- Second Coat: A bit heavier, but still not full coverage.
- Third Coat: This is where the magic happened. The color really started to pop.
I waited like a hawk for it to dry, checking every few minutes (I know, I know, I’m impatient). Once it was totally dry, man, it looked amazing. All that effort was worth it!
The Final Touches
It looks really nice at that time. It’s so brilliant! I am so happy about it.
That’s it, really. It was a fun little project, and I learned a lot. Maybe I’ll try another crazy color scheme next time. Any suggestions?