Okay, here’s my blog post, all about my journey making some killer “beyonce cowboy boots”!
Alright y’all, let’s get into this. So, I’ve been OBSESSED with Beyonce’s whole vibe lately, especially those killer cowboy boots she’s been rocking. I saw them and thought, “I NEED those in my life,” but ain’t no way I’m dropping that kinda cash. So, DIY time!
Phase 1: The Hunt for Inspiration and Materials
- First things first, I started scouring the internet. Pinterest, Instagram, you name it. I needed to nail down EXACTLY what I wanted. I ended up saving a ton of pics of different styles of cowboy boots, bedazzled boots, anything that caught my eye.
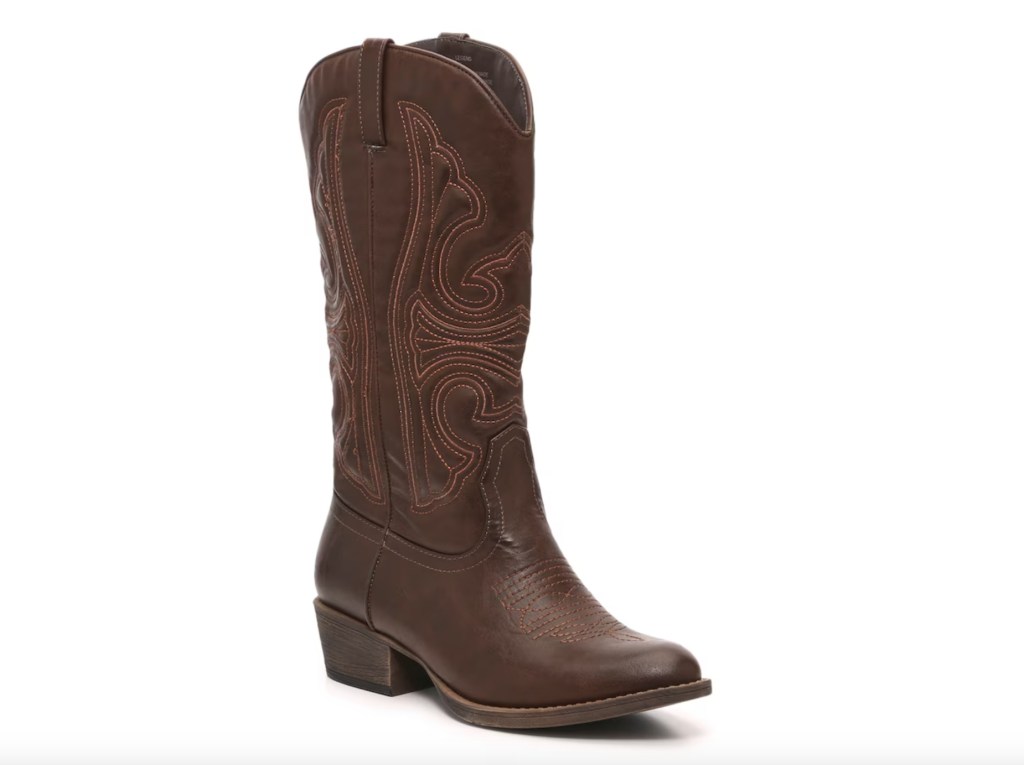
- Next up: Materials. I already had a pair of plain, cheap-ish brown cowboy boots lying around that I never wore. Perfect! Then, I hit up the craft store. I grabbed:
- Tons of different sized rhinestones (gotta have that sparkle!)
- Fabric glue (the good stuff, that won’t let me down)
- A sealant (to keep those rhinestones in place)
- Some stencils (for a little extra design)
- And a whole lotta patience (figured I’d buy that too, haha!)
Phase 2: Design Time!
This was the hardest part, honestly. I spent hours sketching out different designs. Did I want a subtle sparkle? Full-on rhinestone explosion? Ultimately, I decided to go somewhere in the middle. I wanted them eye-catching, but still wearable. I settled on a design that had rhinestones outlining the boot’s details and a few scattered across the main part of the boot.
Phase 3: The Painstaking Process of Rhinestoning
- Okay, deep breaths. This part took FOREVER. I started by cleaning the boots really well, making sure there wasn’t any dirt or grime that would mess with the glue.
- Then, I started applying the glue, a little bit at a time. This is key! You don’t want it drying before you can get the rhinestones on.
- Using tweezers (my fingers were too clumsy), I carefully placed each rhinestone onto the glue. This was seriously tedious. I watched a whole season of my favorite show while doing this.
- I let each section dry completely before moving on to the next. I learned the hard way that if you rush it, the rhinestones will slide all over the place.
- For the stencils, I used a fabric paint and carefully applied it to the boot. I let that dry completely before adding any rhinestones around it.
Phase 4: Sealing the Deal (Literally)
Once all the rhinestones were in place and the glue was completely dry, it was time to seal everything. I used a clear sealant spray and gave the boots a few coats, letting each coat dry before applying the next. This is super important because it’ll protect the rhinestones and keep them from falling off.
Phase 5: The Grand Reveal!
And there you have it! My very own “Beyonce” cowboy boots! They’re definitely not perfect, but I’m so proud of how they turned out. They’re sparkly, fun, and totally unique. I can’t wait to rock them at my next concert or just out and about.
Final Thoughts
This project was definitely a labor of love, but it was so worth it. It was so satisfying to take something plain and turn it into something amazing. If you’re thinking about trying this yourself, I say go for it! Just be prepared to invest some time and patience. And don’t be afraid to get creative with your design. These are your boots, so make them your own! Good luck, y’all!