Alright, let me tell you about my little deep dive into recreating a Laureen Hutton-inspired look. It was a fun experiment, and I learned a bunch along the way. So, grab a coffee, and let’s get into it.
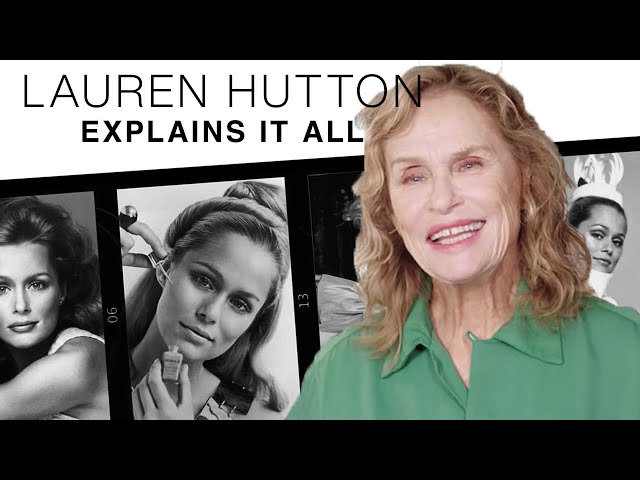
The Inspiration: Laureen Hutton’s Effortless Cool
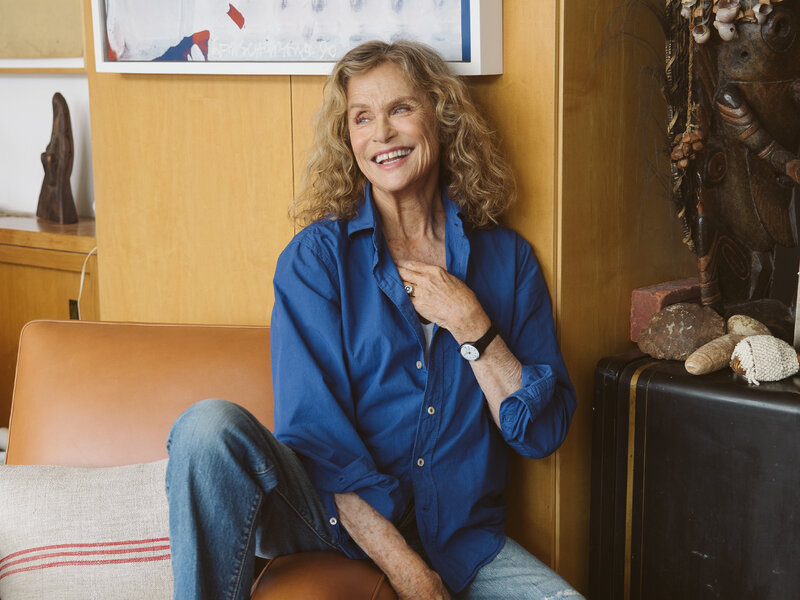
I’ve always been drawn to Laureen Hutton’s style – that natural, slightly undone, but undeniably chic vibe. It’s timeless, you know? Not overly done, but still impactful. I wanted to see if I could capture a bit of that magic in my own makeup and overall look.
Step 1: Prep is Key (As Always!)
First things first, I started with skincare. Can’t have a good makeup look without a good base, right? I cleansed, toned, and moisturized my face. Then, I added a light layer of primer. Laureen always looks like she’s glowing from within, so hydration is super important.
Step 2: The “No-Makeup” Makeup Base
Laureen Hutton is all about that natural skin texture showing through. So, I skipped the heavy foundation. Instead, I opted for a tinted moisturizer. I just dotted it around my face and blended it out with a damp sponge. This evens out the skin tone without looking cakey or overly made-up.
Step 3: Brows – Natural but Defined
Her brows are always on point, but they don’t look overly sculpted. I used a brow pencil that was a shade lighter than my natural brow color to fill in any sparse areas. Then, I brushed them up and set them with a clear brow gel. The goal was to enhance what I already have, not create something completely different.
Step 4: Eyes – Subtle Definition
For the eyes, I kept it super simple. I took a matte brown eyeshadow and blended it into my crease to add some depth. Then, I lined my upper lash line with a dark brown eyeliner, keeping the line thin and close to the lashes. I smudged it out slightly with a brush for a softer look. A few coats of mascara, and that’s it for the eyes.
Step 5: Cheeks – The Hutton Flush
Laureen always has a beautiful flush to her cheeks. I used a cream blush in a rosy pink shade and applied it to the apples of my cheeks, blending it upwards towards my temples. Cream blush is great for achieving that dewy, natural look. I then added a touch of highlighter on the high points of my cheekbones for extra glow.
Step 6: Lips – Nude but Not Bare
For the lips, I went for a nude lipstick with a slightly peachy undertone. I wanted something that would enhance my natural lip color without being too overpowering. I applied the lipstick directly from the tube and blotted it with a tissue for a more lived-in feel.
Step 7: Hair – Effortlessly Tousled
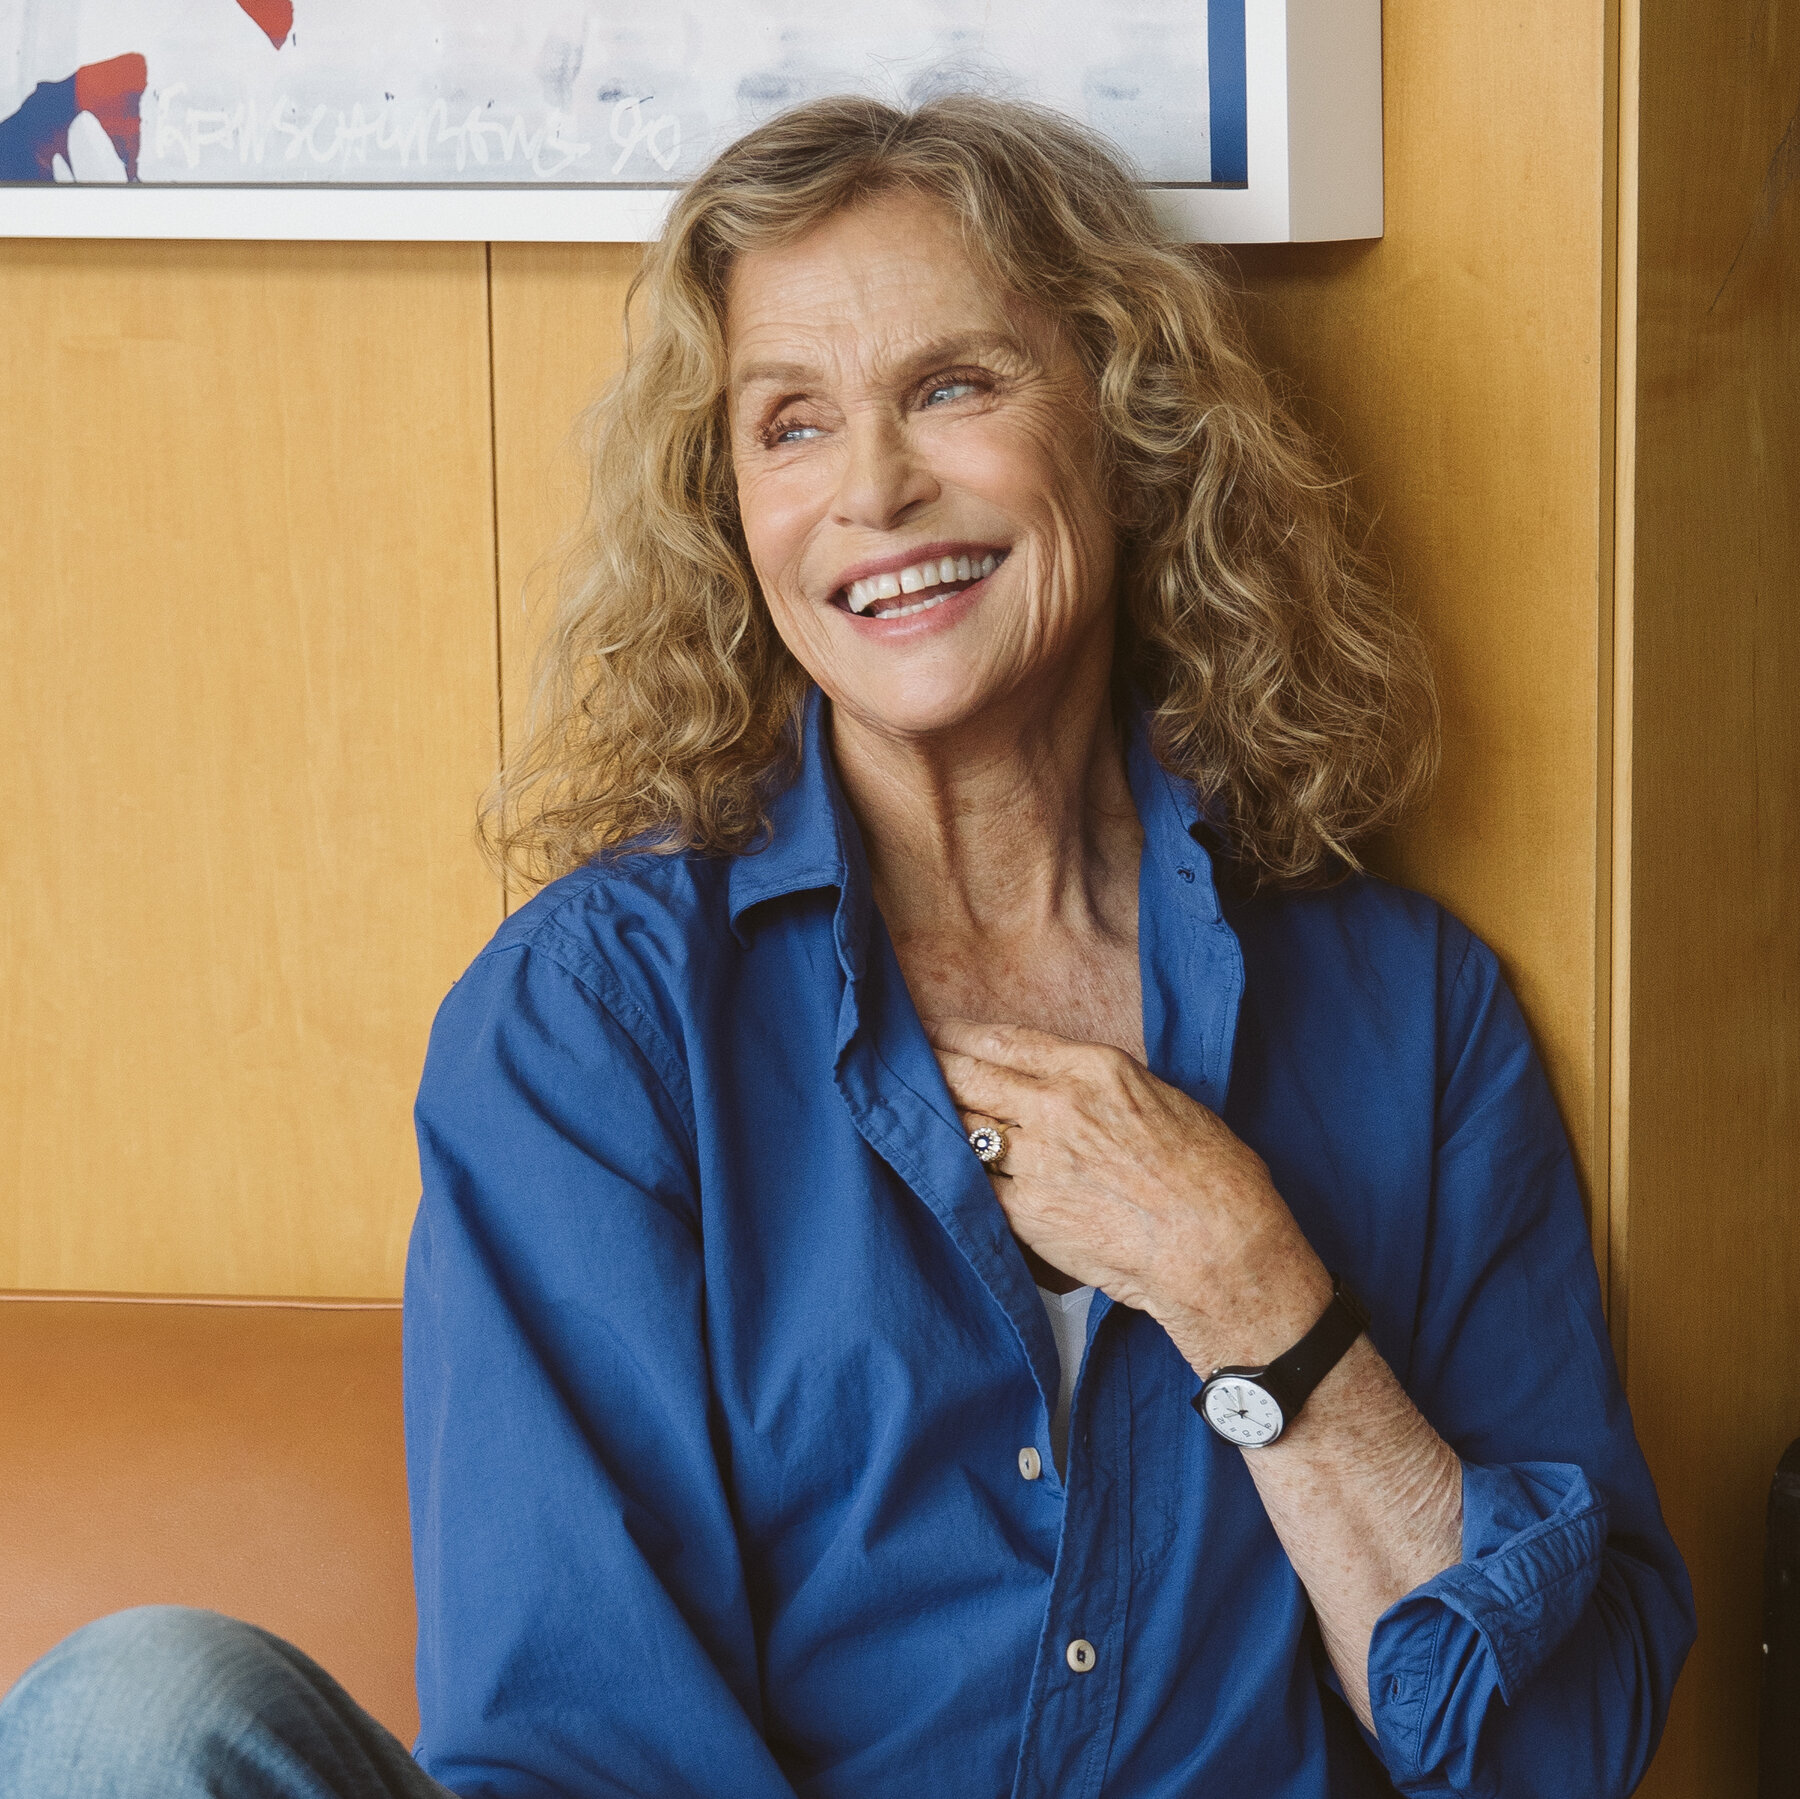
Okay, so the makeup was done, but the hair is equally important. I already have naturally wavy hair, so I just added some texturizing spray to give it some extra volume and definition. I tousled it with my fingers to create that effortless, undone look.
The Result?
- Well, I don’t think I quite nailed the “Laureen Hutton” look perfectly, but I was pretty happy with the result.
- It felt like an elevated version of my everyday makeup, and it definitely captured that natural, effortless vibe that I was going for.
What I Learned
This little experiment taught me a few things:
- Less is definitely more. Focusing on enhancing my natural features rather than covering them up made a big difference.
- Good skincare is crucial. It really does make your makeup look better.
- Don’t be afraid to experiment with different products and techniques. That’s how you find what works best for you.
Overall, it was a fun and inspiring experience. I’ll definitely be incorporating some of these techniques into my everyday routine. Maybe next time I’ll try recreating another iconic look. Any suggestions?