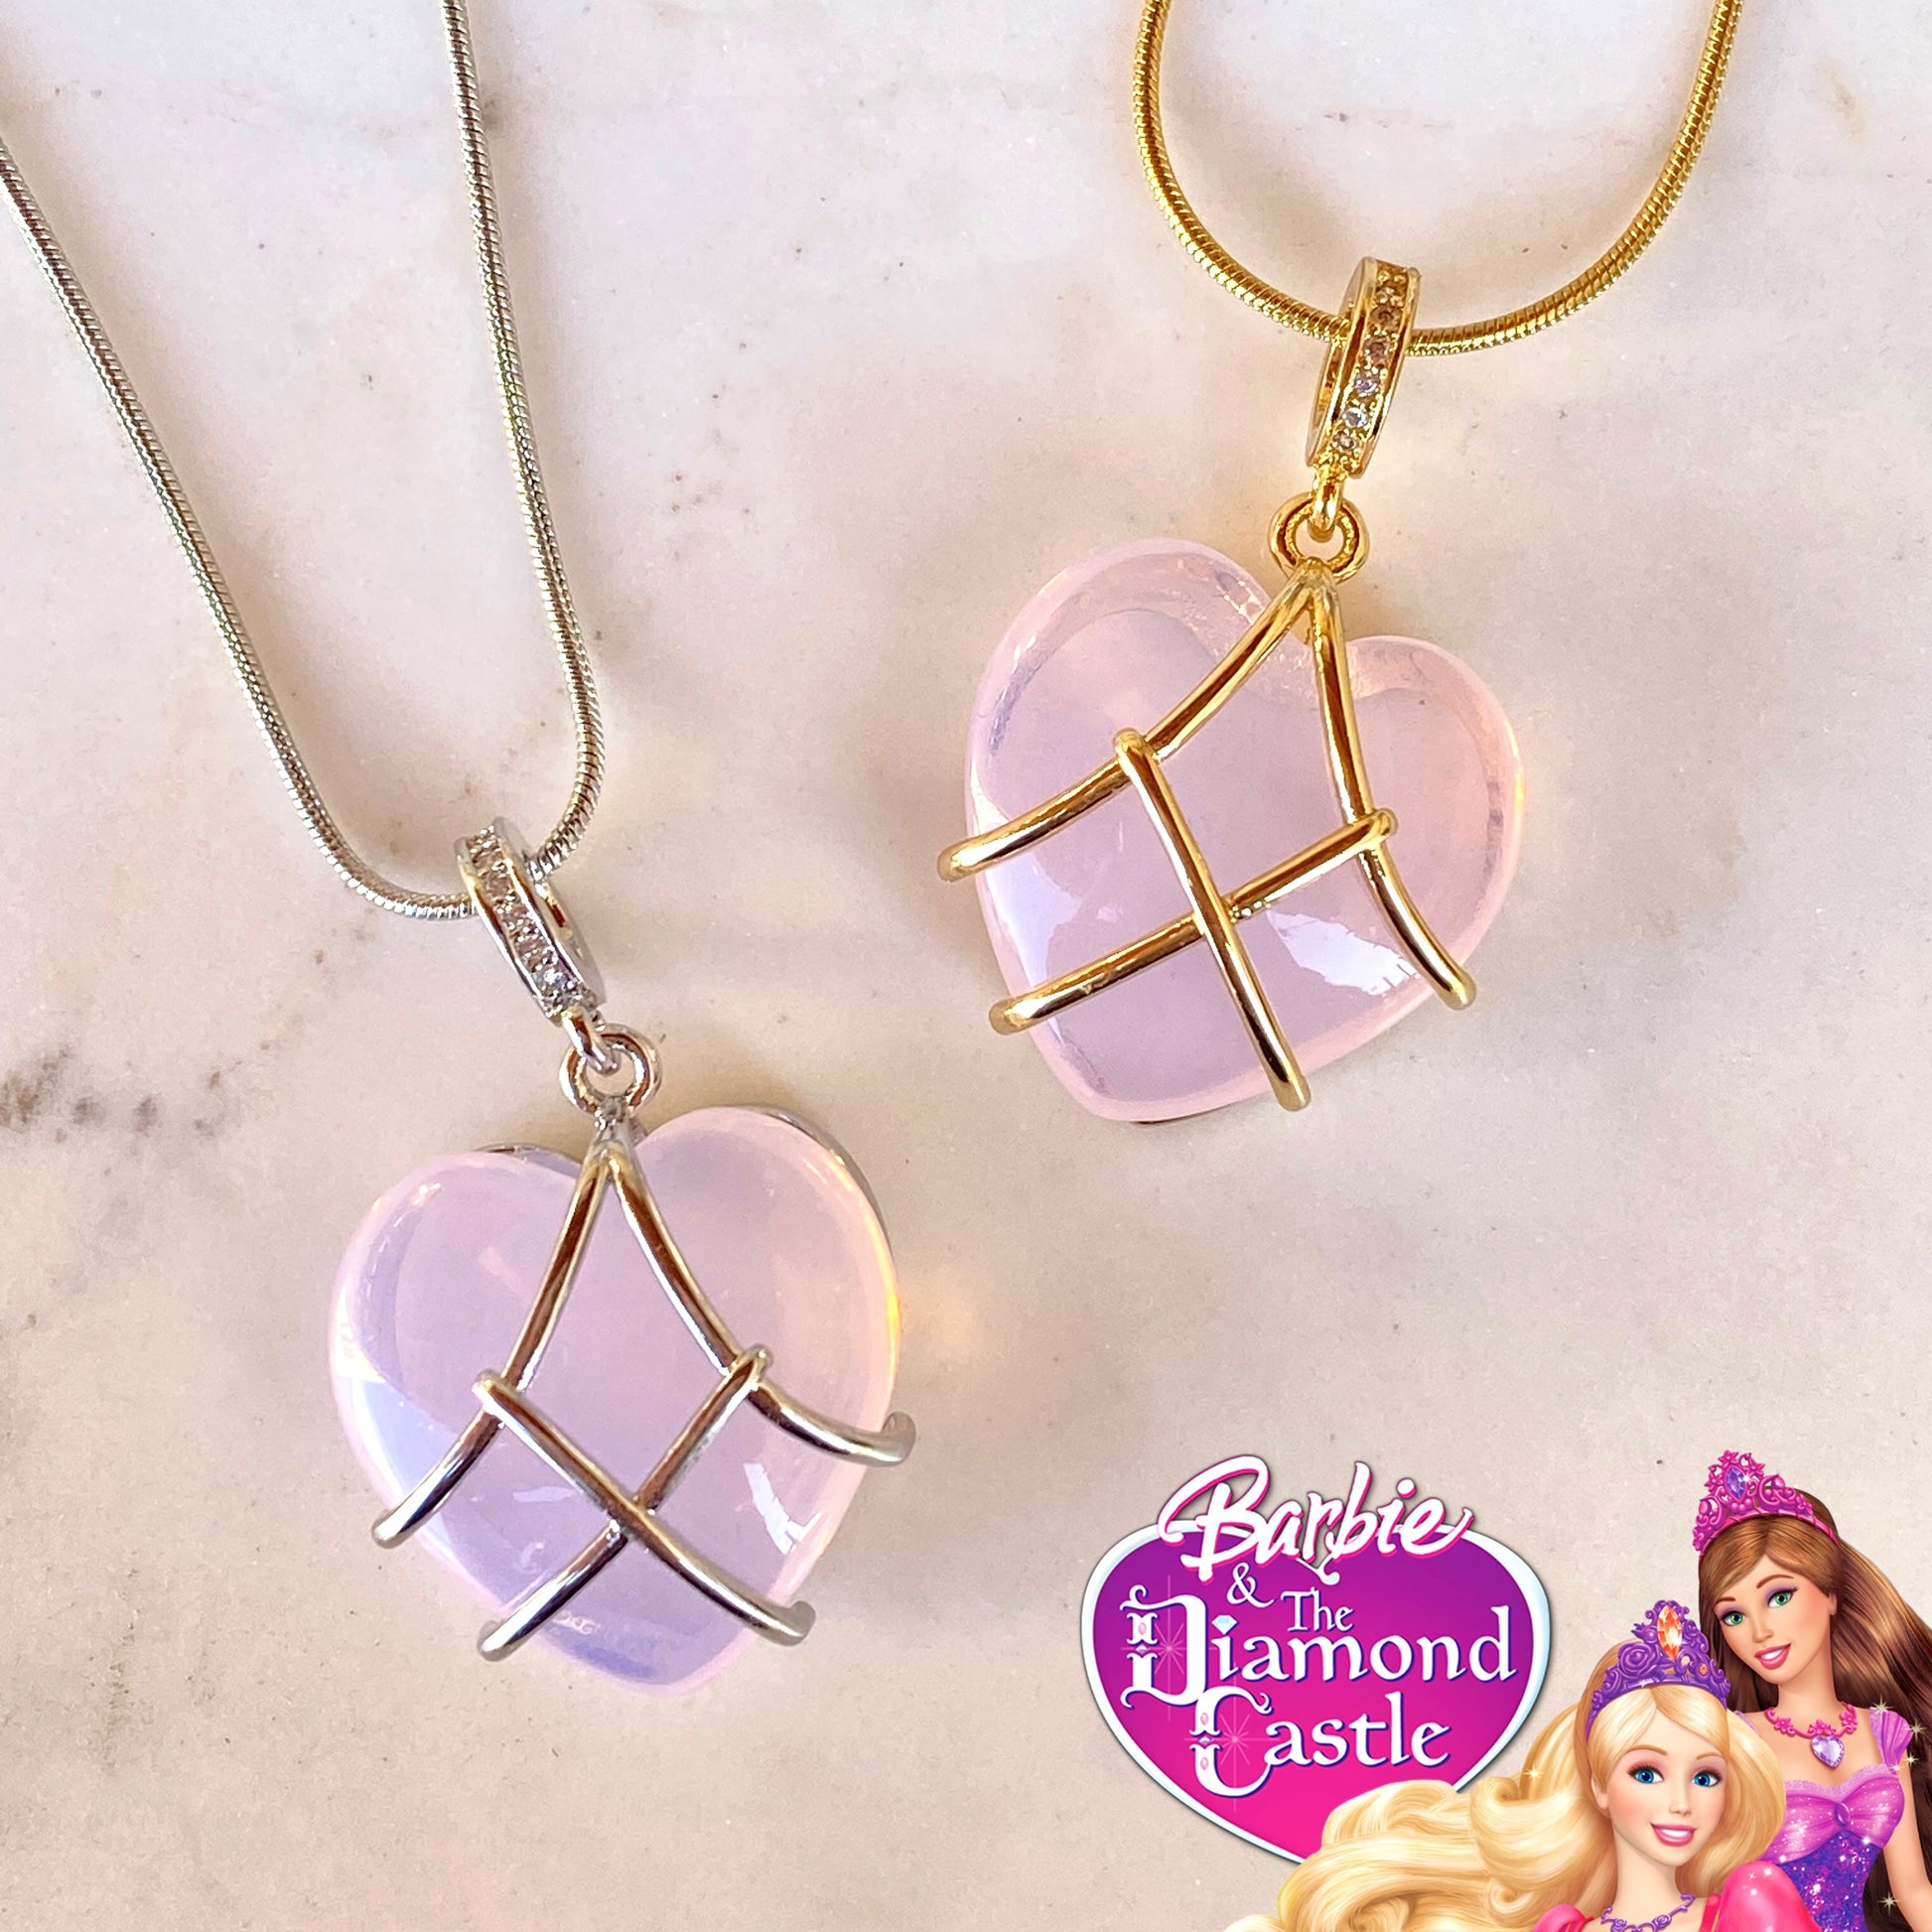
Okay, so I got this idea buzzing around my head lately – making one of those Barbie-style heart necklaces. You know the ones, bright pink, kinda chunky, totally fun. Seemed like a doable little project for an afternoon.
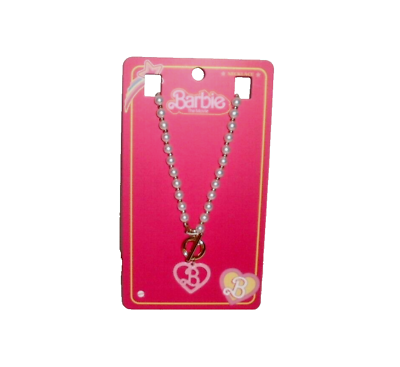
Getting the bits together
First thing, had to figure out what I needed. Dug through my craft stash. Found some pink polymer clay that looked about the right shade. Perfect. Needed a chain too. Luckily, I had an old silver-looking chain from something else that wasn’t being used. Also grabbed:
- Some sculpting tools (honestly, just a craft knife and a toothpick mostly)
- Baking paper and an oven tray
- Glossy varnish or sealer
- A small jump ring and pliers
- Glitter! Couldn’t forget the glitter. Pink, obviously.
Didn’t need much else, really. Kept it simple.
Making the heart charm
Right, onto the main part. Took a chunk of that pink clay and started warming it up in my hands. Kneaded it for a bit until it was soft enough to work with. Then, I rolled it out flat-ish on the baking paper. Not too thin, wanted it to feel substantial.
Cutting the heart shape was a bit fiddly. Tried freehanding it first – nope, looked wonky. So, I sketched a simple heart on paper, cut that out, and used it like a little template on the clay. Much better. Trimmed the edges nice and clean with the craft knife.
This next bit was key: Needed a hole for the jump ring later. Gently poked a hole near the top center indentation of the heart using the toothpick. Made sure it went all the way through and was big enough for the ring.
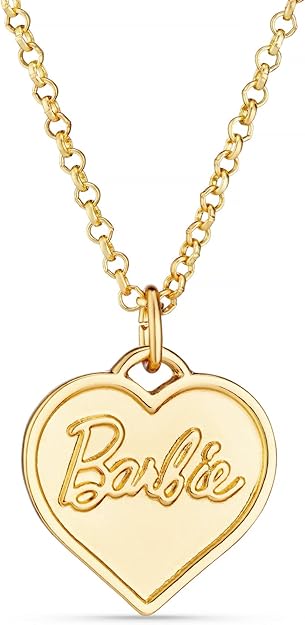
Then came the glitter. Sprinkled a decent amount over the front of the heart. Pressed it in gently so it would stick. Some people mix it into the clay, but I just wanted it on the surface this time.
Popped the whole thing, still on its baking paper, onto the tray and into the oven. Just followed the clay packet instructions for temperature and time. Had to keep an eye on it.
Putting it all together
Once it was baked and cooled down completely (important! don’t rush this), I gave it a coat of glossy varnish. Really makes the pink pop and seals in the glitter so it doesn’t go everywhere. Let that dry properly, took a while.
Final step: assembly. Used the pliers to carefully open the jump ring just enough to slip it through the hole I made in the clay heart. Then looped the jump ring onto the chain I found earlier. Pinched the jump ring closed tightly with the pliers. Checked it felt secure.
Done!
And that was pretty much it. Stood back and had a look. Yeah, it came out looking pretty cool. Got that bright, fun, Barbie vibe I was going for. The glitter catches the light nicely. It’s not perfect, bit rough around the edges maybe, but feels handmade and has character. Definitely happy with how this little experiment turned out. Looks cute on.
