Alright, so I figured it was time to share my little experiment from the other day – what I’m calling my “Columbia Manicure” attempt. My nails were looking a bit sad, and I wanted something fresh, you know? Not too fussy, but still sharp.
Getting Started
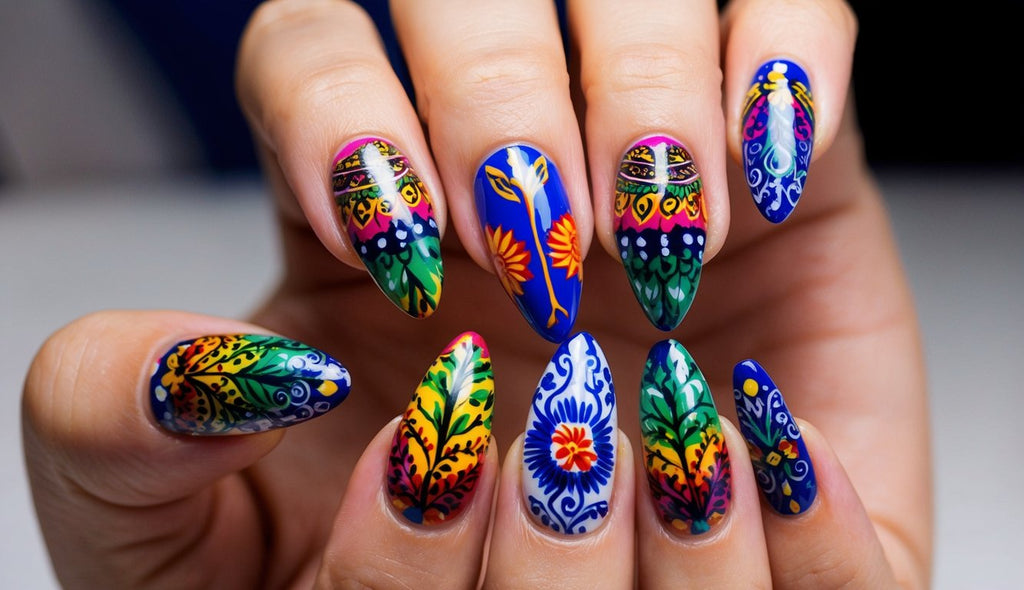
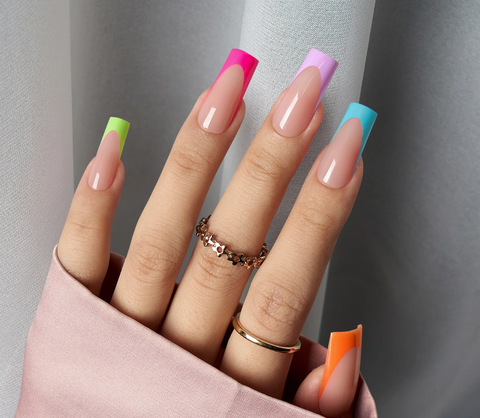
First things first, I had to get all my bits and pieces together. I remembered I had this specific shade of blue polish, a really nice, bright, almost sky-like blue. It kind of reminded me of those clear, crisp days, and somehow “Columbia” popped into my head – maybe like a university color or something, but really, it was just the vibe of the blue. So, that was going to be my star player.
I pulled out my usual kit:
- Nail file
- Cuticle pusher (and nippers, very carefully!)
- Base coat – super important, don’t skip this!
- That “Columbia” blue polish
- A good top coat for shine and protection
- Some cotton pads and remover for clean-ups, because let’s be real, I’m not a pro.
The Process – My Way
So, I started by taking off any old polish. Gave my hands a good wash. Then, the shaping. I went for a pretty standard squoval shape – not too pointy, not too square. Just neat. Pushed back my cuticles, very gently. I try not to cut them too much, just the little hangnail bits.
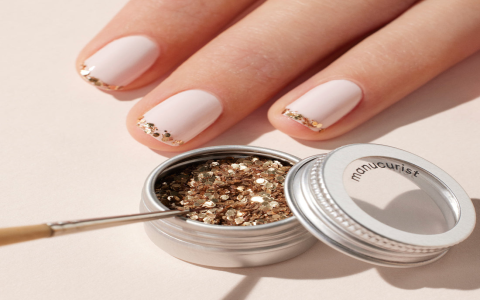
Then came the base coat. One thin layer, let it dry properly. This always feels like the boring bit, but I know it helps the color stick and stops my nails from getting stained by bright colors.
Showtime for the Blue! This was the main event. The first coat of the blue went on. It was a bit streaky, which is pretty normal for lighter, bright colors. I wasn’t worried. I focused on getting thin, even strokes from the base of the nail to the tip. Let that dry. Really dry. Patience is key, I keep telling myself.
Second coat of the blue. Ah, much better! This is where the color really came alive. Nice and opaque. I was careful around the edges, trying to get a clean line. I had a little orange wood stick dipped in remover handy for any oopsies on the skin. There were a few, not gonna lie.
I thought about adding some white tips or a little design, but honestly, I just wanted that clean, bright blue to shine. So, I kept it simple. Just the solid “Columbia” blue.
Finishing Touches and Thoughts
Once that second coat was totally, absolutely dry – I waited a good 10-15 minutes, maybe scrolled on my phone a bit – I applied the top coat. A nice, generous layer to seal everything in and give it that glossy finish. This also helps it last longer, which is always a bonus.
And that was pretty much it! My DIY “Columbia Manicure”. It’s nothing fancy, no crazy nail art, but it’s clean, it’s bright, and that blue just makes me feel a bit more cheerful. It wasn’t perfect, a few smudges here and there if you look super close, but for a home job, I was pretty pleased. It just felt like a solid, good-looking manicure. Sometimes simple is best, right?
So yeah, that was my little nail adventure. Maybe you’ll try a “Columbia” blue yourself sometime!