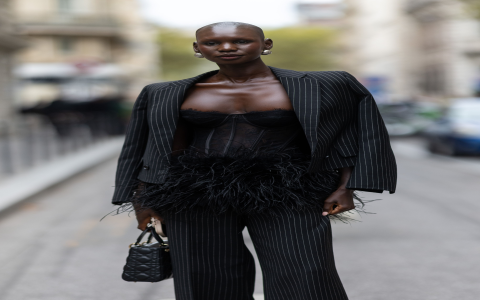
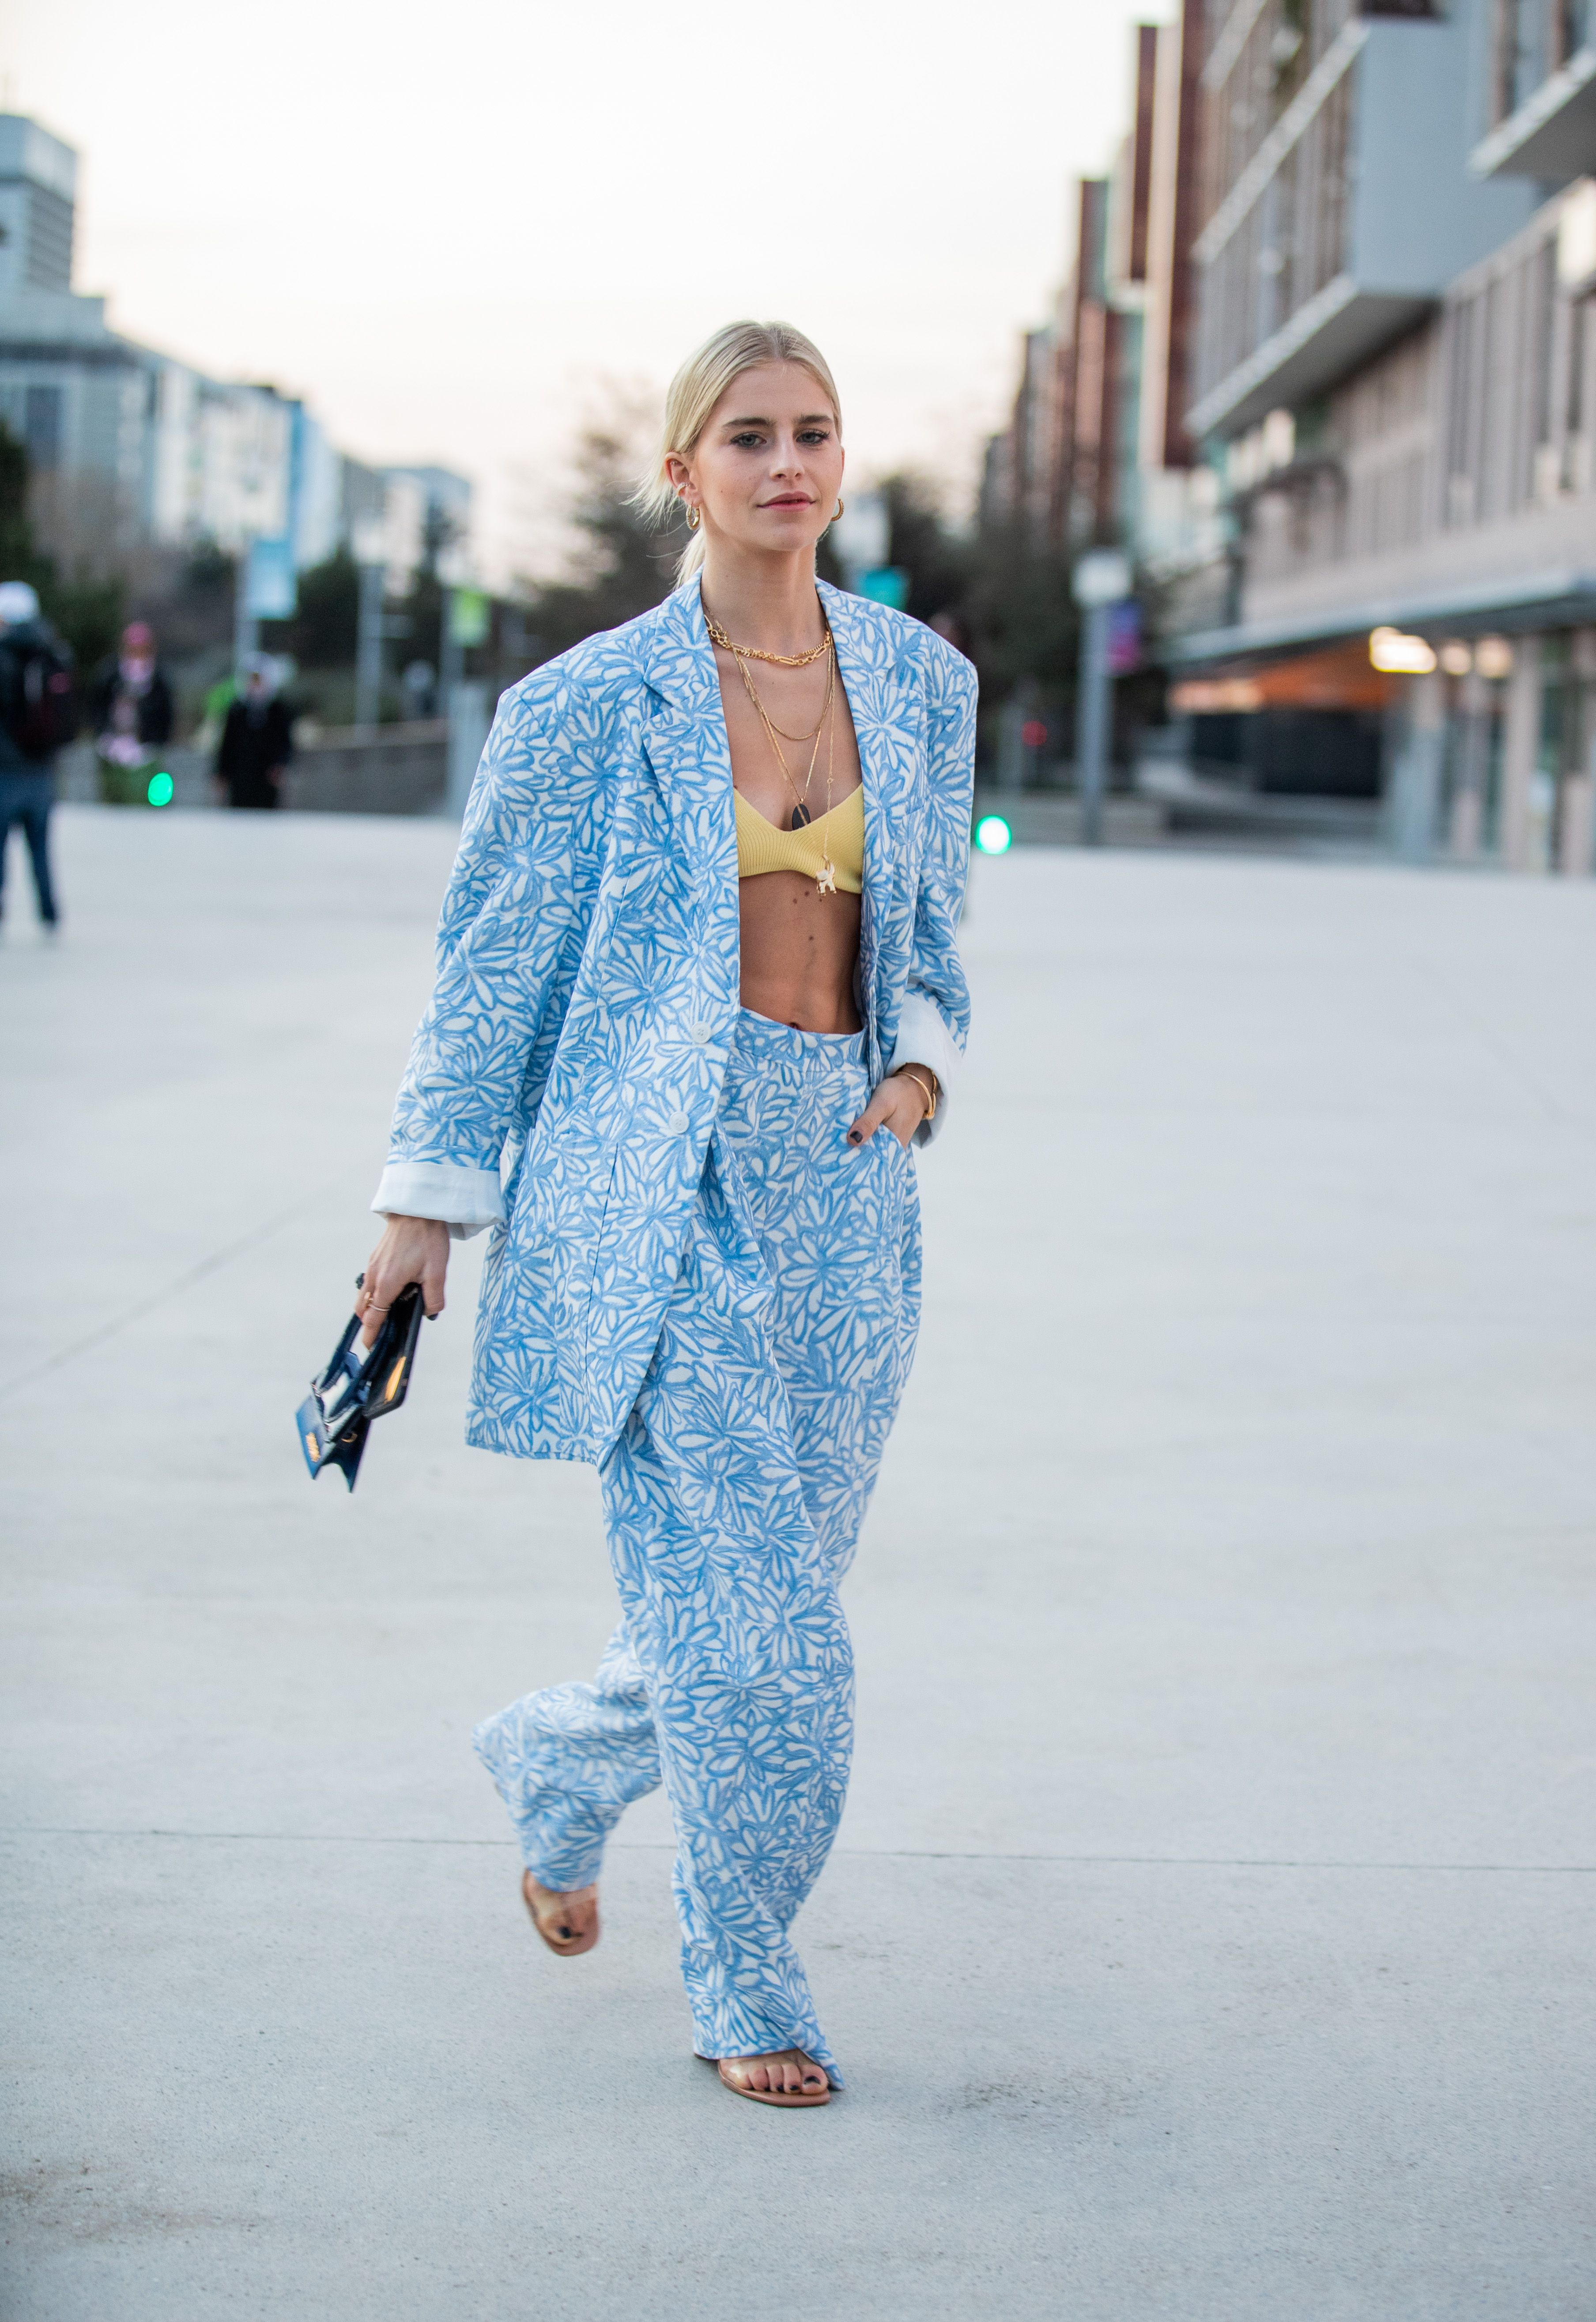
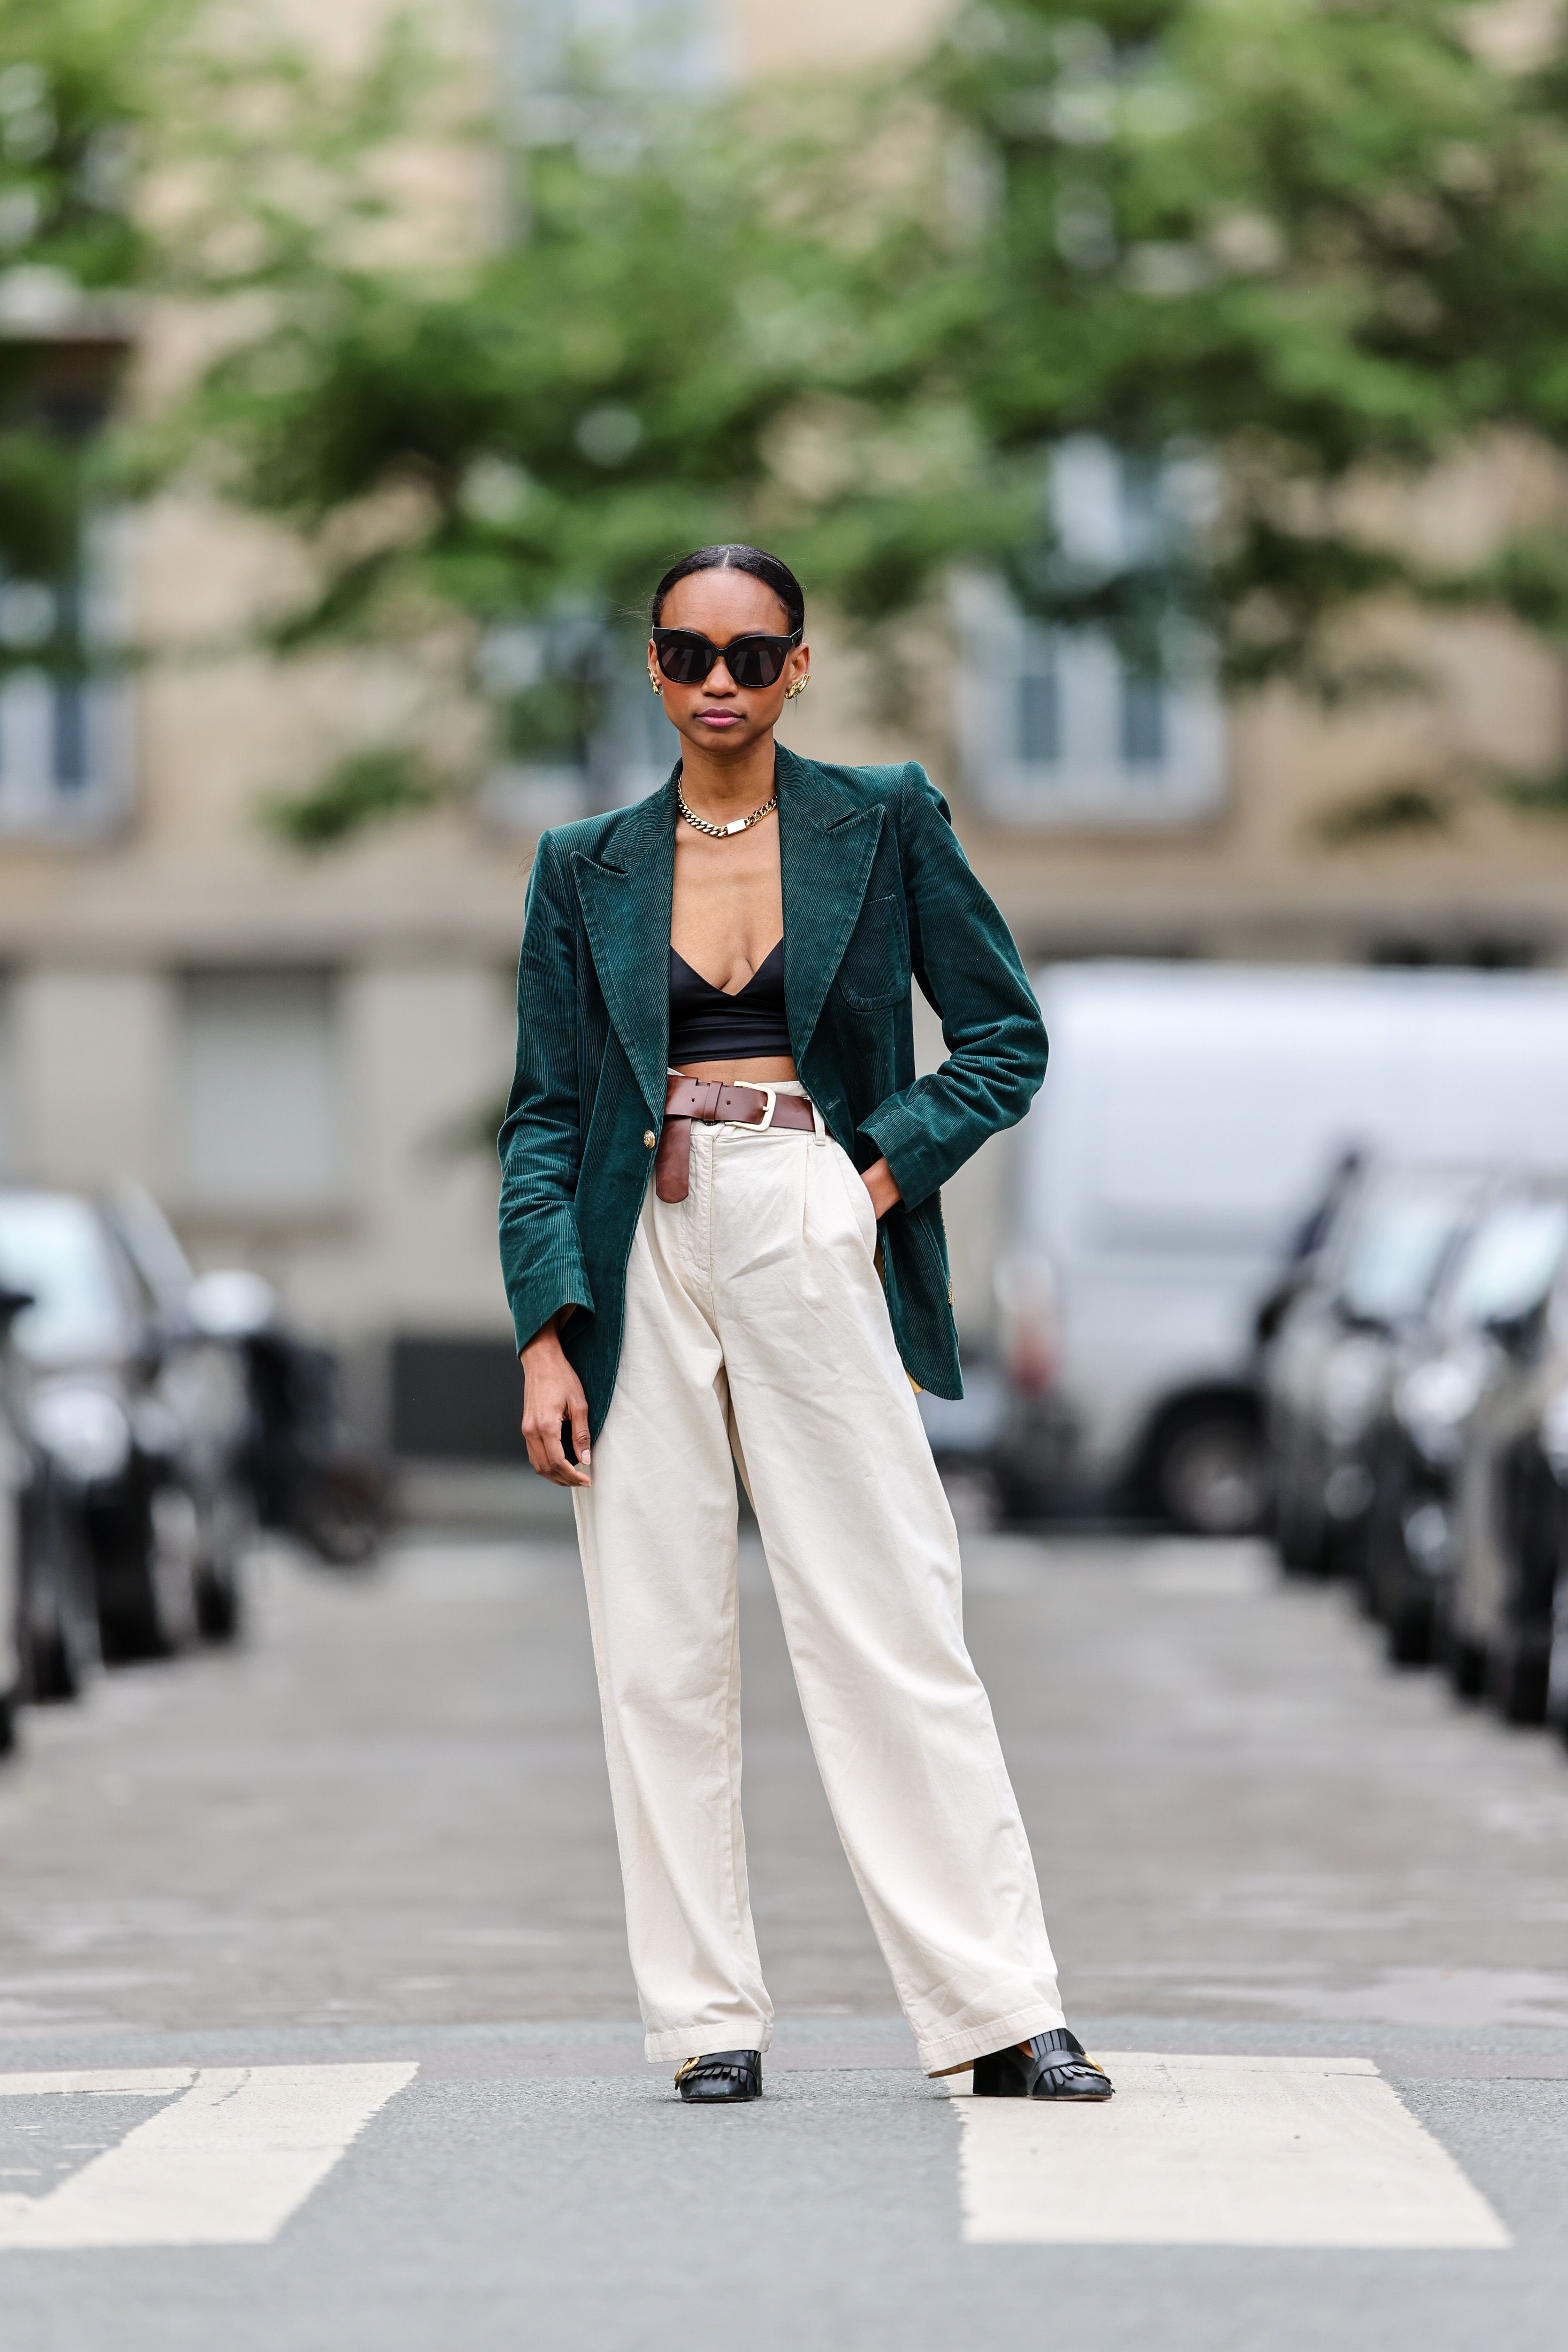
So, I’d been seeing this look everywhere, you know? The blazer worn as a top. Super sharp, super cool. But every single time I tried to pull it off with one of my actual blazers, it was a disaster. Either it was too bulky, or it gapped open in all the wrong places, or I needed about a million safety pins just to keep it decent. And don’t even get me started on those “blazer tops” you can buy – most of them are just flimsy bits of fabric pretending to have structure. I was properly fed up.

My “Brilliant” Idea (or so I thought)
Then it hit me. Why not just… make one? Or, like, take an old blazer I didn’t care much about and really hack it into being just the front part, maybe with some kind of built-in support. A sort of “blazer bra” contraption. Sounds a bit bonkers, I know, but I was determined to get that look without all the usual fuss.
My first attempts? Oh boy. Let’s just say they were a learning experience. I grabbed this ancient blazer from the depths of my closet – you know the one, hangs there for years. And I just started cutting. No real plan, just pure enthusiasm and a pair of scissors. My initial genius idea was to chop out the front panels and try to sew them onto a simple bandeau top I had. It looked, well, like something a kid made in art class. A lumpy, sad, art class project. Then I thought, okay, maybe attach it to an old bra for more structure? That was even worse. The fabric pulled in all sorts of weird directions, and it just looked… wrong. My sewing room ended up looking like a fabric bomb had gone off, bits of lining and interfacing scattered everywhere. Pretty sure my sewing machine was silently judging me.
Getting Down to Business – The Real Work
I almost threw in the towel, honestly. Then I was idly flicking through some pictures of how proper structured tops, like corsets, are actually made. And it clicked. It’s all about the internal boning and the way it’s built, not just stitching fabric together willy-nilly. That was my lightbulb moment! I needed to give my creation some proper bones. And I had to be smart about using the good parts of a blazer – those sharp lapels, the strong shoulder line idea – but slim it all down.
So, I got serious. I found another old blazer, one with decent fabric that wasn’t totally worn out. This time, I didn’t just go at it like a maniac.
-
Careful Deconstruction: First, I painstakingly unpicked the seams of the front panels and the lapels. I tried to keep the original interfacing attached to the fabric pieces where I could. This part was tedious, let me tell you. So many tiny stitches. My fingers were sore for days.
-
Sort-of Patterning: I’m no professional pattern maker, so don’t imagine anything too technical here. I basically draped the blazer pieces on myself, looking in the mirror, figuring out how much coverage I wanted and how to get that sharp V-neck I was after. My dress form, which is basically a fancy pillow on a stick, helped a bit too.
-
Adding the Magic (Structure): This was the game-changer. I bought some plastic boning – the kind you can actually sew through, which is handy. I sewed little channels into a sturdy cotton lining fabric I had lying around. Then, I slipped the boning into these channels, placing them along where seams would be and anywhere else I thought it needed to hold its shape firmly.
-
The “Bra” Element: Instead of trying to incorporate a whole bra, I decided to build a strong, wide band, kind of like an underbust band. I used some firm elastic and more of that sturdy cotton. The actual blazer front panels would then be attached to this band.
-
The Big Assembly: This took ages. Lots of careful hand-stitching was involved, especially to get the lapels to sit just right and look intentional. I attached the boned lining to the back of the blazer front pieces first. Then, very carefully, I sewed this whole front section onto the support band I’d made. My machine handled some of the straight bits, but the fiddly parts were all done by hand.
-
Closures: For the back, I went with simple hook-and-eye tape. You know, like you find on actual bras or corsets. I figured it would give a cleaner finish than buttons for this particular project.
The Final Piece and What I Reckon Now
And you know what? After all that faffing about, it actually worked! It’s not perfect, mind you. It’s not something I’d ever try to sell or claim is designer quality. But it looks like that sharp, structured top I was dreaming of. It’s got the blazer vibe, the lapels are crisp, but it fits snugly without any weird bunching, and I can genuinely wear it on its own or under an open jacket. It definitely gets people asking questions, that’s for sure.
The funny thing is, after pouring all that time and effort into making this super specific, rather “statement” piece, I’ve mostly gone back to wearing comfy sweaters. That’s just me, I guess. But hey, I actually made something with my own two hands! And I learned a massive amount about how clothes are actually put together – the internal structure, the way fabric behaves. My respect for actual fashion designers and pattern cutters went through the roof. Maybe my next crazy project will be trying to make a comfy sweater look as intentionally sharp as this blazer thing. Who knows? For now, I’m just pleased I wrestled that old blazer into submission.
