
Okay, so today I decided to dive into this “pearls for kamala” thing. I’d seen it floating around online, and it looked interesting enough. Here’s how it all went down.
Getting Started
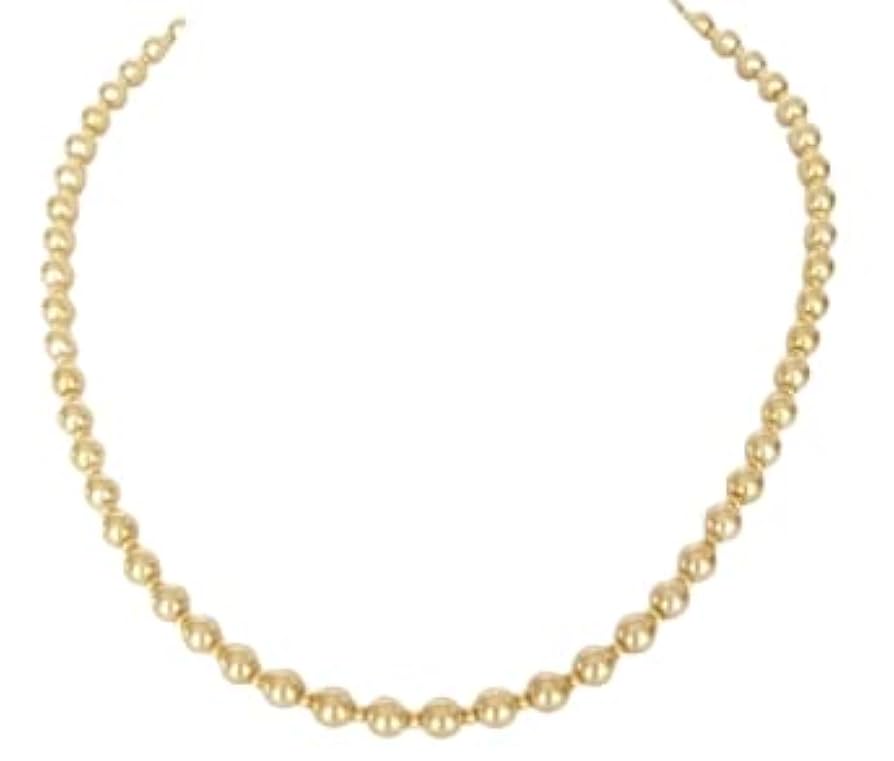
First, I gathered my materials. I had some beads already that’s collected, but to make the clasps, I chose to use some wire and small clasps I picked up from the craft store. Make sure have all the tools ready like round nose pliers and wire cutters.
I laid everything out on my work table, so I could easily see and grab what I needed. Organization is key, people!
The Process
I started by deciding to go with a simple stringing method. I measured and to get the length, I used my own necklace.
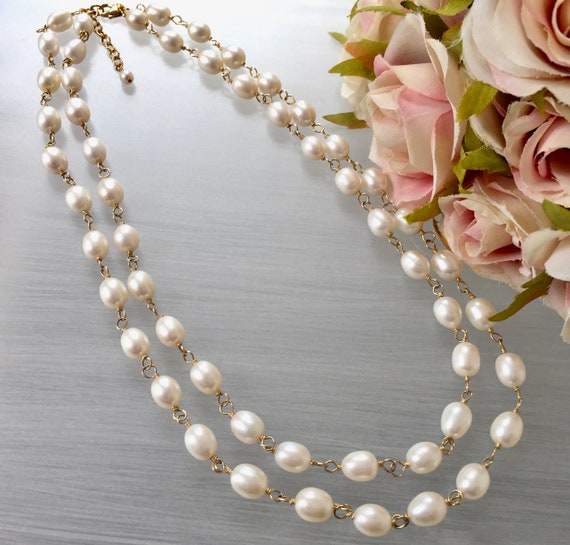
Then, I carefully threaded each bead onto the string. I created a pattern, and then I repeated it until I reached the desired length.
Once all the beads were on, I secured the ends. To the end, I used wire and round nose pliers.
- Loop the wire and make sure it tight.
- Cut the excess wire.
- Connect the clasp and jump ring.
Finishing Touches
I checked the whole necklace for any loose beads or wonky stringing. Everything looked good, so I gave it a final polish with a soft cloth to make those pearls really shine.
And that’s it! I now have a lovely necklace of “pearls for kamala” that I made with my own two hands. It wasn’t too difficult, and I’m pretty stoked with how it turned out. Might even make a few more as gifts!