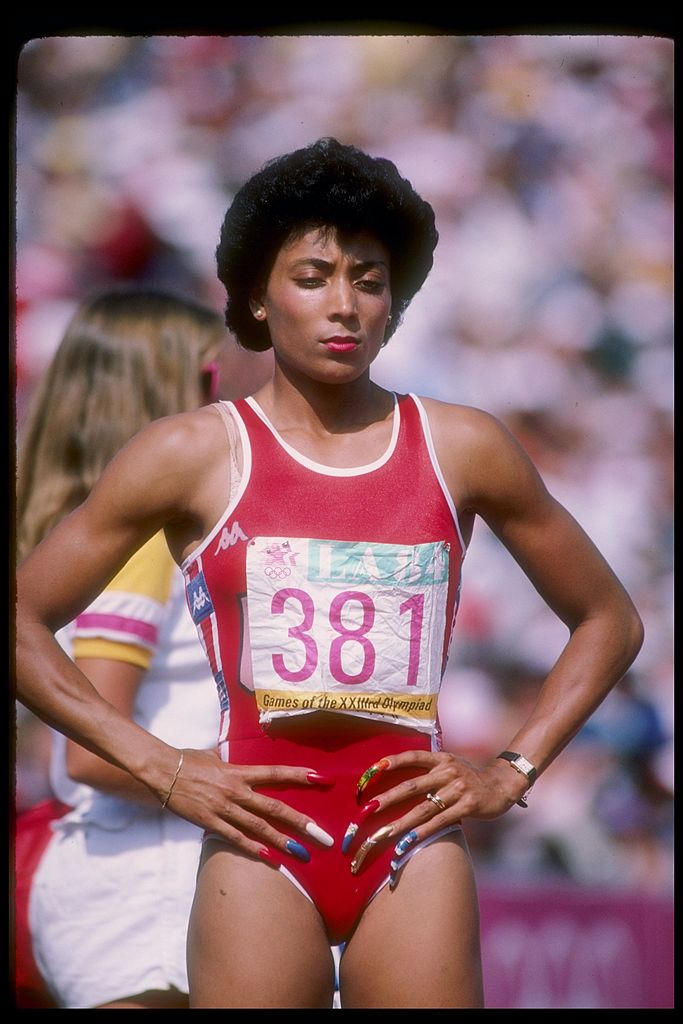
Alright, so you wanna know about my little adventure with “flo-jo nails images,” huh? Lemme tell ya, it was a trip. It all started when I was flipping through some old sports stuff, you know, nostalgia lane. And bam! There she was, Florence Griffith Joyner, Flo-Jo herself. Not just the speed, but those NAILS. Man, those were something else. And I thought, “I gotta try to get that look.”
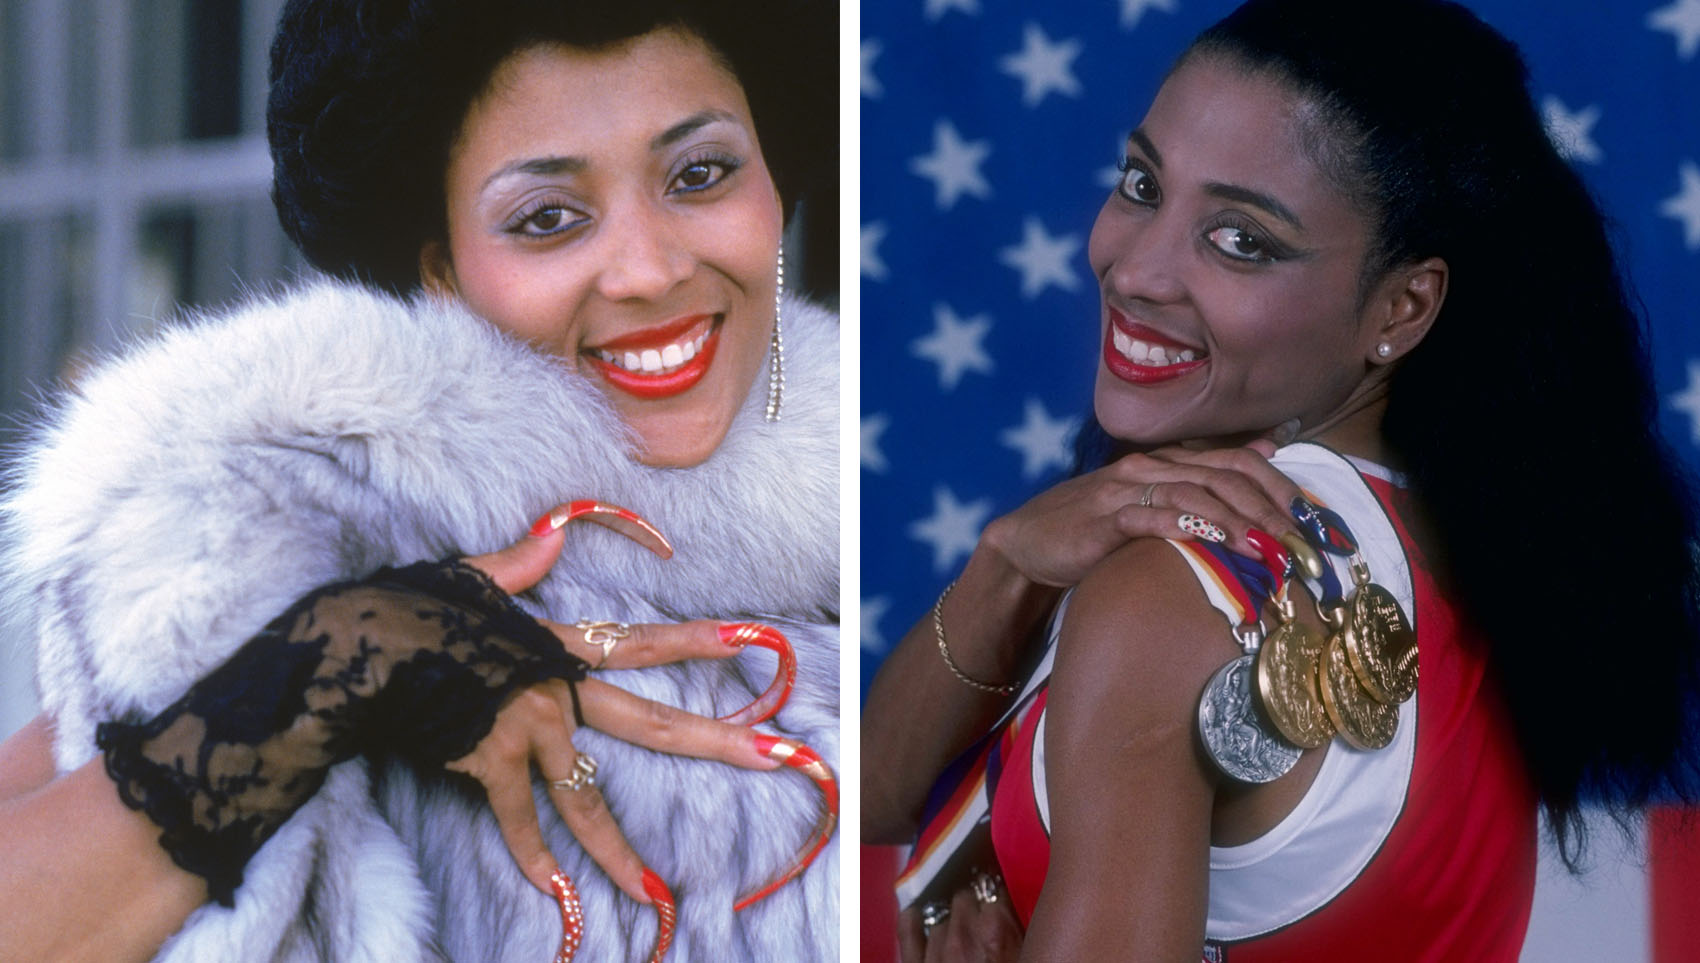
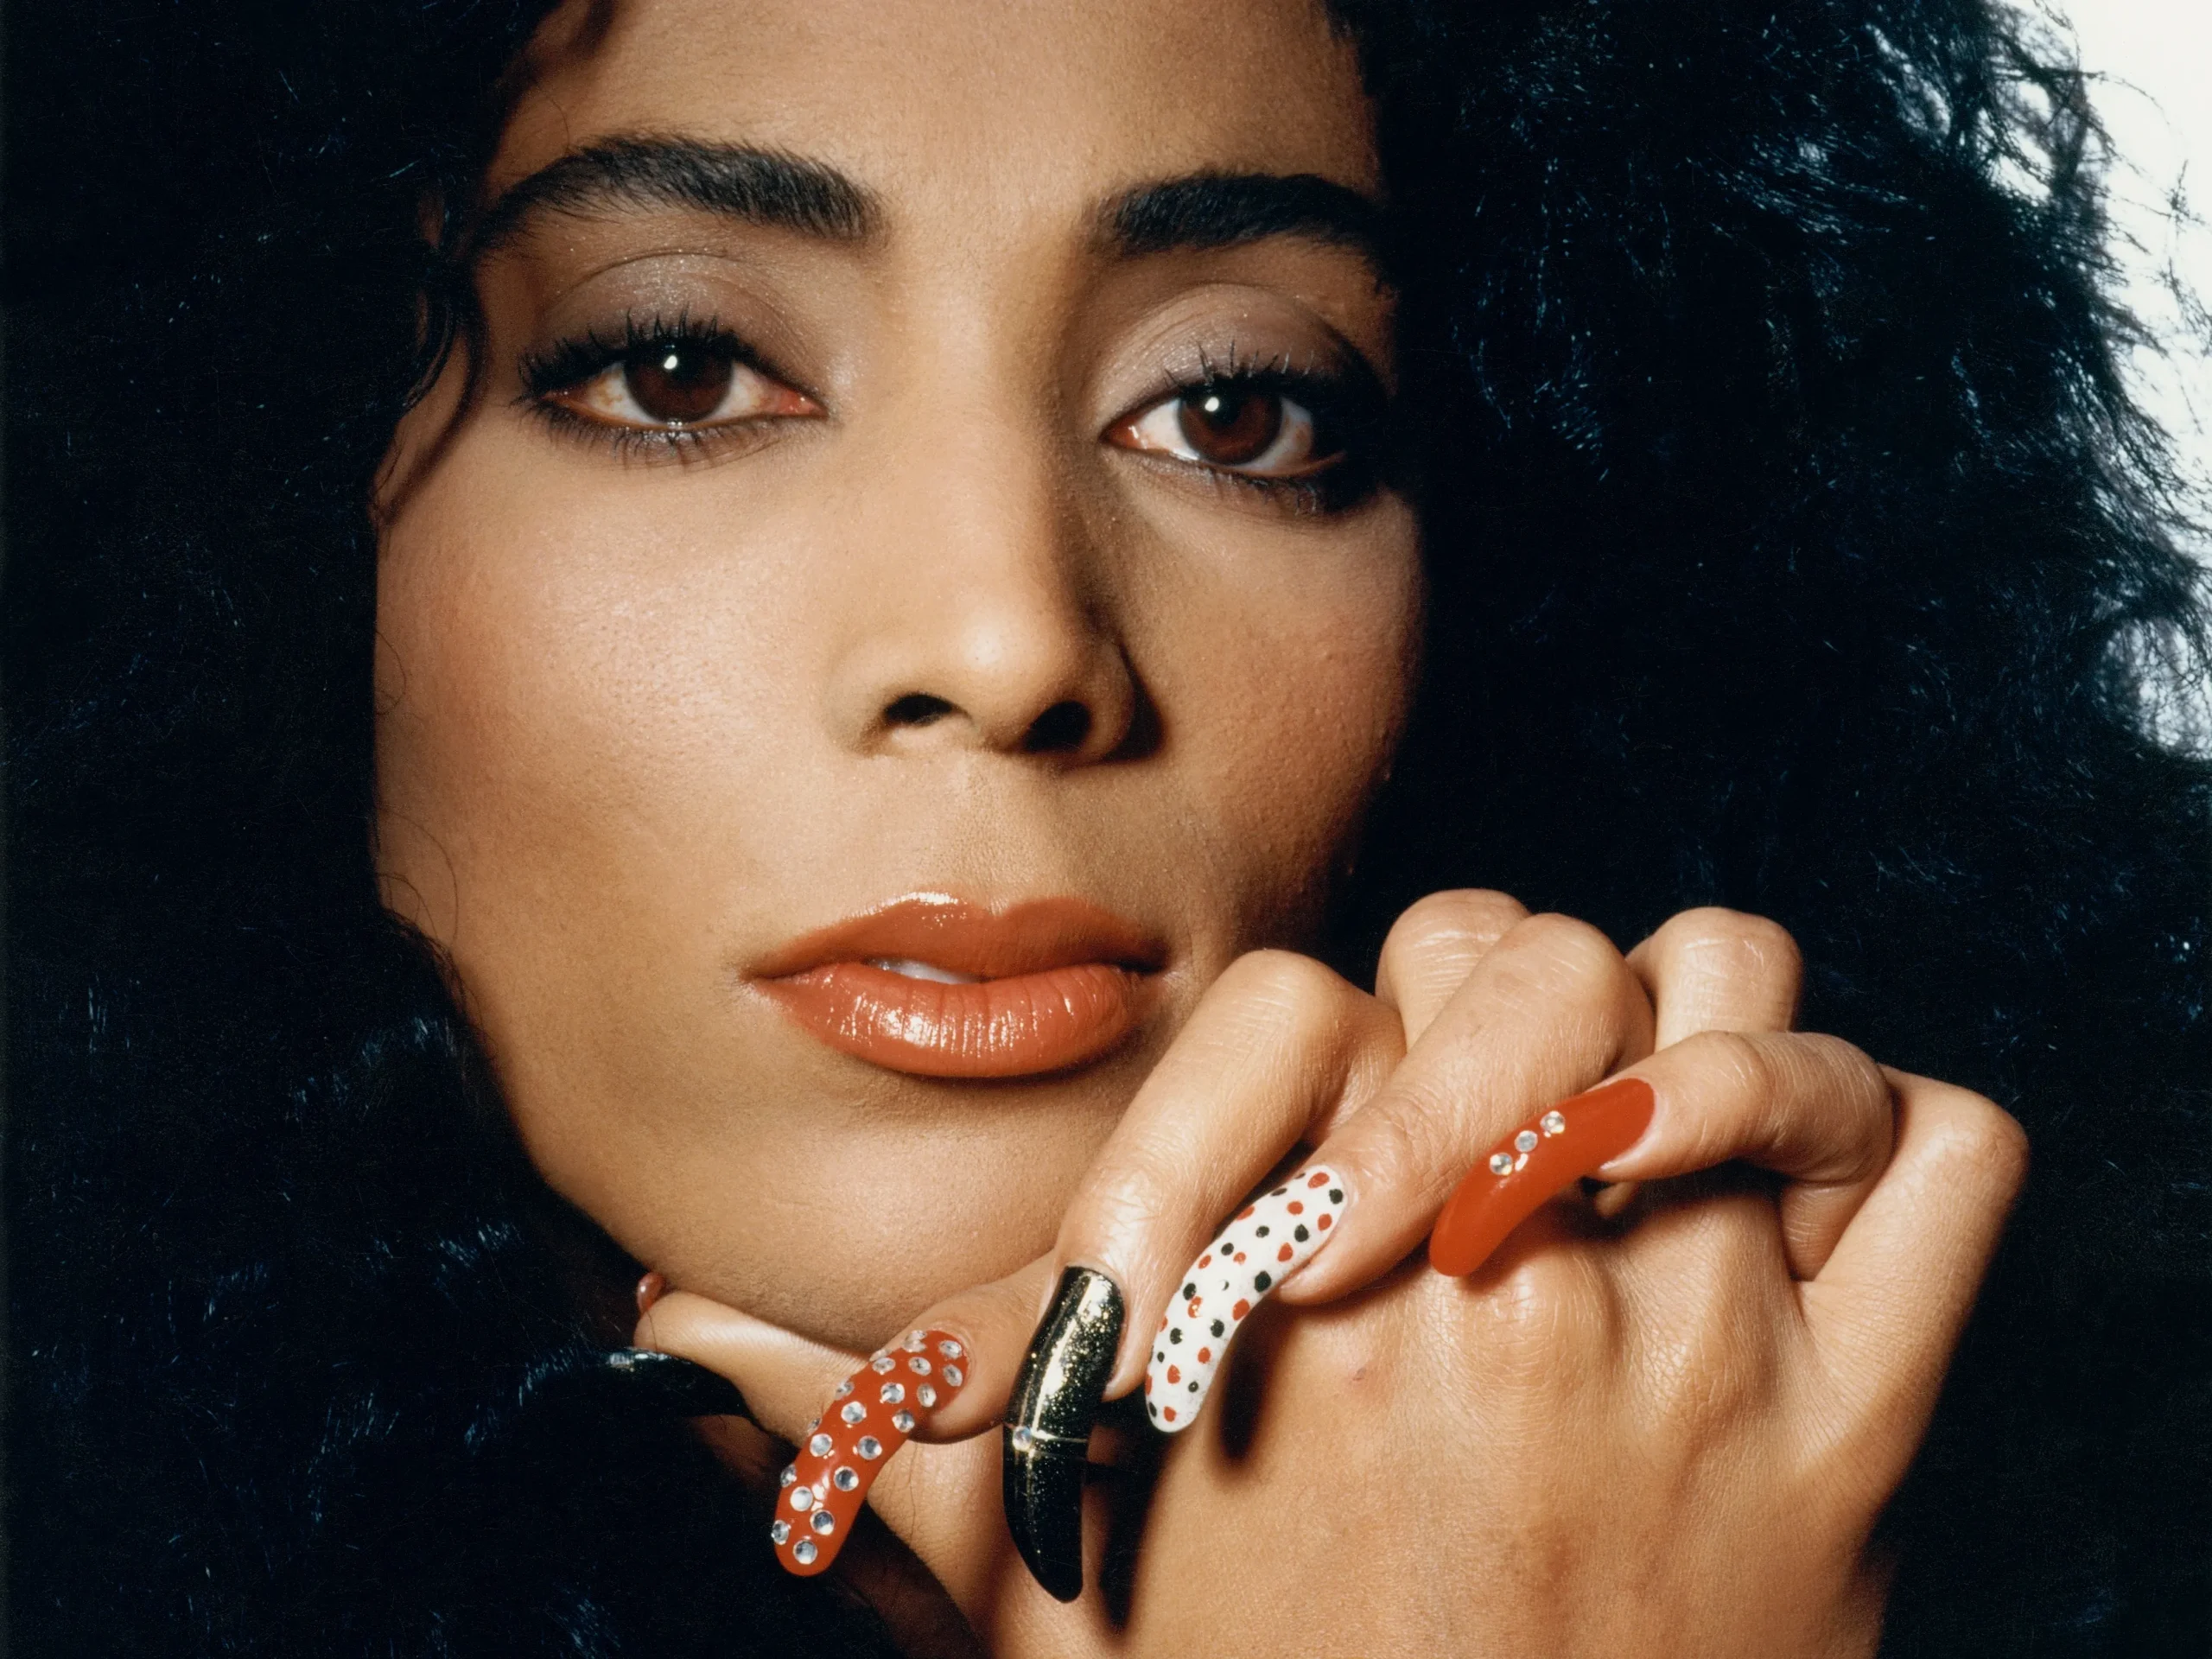
So, first thing, I hit the internet, searching for “flo-jo nails images.” I needed to see them up close, get the vibe, the details. And wow, the pictures that popped up! So many styles. Some were super long, like, how did she even run with those? Others had these crazy bright colors, patterns, sometimes little flags or sparkly bits. It was a whole mood. I saved a bunch, trying to figure out which ones I could even attempt without gluing my fingers together permanently.
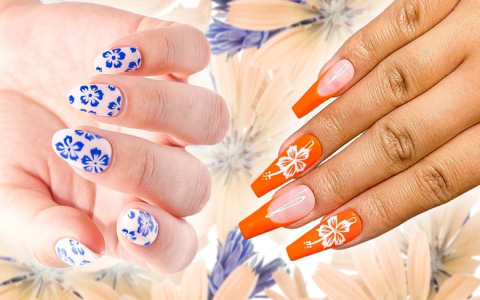
Next up was gathering the gear. I figured, okay, I’m not going for those six-inch talons she sometimes rocked, not practical for, well, anything I do. So I got myself some decent-length press-on nails. Seemed easier than trying to grow my own out to that length or messing with acrylics at home. Then, the polish. I went for some bold colors – a bright red, a vibrant blue, a shiny gold, and a solid white. Classic Flo-Jo palette, right? And of course, a good topcoat, because if I was gonna put in the effort, I wanted them to last more than five minutes.
The Actual Attempt – Oh Boy
Okay, so the first step was prepping my own nails, making sure they were clean and a bit buffed so the press-ons would stick. That part was easy enough. Then came sticking the fake nails on. Getting them straight and not crooked took a bit more patience than I thought. My thumbs were the trickiest, always feeling a bit off-kilter.
Once those were on and felt secure, it was painting time. I decided to go for a mix-and-match based on the images I’d found.
- One nail, I tried to do a simple American flag kind of design. Stripes are harder than they look, especially with your non-dominant hand!
- Another one, I just went solid gold. Can’t go wrong with a bit of bling.
- Then a bright blue one.
- And I attempted some kind of abstract swirl with red and white on another. That one… well, it looked abstract, let’s just say.
This is where things got real. Holding those little polish brushes and trying to make precise lines on a curved surface? Man, my hands are not as steady as they used to be. I had more polish on my skin around the nails than on the actual nails at some points. The cleanup was a mission in itself, lots of cotton swabs dipped in remover, trying not to smudge what I’d already done. My kitchen table looked like a tiny, colorful warzone.
Drying time was another test of patience. You think they’re dry, you gently touch something, and BAM! Smudge city. I learned to just sit still, wave my hands around very carefully, and try not to breathe too hard on them. It felt like ages.
So, How Did They Turn Out?
Well, they weren’t exactly like the professional, super-sharp Flo-Jo nails images I’d been staring at. Not even close, if I’m being honest. They were a bit lumpy in places, the lines weren’t perfectly straight, and one of the press-ons was definitely a bit crooked despite my best efforts. But you know what? From a distance, and if you squinted a bit, they had that Flo-Jo spirit! They were bright, they were bold, and they were definitely a statement.
I wore them for a day. Typing was weird. Buttoning my shirt was a challenge. But every time I looked at my hands, I kinda chuckled. It was fun, in a frustrating, “why-am-I-doing-this-to-myself” kind of way. It made me appreciate the artistry that goes into those really intricate nail designs you see. And it definitely made me appreciate how Flo-Jo managed to be a world-class athlete with those incredible nails.
Would I do it again? Maybe. Probably not anytime soon. But it was a cool experiment. If you’re thinking of trying to replicate some “flo-jo nails images,” my advice is:
- Start simple. Don’t go for the most complicated design first.
- Press-ons are your friend if you don’t have naturally long nails or salon access.
- Have a LOT of nail polish remover and cotton swabs on hand.
- And most importantly, don’t expect perfection on your first go. Just have fun with it!
So yeah, that was my little journey into the world of Flo-Jo nails. An experience, for sure. Made me feel a little bit extra, a little bit bold, even if they were a DIY mess up close. It’s all about the effort and the fun of trying something new, right?