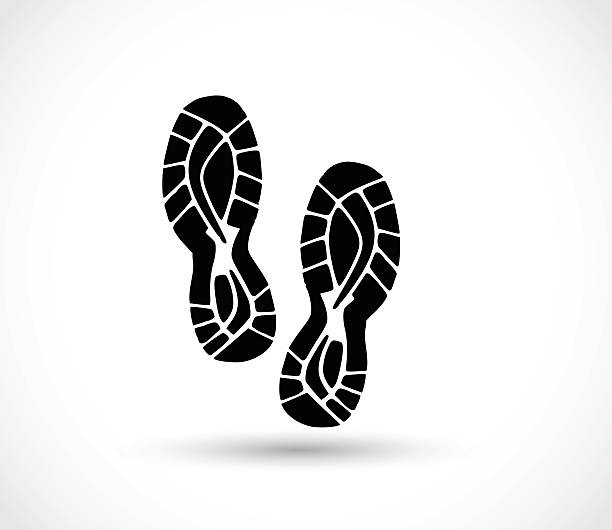
Alright, let’s talk about my little adventure figuring out how to draw a “pair of the bottom of running shoes silhouette.” Sounds fancy, right? But trust me, it was more “trial and error” than “masterpiece creation.”
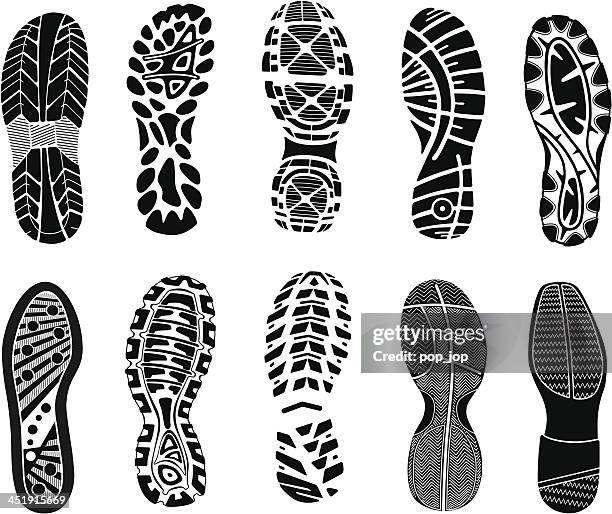
First things first, I Googled. I mean, duh! Needed some inspiration, some reference points. Searched for “running shoe sole silhouette,” “bottom of sneakers drawing,” you name it. Got a bunch of images – some super detailed, others more abstract. My goal wasn’t to copy, but to understand the basic shapes and curves.
Then, I grabbed my trusty iPad and Procreate. I like digital drawing because you can undo a million times without wasting paper. Started with a rough sketch. Just two simple ovals, side-by-side. These were going to be the general shape of the soles.
Next, I started adding the details. This is where it got tricky. Running shoe soles aren’t just flat ovals. They’ve got curves, textures, treads, the whole shebang. I focused on the overall outline first. I wanted to capture the slight upward curve at the toe and the heel. Think of it like a rocker shape.
After that, came the treads. I started by drawing a few dominant lines. These were the main grooves that ran across the sole. Then, I filled in the smaller details around them. This part was tedious but important. The treads give the shoe sole its grip and character.
I messed up a lot. Seriously. The first few attempts looked like something a toddler drew. But I kept at it, erasing, redrawing, tweaking. I found it helpful to zoom in and focus on small sections at a time.
Once I had the basic treads in place, I added some shading. This gave the silhouette some depth and dimension. I used a soft brush and lightly shaded the areas where the treads were deeper or where the sole curved inward.
The final step was cleaning up the lines. I went over the entire drawing, smoothing out any rough edges and making sure the silhouette was crisp and clean. I also experimented with different line weights to add visual interest.
And that’s pretty much it! It wasn’t perfect, but it was a decent representation of a pair of running shoe soles. The key takeaway? Don’t be afraid to experiment and make mistakes. Drawing is all about practice and finding your own style.
- Started with reference images.
- Created a rough sketch of the ovals.
- Added the sole outline and curves.
- Drew the treads, focusing on major lines first.
- Added shading for depth.
- Cleaned up the lines for a crisp finish.
Would I do it again? Absolutely! Maybe next time I’ll try drawing a specific brand of running shoes. That would be a fun challenge!