Alright folks, grab a coffee and settle in because today I’m spilling the beans on how I finally managed to snag some decent early fall pics. You know the ones – those photos that actually look like they capture that crisp, bright autumn vibe instead of looking like muddy potato sacks.
My Starting Point: Pure Frustration
So yesterday morning, I stepped outside, saw that perfect early fall light – you know, cool air but still warm sun – and grabbed my trusty old camera. I got all excited spotting this one tree near the park entrance already turning this gorgeous, fiery red. Framed it up quick, clicked away like crazy… got home, loaded the pics on my computer… and sighed. Massive sigh.
Everything looked flat. The reds? Dull. The greens? Sad. The sky? A washed-out nothingburger. My “vibrant early fall” looked like late winter depression. Total fail. Again. I was ready to throw my camera in the compost bin.
What I Actually Decided To Do This Time
Instead of giving up (mostly because the compost bin was full), I decided to actually methodically figure this out. I’ve wasted enough autumns on bad pics. Here’s what went down:
- Dusting off the Gear (Literally): My camera sensor looked like it hosted a spider convention. Took ten minutes with my cheapo lens cleaner kit, wiping lenses and the sensor (carefully!). Clean gear = less weird smudges killing my colors.
- Timing It Right (Not Lunchtime): I remembered something about “golden hour,” but screw sunrise, I’m not a rooster. My next try? About 90 minutes before sunset. The light was lower, softer, casting longer shadows – less harsh midday glare washing everything out.
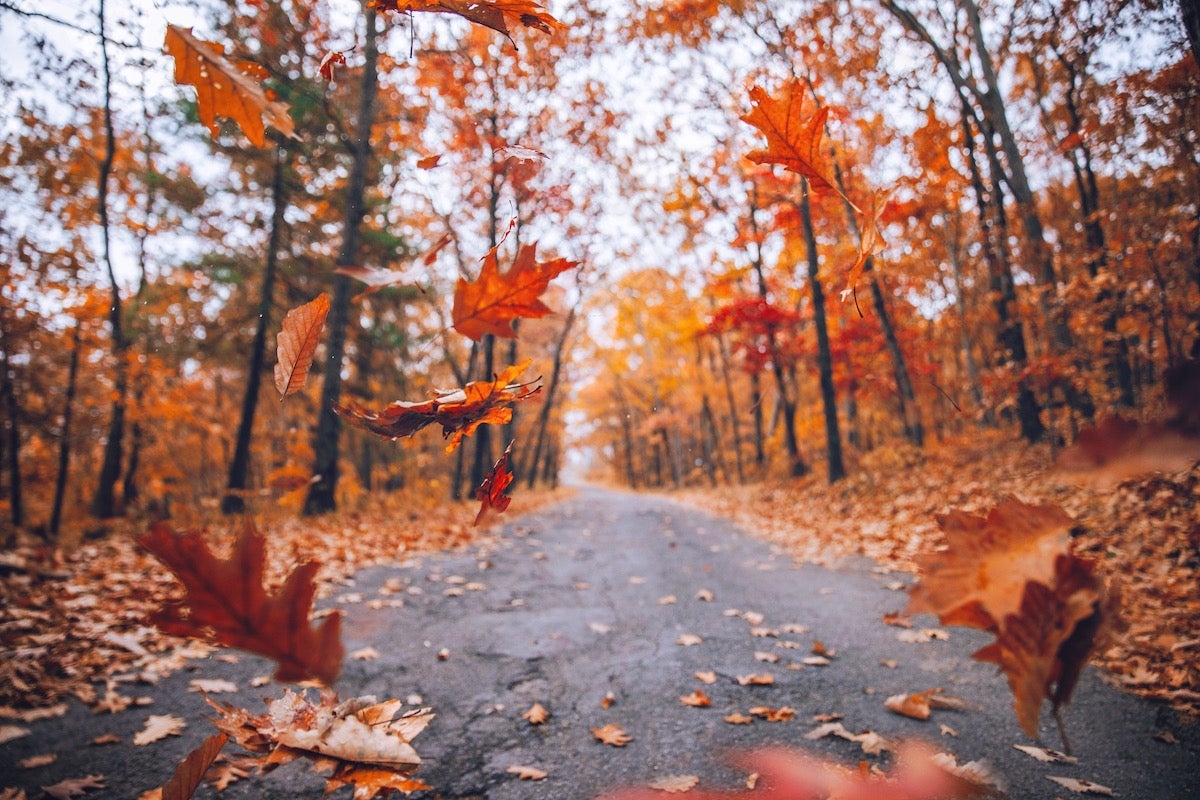
- Finding Colors That Pop (Hint: Look Up and Down): I ditched that one sad tree. Scanned the park properly. Looked for bright yellow leaves against a dark green backdrop. Found patches of sunshine hitting a cluster of orange maples. Spotted some fallen leaves on the damp, dark path. Contrast is your friend.
- Fiddling With Settings (No Rocket Science): I keep my camera on Aperture Priority (A or Av mode on the dial). For these shots, I set the aperture wider (like f/4 or f/5.6) so my chosen colorful subject (leaves, berries) would be sharp, but the background turned into a nice creamy blur. Auto ISO, but watched to make sure it didn’t go nuts.
- Getting Low and Close (Knees Complained):
- Editing for Reality (Not Science Fiction): Okay, raw shots looked better, but not “wow.” I imported into my basic editing app (any app works!). Pulled up the shadows a tiny bit so dark areas weren’t black holes. Boosted the saturation and vibrance SLOWLY – like adding salt. A pinch? Good. Half the shaker? Bad. Stopped when the yellow leaves looked sunny, not nuclear. Tapped up the whites just a fraction to make things brighter without blowing out.
Standing up tall looking down? Recipe for boring. Got on the ground level with those fallen leaves. Squatted for a closer shot of berries clinging to a branch. Getting physically near the color made a HUGE difference.
How It Actually Turned Out
Did I suddenly become a National Geographic photographer? Nope. Do my photos now actually look like early fall and make me happy instead of annoyed? Heck yes!
The difference was night and day. The late afternoon light made everything glow warmly. The red berries popped sharply against the blurred green background. The fallen leaves on the path looked vibrant instead of like trash. And that careful edit? Just nudged reality toward “ideal autumn” without crossing into cartoon land.
Took some stubbornness, kneeling on wet grass, and resisting the urge to oversaturate. Honestly? The biggest “pro tip” is just paying attention – to the light, the background, and getting close to the actual colors. Doesn’t take fancy gear, just a bit more focus than I used to give it.