Honestly, I’ve been seeing cheetah print nails everywhere lately, right? Insta, TikTok… all over my feed. Felt like I needed to jump on the bandwagon this weekend. So I grabbed my box of polishes – seriously, it’s overflowing – and decided to give it a go. Figured I’d try out a bunch of different styles and find what actually works, not just looks good in pictures.
The First Try (Total Mess!)
Okay, step one: pick base colors. Went with a classic tan nude. Applied two coats. Easy peasy. Now for the spots. Grabbed black polish and… oh wow. My tiny nail art brush felt like a giant broom. First dots? They were blobs. Huge blobs. Ended up looking like weird black polka dots, not sleek cheetah spots. Not cute. Took the acetone and started over immediately. Lesson learned: use something really damn pointy.
Getting The Hang of It
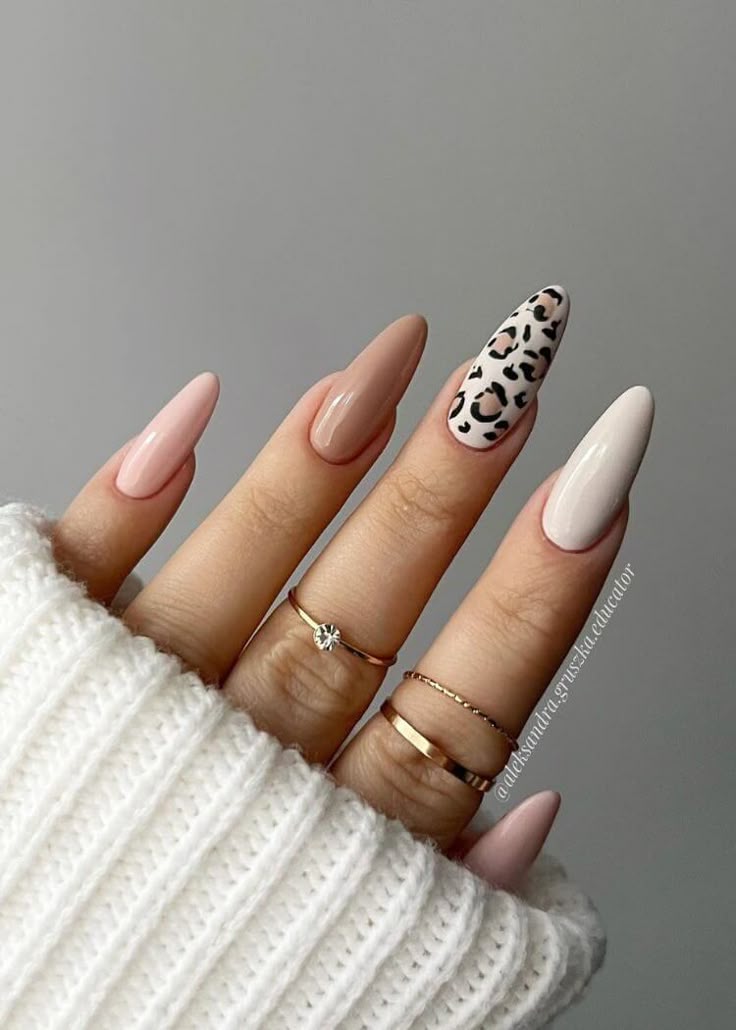
Round two. Base coats dried. Time for spots again. Scavenged for a toothpick – much better! Dabbed the black polish on some paper first to avoid gloops. Carefully, so carefully, started poking tiny ‘C’ shapes and irregular blobs onto the tan base. It’s all about uneven shapes, close together but not touching. Started feeling sketchy, then kinda cool! Left some gaps for the tan to show through. Top coat smoothed it all out. Actual cheetah print! Felt like a tiny win.
Playing Around: 7 Styles I Actually Managed
Once I got the basic spots down (toothpick FTW!), I got bored. Started experimenting. Here’s what worked (and what didn’t, but we don’t talk about those!):
- Neon Cheetah: Did a bright white base this time. Used a hot pink polish for the spots instead of black. Totally popped! Like crazy playful and fun. Almost looks fluorescent.
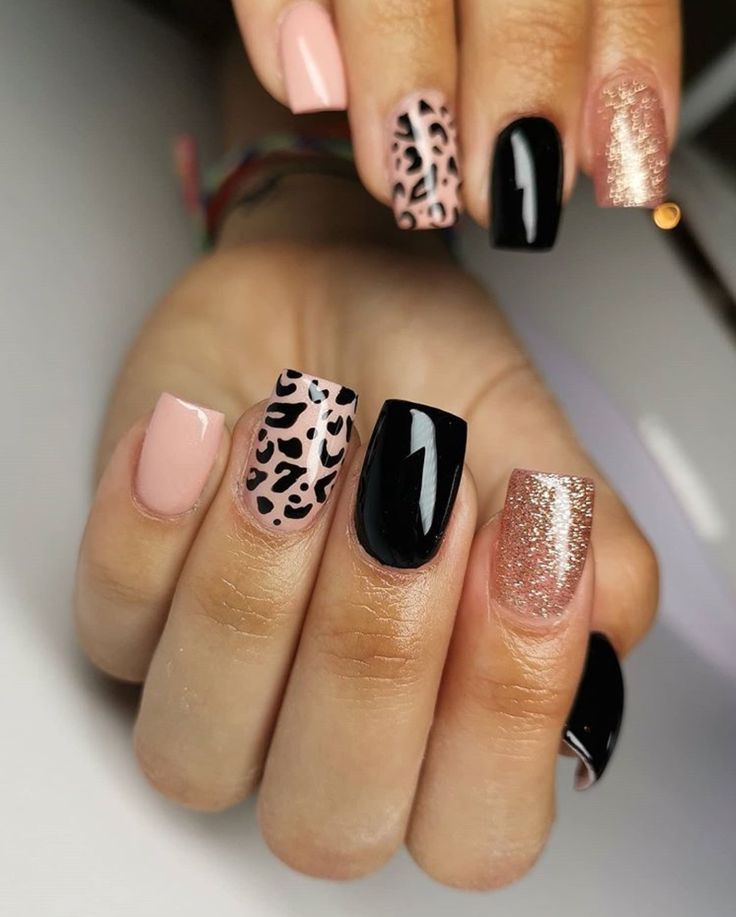
- Gold Fancy: Used a deep brown base. Instead of plain black spots, I used a gold metallic polish. Posh vibes. Like… leopard print but make it expensive? Yeah.
- Reverse It: This one was kinda tricky. Painted the whole nail black first. Then, took my tan polish and, super carefully, painted around the negative space where the spots should be. Ended up with tan spots on black. Weirdly chic and different.
- Glitter Base: Clear base with chunky gold glitter, let it dry completely. Then did my tan spots on top of the glitter with the black. Sparkle showing through? So much yes. Fave maybe.
- Just The Tips: French manicure mood? Did a sheer pink base. Only put the cheetah spots at the very tip of the nail, like a fierce accent. Less chaotic, still fierce.
- Velvet Touch: Normal tan base, black spots, all good. But for the top coat? Used a matte one instead of glossy. Woah. Looks suede-like. Super modern and less shiny.
- Color Shift: My most ambitious. Used this polish that shifts from purple to blue. Once dried (took forever!), did tiny black spots only on my ring fingers for an accent. Obsessed with how it catches the light around the spots.
What Actually Worked (For Me)
That toothpick? MVP. Made way more difference than a brush. Seriously thin polishes worked better too – thick ones just smooshed. Doing thin spots first, building shape slowly, saved me multiple times. Patience drying between layers was absolutely necessary, even though I was super impatient and rushed one nail (obviously smeared). The matte top coat on the classic style? Unexpectedly awesome. And glitter anything always wins.
Final thoughts? Cheetah print is way more fun than I thought. Messy at first, sure, but once you get that wonky ‘C’ shape down, it’s addictive! Way more styles possible than just brown and black. Spent half my Sunday with rainbow nails sticking to everything while drying under the fan… worth it! Might just do the glitter ones again tomorrow.