Getting Started with Photo Adjustments
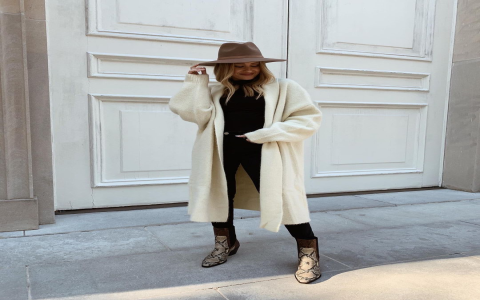
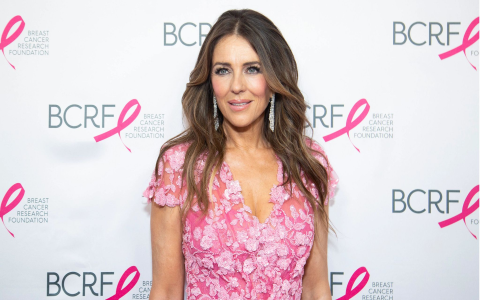
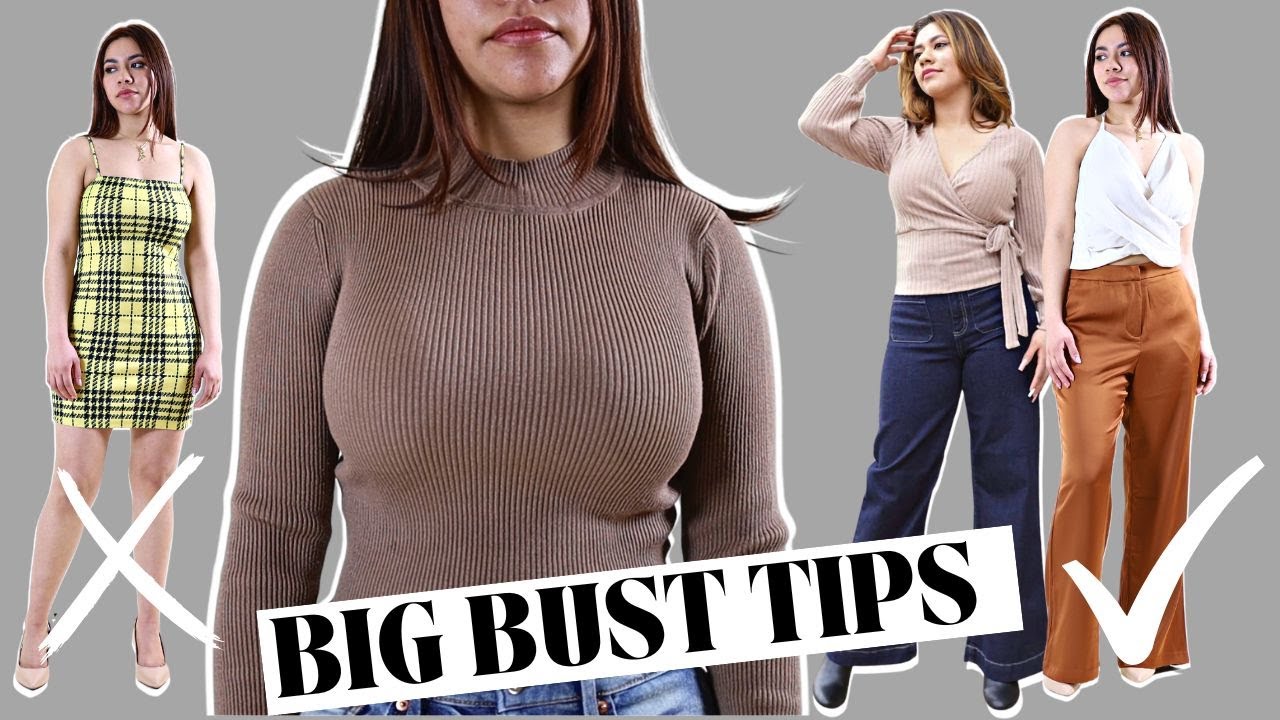
I grabbed some random model photos from my hard drive first thing this morning. Opened Photoshop and clicked the liquify tool like always. Started pushing pixels around on the chest area, sliding the brush size up and down like crazy. Felt like playing with virtual clay honestly.
The Messy First Attempt
First try looked absolutely ridiculous. Like someone glued basketballs to her torso! Had to undo everything and Google “natural looking photo edits” real quick. Found out about frequency separation technique around noon. Split the skin texture from underlying colors – sounds fancy but basically just duplicated layers and applied filters. Still messed up the shadows though. Made her collarbones look broken!
Finding the Sweet Spot
After 3 failed tries, I finally stopped overdoing it. Key things that helped:
- Small brush strokes instead of big sweeps
- Zooming in 200% to fix edges near clothing
- Lowering opacity so changes blend gradually
Took a snack break feeling super frustrated but came back fresh.
The Final Result Drama
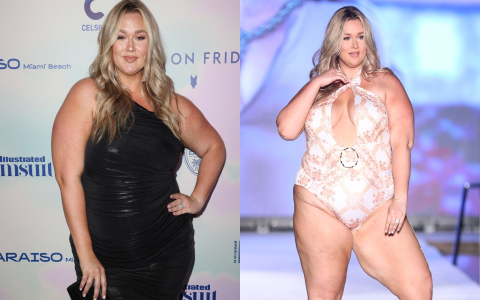
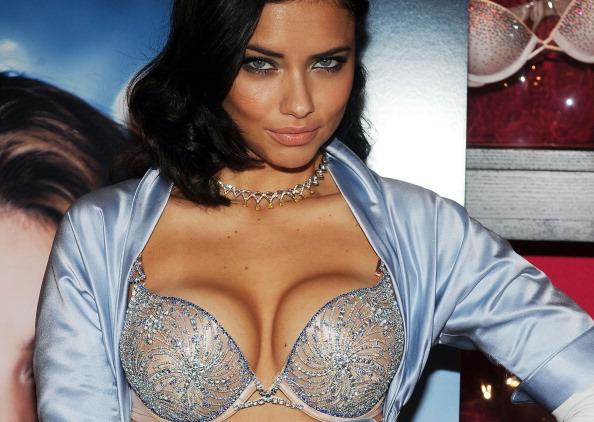
Posted before/after shots in my Discord group first. Got roasted immediately! Tom said it looked like “bad plastic surgery” and Emma asked if I’d photoshopped while drunk. Almost deleted everything right then. But later DMs started coming from photography newbies saying they loved the tutorial vibe. Lesson learned? People either love or hate this stuff – no middle ground.
Why This Was Eye-Opening
Honestly thought changing body features would be simple slider adjustments. Reality check: it’s stupidly easy to create unnatural results that scream FAKE. The more I tweaked, the more I appreciated unedited photos. Still keeping the edited versions in my portfolio though. Not because they’re good, but to remind myself how easy it is to cross into uncanny valley territory.
