Honestly, that moment I decided to try 3D printing my wedding dress? Total whim. Saw some wild photos online, figured why not dive headfirst into this rabbit hole. Got my little printer buzzing, ready to make magic. Or disaster. Either way, it’d be a story.

Step 1: Wrangling the Measurements
Okay, step one kicked my butt right away. Measurements. You’d think grabbing a tape measure would be easy. Nope. Tried it myself – bad move. Ended up contorting like a pretzel trying to measure my own waist. Numbers? All over the place. Nearly gave up.
Finally dragged my best friend over. Bribed her with pizza. We spent a whole afternoon measuring everything twice, sweating bullets over it. Chest, waist, hips… down to the centimeter. Learned the hard way: Get serious help with this step. No shortcuts. Messed up measurements mean a dress that’s either suffocating or swimming on you. Neither’s a good look walking down the aisle.
Step 2: Material Mayhem – Tougher Than I Thought
Picking the plastic… whoa. Way more choices than I expected. My early tests were comical disasters. That standard white filament everyone uses? Printed a swatch, held it up – looked cheap and plastic-y. Exactly what I didn’t want. Total letdown.
Ordered samples like a madwoman. Some were too stiff, felt like cardboard. Others were too rubbery and drapey. Kept going, feeling like I was burning money. Finally stumbled on this PETG variant with a slight satin sheen. Had just enough structure and a softer look. Printed another test piece. Held my breath. This was it. Looked way more… bridal. Phew.
Step 3: Slicing Software Stress
Got the design file, loaded it into the slicing software. Sounds simple? Oh boy. Those settings are overwhelming. Wall thickness? Infill percentage? Supports? Felt like I needed a PhD.

- Walls too thin? Dress snaps putting it on.
- Too thick? Dress weighs a ton and crinkles weird.
- Infill too low? Flimsy like tissue paper.
- Too high? Stiff and bulky.
- Supports? Without them, parts of the neckline just printed into thin air and flopped. Had to tweak angles forever.
Trial and error became my middle name. Printed small sections overnight – the bodice top edge, a bit of skirt flair. Woke up each morning nervous, checking the printer like it held exam results. Dialed it in slowly: walls thick enough for strength but thin enough to flex, infill dense under the bust for support but looser lower down. Got there eventually.
Step 4: Assembly Anxiety – Putting the Puzzle Together
Finally, pieces were printed. Time to assemble. Felt like I was building Ikea furniture without instructions. Gorilla glue and zip ties became my secret weapons. Not kidding. Needed joins that wouldn’t snap when I moved.
Found these tiny clear plastic rings for joining fabric panels – glued them to the edges of my printed panels. Then used ultra-thin fishing line to carefully tie the panels together through the rings. Took forever. Like, days. Every tie felt crucial. One wrong pull? Snap city. Patience was key. Then came the internal structure – a simple fabric underskirt for comfort, sewed very gently onto specific printed anchor points I’d designed in. Didn’t dare stress the plastic seams with heavy sewing.
The Final Try-On Moment
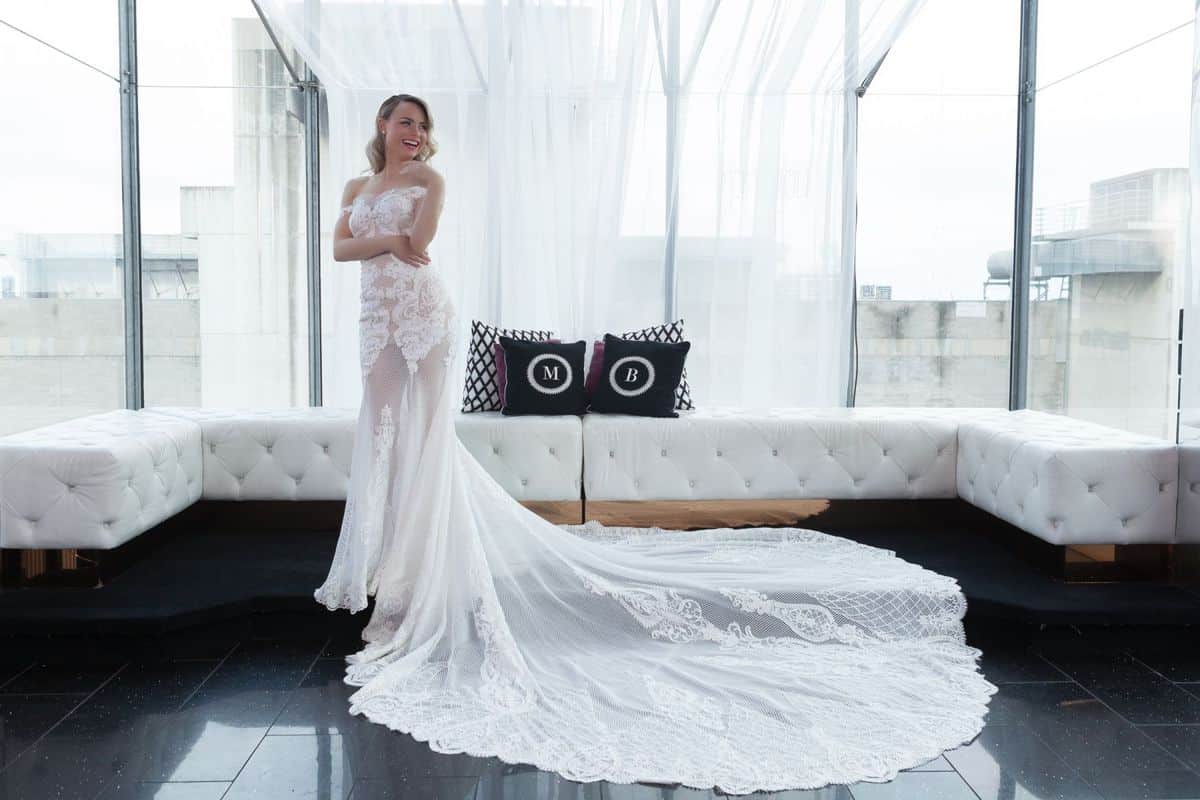
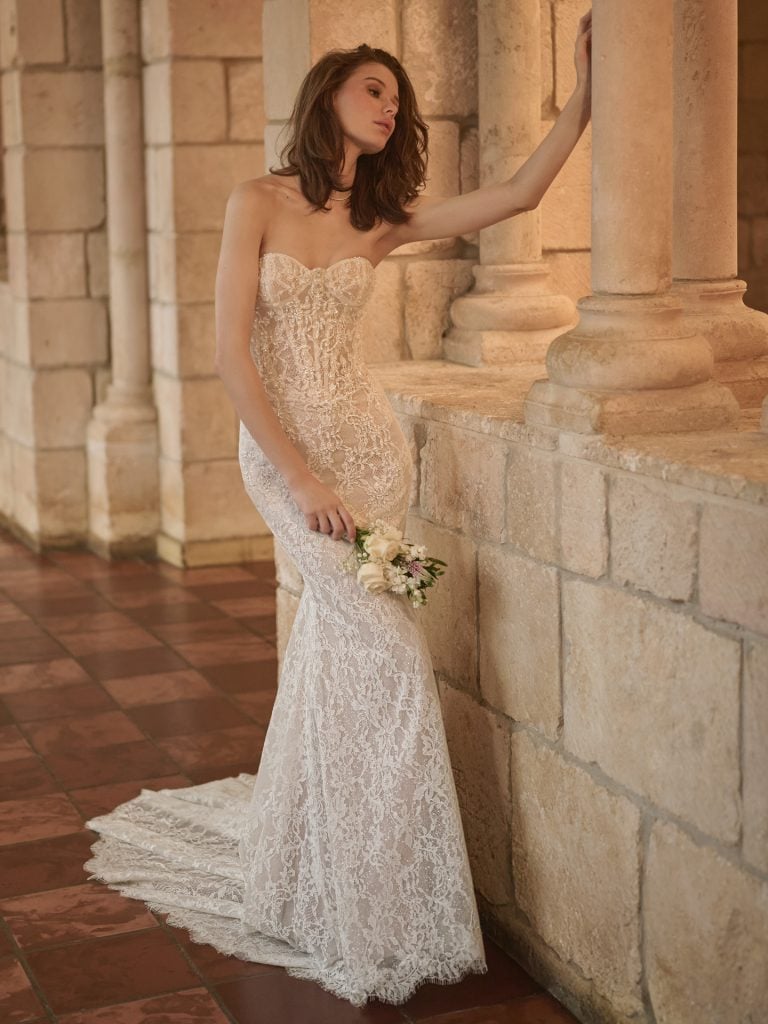
Put it on. Slowly. Carefully. Zipped up where I’d added a real corset back. Held my breath. Looked in the mirror. Weirdly… it worked. It actually fit and didn’t crumble. Comfort? Okay, not pajama level, but better than some boned gowns I’d tried! Movement was possible – could actually bend! Sure, it crinkled a bit differently than fabric, but the sheen caught the light beautifully. Unique? Hell yes.
Would I recommend this to everyone? Absolutely not. It’s a mission. But if you love a tech project, have patience like a saint, and want something truly one-of-a-kind? Maybe, just maybe, take the leap. But bring pizza for your measuring buddy.


