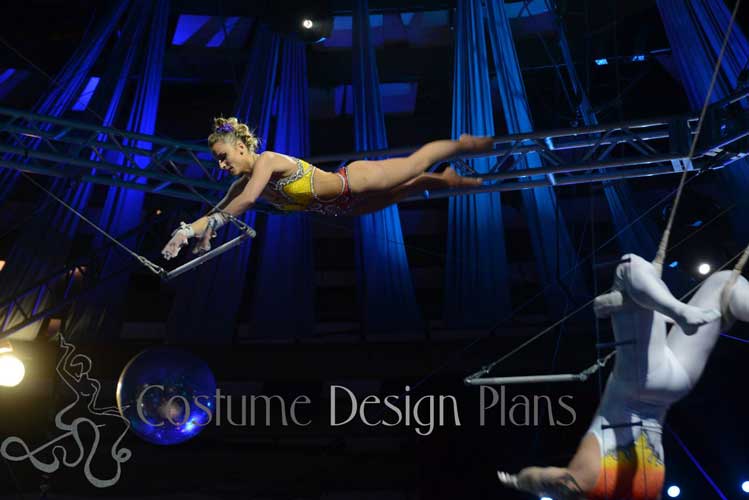
Alright, so I decided to make a trapezist costume. Sounds fancy, right? Well, let me tell you, it was a bit of a journey. I always think these things will be a breeze, and then reality hits you like a sack of spangles.
Why a Trapezist Costume, You Ask?
Well, there was this themed party, and I, in a moment of what I thought was brilliance, declared I’d come as something “aerial.” My brain immediately went to trapezist. Seemed like a good idea at the time. Less of a good idea when I realized store-bought ones looked kinda cheap or were way out of my budget. So, DIY it was!
First off, I hit the internet, looking for ideas. Man, oh man. Some of those tutorials out there make it look like you just wave a magic wand and a perfect leotard appears. Not so much. I found a few basic shapes I thought I could adapt. The key, I figured, was stretchy fabric and a whole lot of hope.
Getting Down to Business
So, the first step was getting the fabric. I went to this fabric store, and let me tell you, it’s like a candy shop, but for sewing. I ended up with this sparkly blue stuff. Maybe a bit too sparkly? Nah, can never be too sparkly for a trapezist, right? And some good, sturdy elastic. Very important, that elastic.
- Cutting the fabric: This part always makes me nervous. I laid it all out on my living room floor. Measured twice, cut once. Or, well, measured like, five times, and still felt like I was about to mess it all up. I used an old t-shirt and some leggings as a rough guide for the shape. Super technical, I know.
- The Sewing Saga: Then came the sewing machine. My old trusty machine. We have a love-hate relationship. It loves to eat fabric sometimes. I started with the main seams. Lots of pinning. So. Much. Pinning. There were a few wonky seams I had to unpick and redo. Frustrating? You bet. But I just put on some music and powered through.
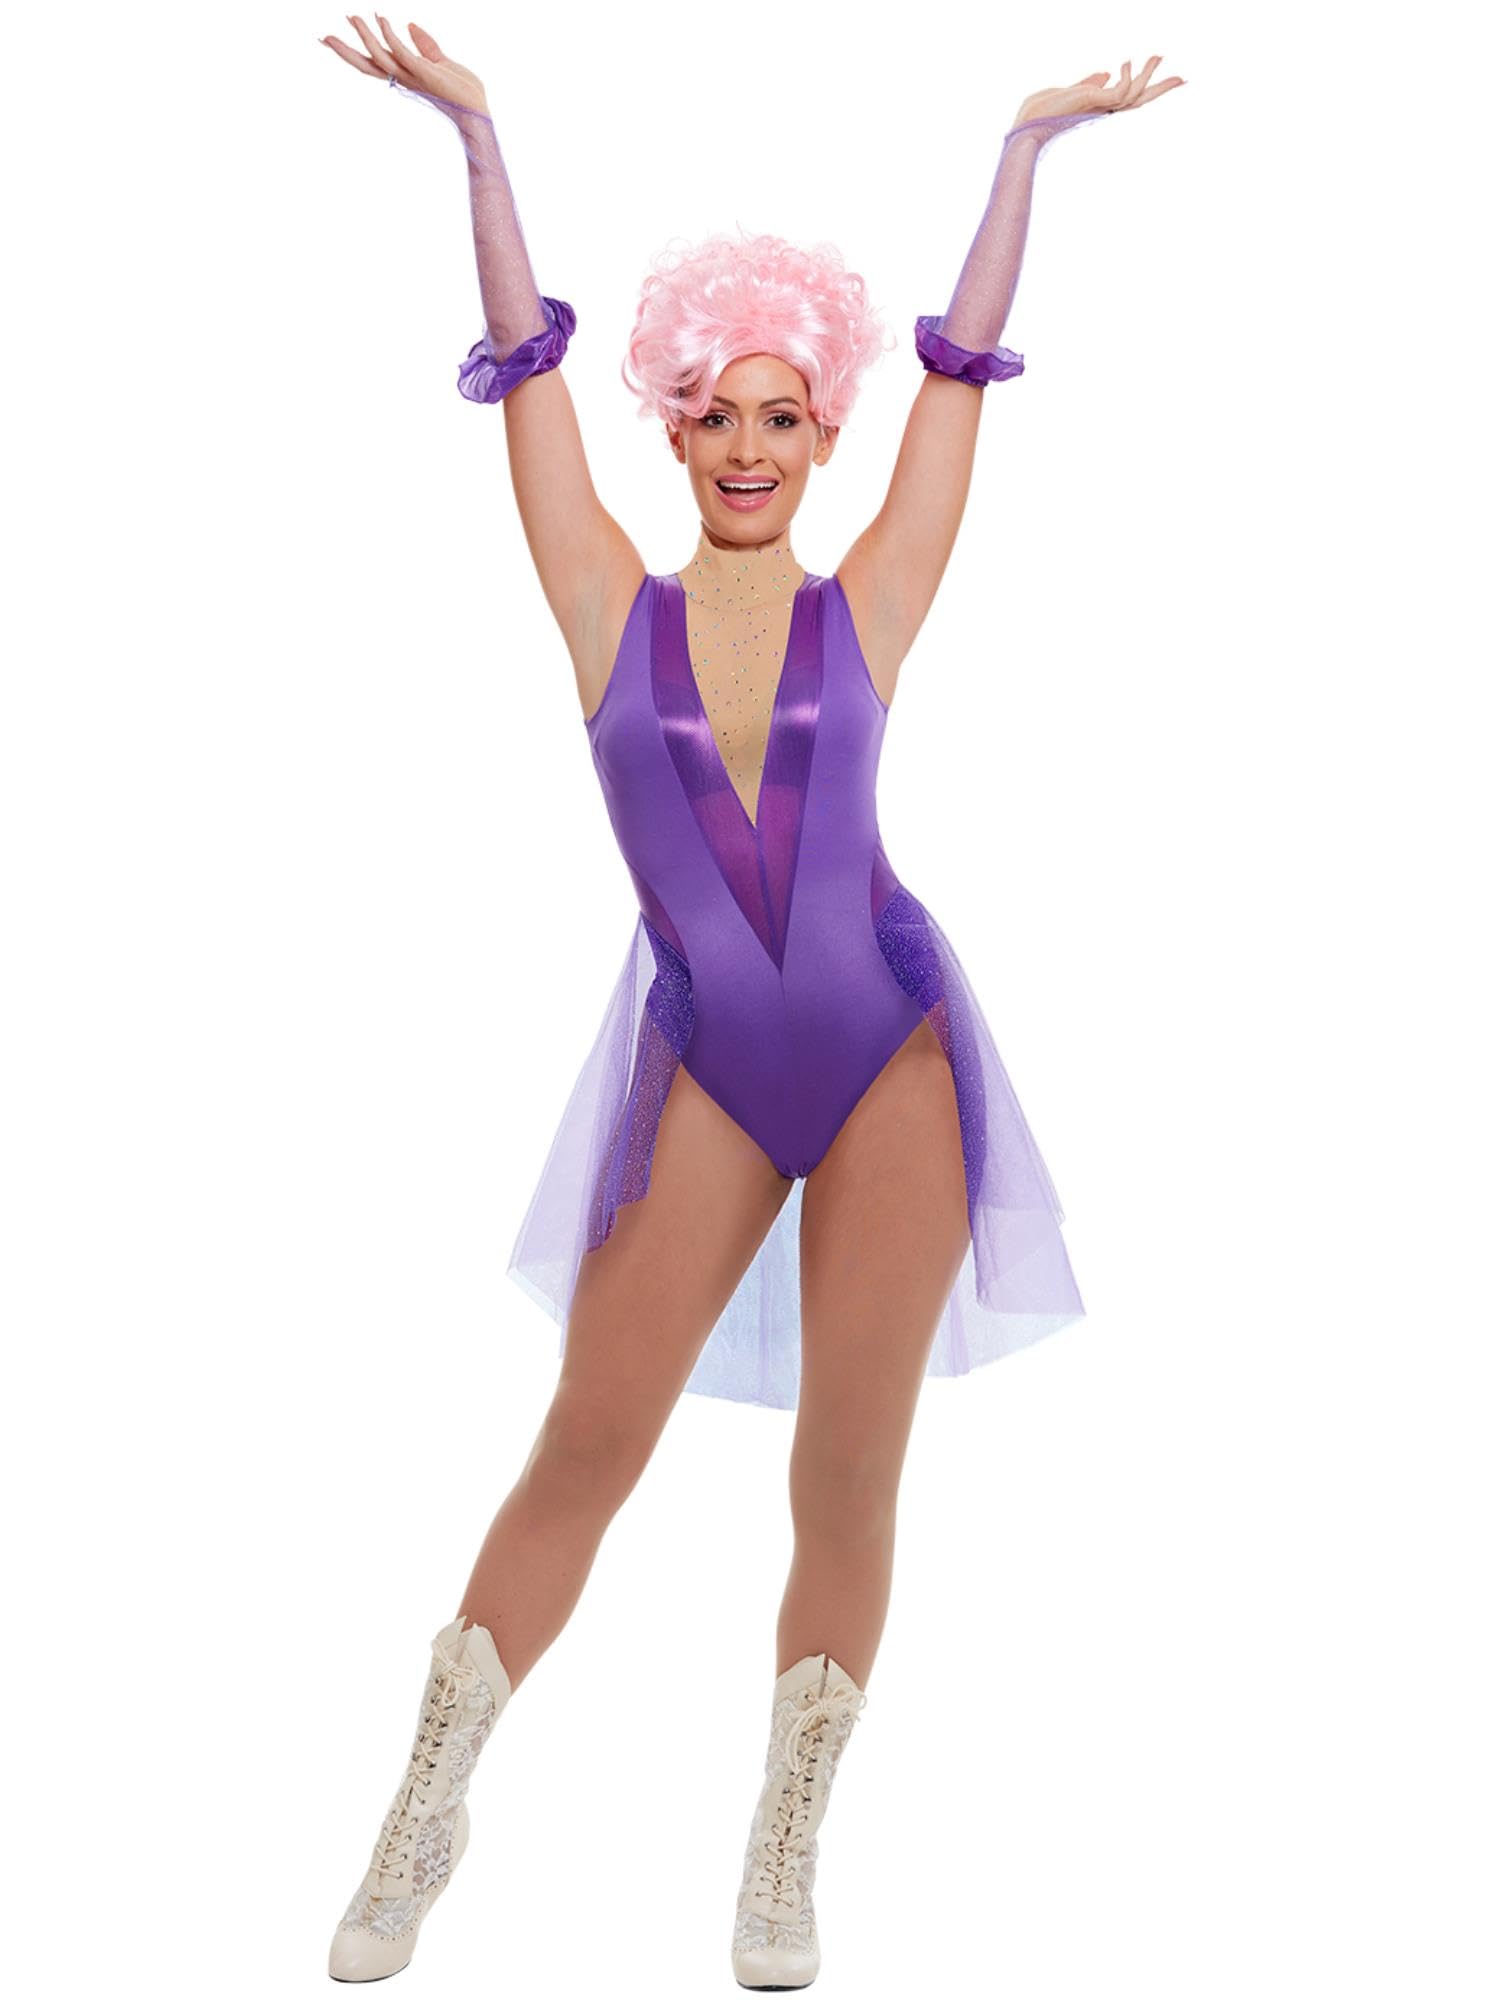
- Adding the “Trapeze” Flair: Once the basic leotard thing was sewn, it was time for the fun part. Or so I thought. I decided it needed more. Sequins! I bought a whole bunch of them. Gluing them on one by one? Took forever. My fingers were covered in glue. I also added some shiny trim around the neckline and leg holes. That actually went pretty smoothly, surprisingly.
You know, you think you’re just making one piece of clothing, but it’s never just that. It’s the little bits. It’s the adjustments. Does it fit right? Will it, you know, stay on if I actually tried to swing on something? (Spoiler: I did not try to swing on anything.) I had to take in the sides a bit. Then I thought, maybe some armbands? So I whipped up some quick armbands from the leftover sparkly fabric. Easy peasy.
The Grand Finale (Sort Of)
So, after a fair bit of fussing, a few choice words muttered under my breath, and a living room floor covered in tiny bits of thread and glitter, it was done. Was it professional, Broadway quality? Absolutely not. Did it look like a trapezist costume? Yes, I think it did! It was sparkly, it was fitted (enough), and most importantly, I made it myself.
Why am I telling you all this? Because sometimes you just gotta dive in and try to make something. It’s rarely as straightforward as you think, especially when you’re just winging it like I mostly was. There’s a weird satisfaction in wearing something you cobbled together with your own two hands, even if it’s not perfect. It’s got character, you know? And at that party, when someone asked where I got my costume, I got to say, “Oh, this old thing? I just threw it together.” Felt pretty good, not gonna lie.