Okay, so I’ve been obsessed with classic cars lately, and the 1972 Pantera has been living rent-free in my head. I decided, “Why not try to build a detailed model?” I’m no expert, but I figured it’d be a fun challenge. It turns out, it was more challenging than fun at times, LOL.
The Hunt Begins
First, I needed references. Tons of them. I scoured the internet for photos, blueprints, anything I could find. I spent hours just looking at pictures of Panteras from every angle, trying to get a feel for the lines and details. It took days! Seriously I am still finding photos that are new!
Gathering Supplies
Next up was the actual model kit. Found one online after a lot of searching – a vintage kit, which felt appropriate. I also grabbed some extra stuff: different paints, tiny brushes, specialized glue, the works. I wanted to do this right(at least try to). I spent way more than I planned to get, but oh well…
Building the Beast
- Step 1: The Chassis. I started with the chassis, which was surprisingly intricate. Lots of tiny parts that needed to be carefully glued together. My fingers felt HUGE. And clumsy, and I dropped things, alot.
- Step 2: The Engine. The engine was another beast altogether. So many little pipes and wires! I spent a whole evening just trying to get the spark plug wires to look somewhat realistic. And I think it ended up looking nothing close to realistic.
- Step 3: The Body. Putting the body together was like a puzzle. A very frustrating puzzle. Getting the panels to align perfectly was a nightmare, and I had to use a lot of filler and sanding to smooth things out.
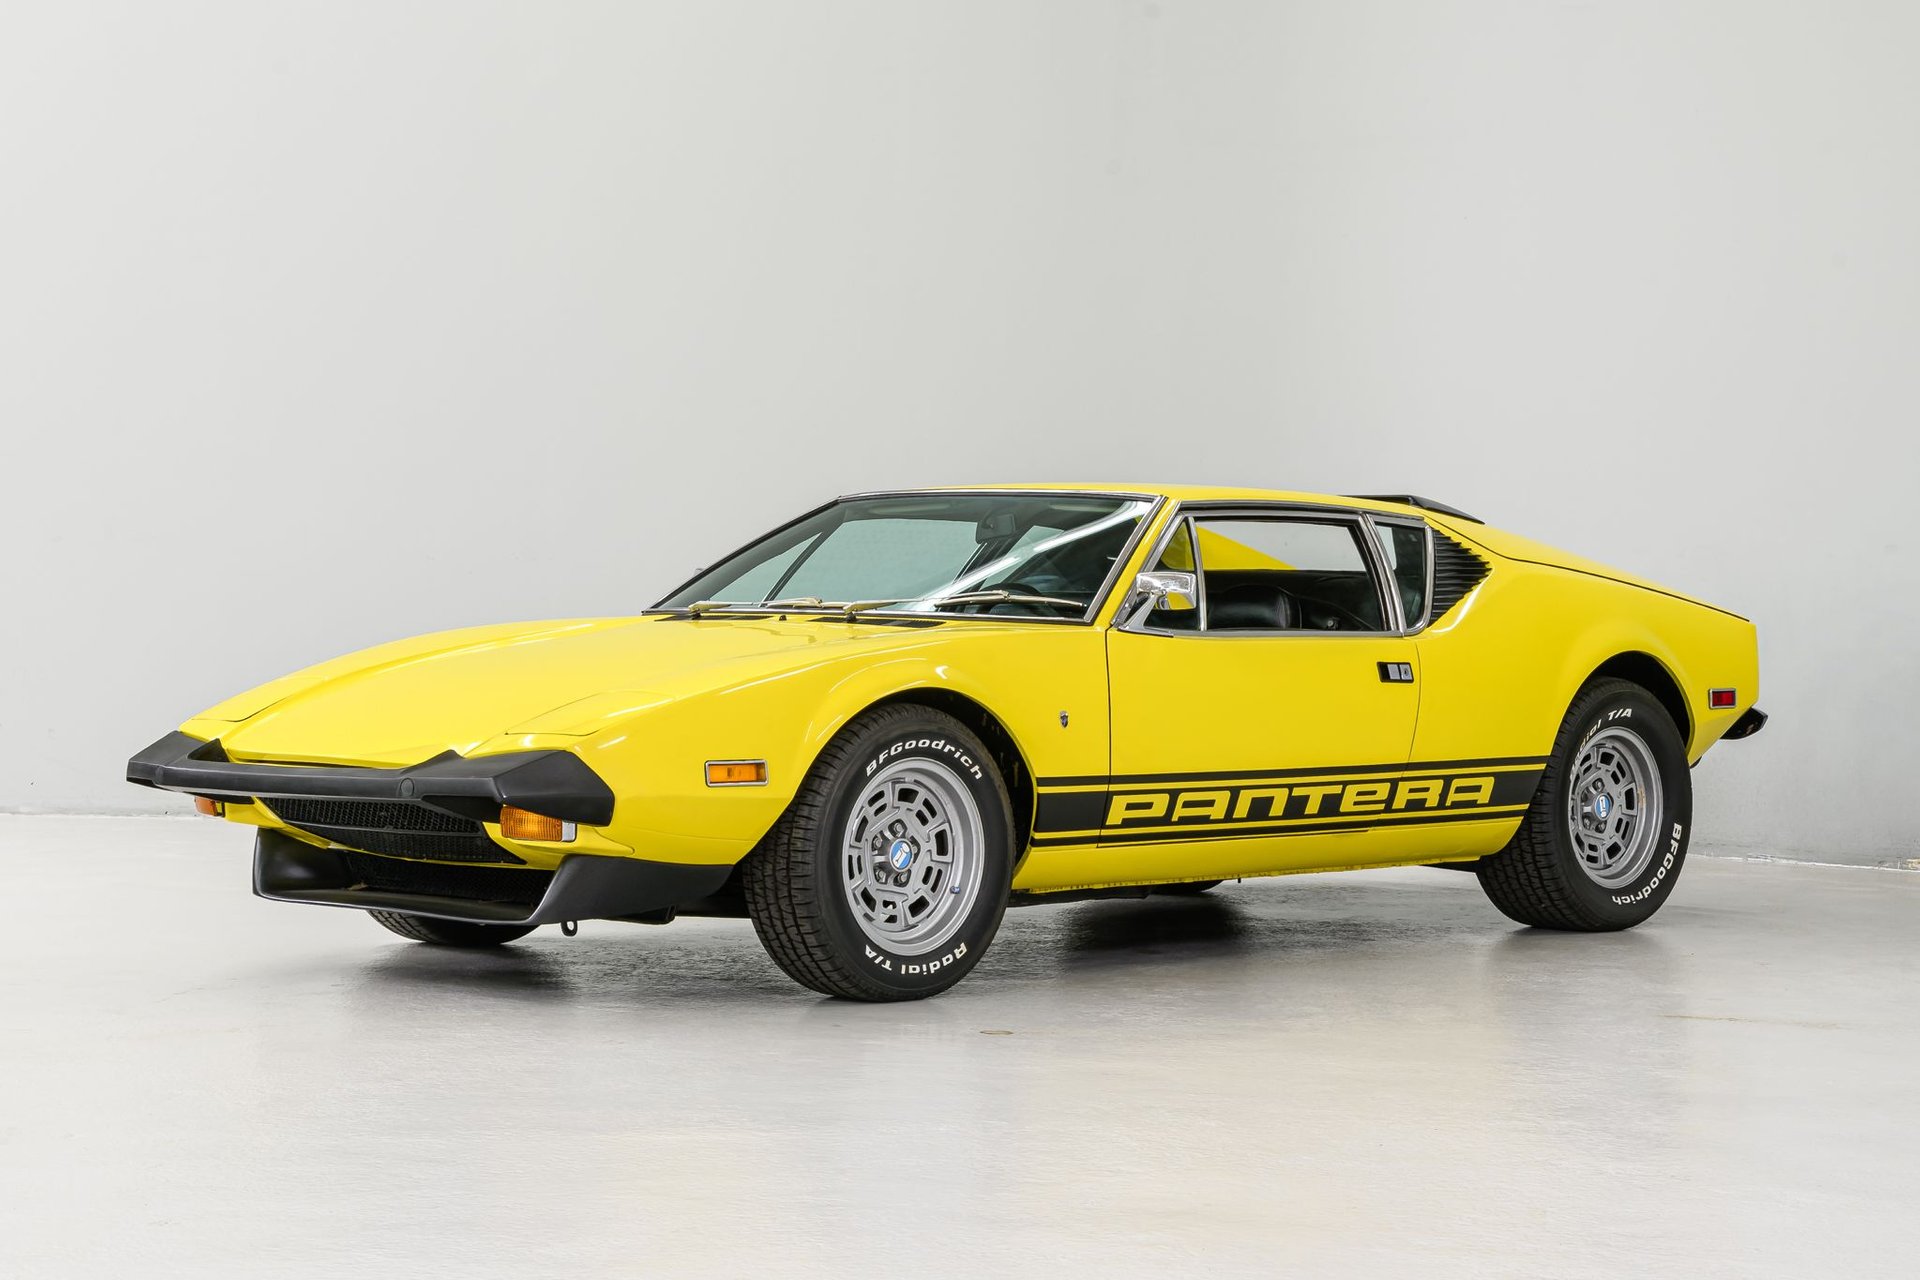
- Step 4: Painting. I went with the classic yellow, because, well, it’s a Pantera. The painting was a multi-stage process: primer, base coat, clear coat. Each layer needed time to dry, so there was a lot of waiting around. I also used masking to apply stripes.
- Step 5:Final Touches. Finally, I added the details: the wheels, the lights, the tiny little badges. This was the most satisfying part, seeing it all come together. But man, my eyes were tired after that.
The Final Result (Finally)
It’s not perfect, not by a long shot. There are gaps, some paint imperfections, and a few details that are probably not quite right. But, I built it. It took weeks of work, lots of patience, and a few moments where I almost threw the whole thing against the wall. But, I learned a lot, and I’ve got a cool little Pantera model to show for it. Will I do another one? Maybe…but maybe not a Pantera. Something with fewer tiny parts, perhaps!